There’s nothing quite like that moment when your RV crests a hill overlooking a remote campsite, and you realize—your air conditioning still works, your fridge is humming, and you’ve got two weeks of power stored in your house battery. All without a gas generator drowning out the crickets.
That’s the magic of solar charging for RVs.
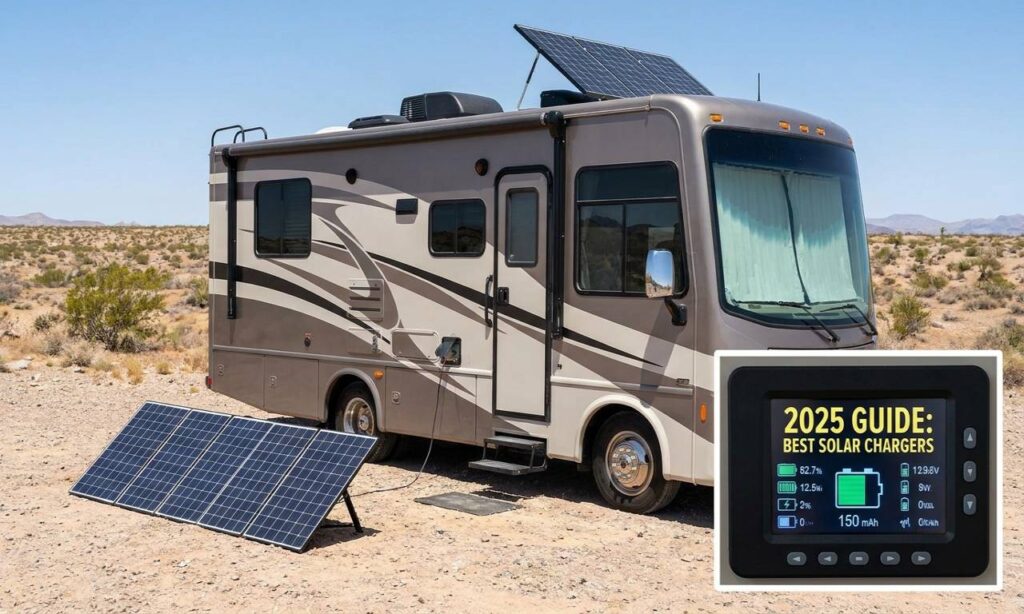
But here’s the thing most RV guides won’t tell you: not all solar chargers are created equal. A 20-watt trickle charger won’t cut it if you want to boondock for a week. A 400-watt system designed for full-time van lifers is overkill if you’re taking weekend trips. The difference between choosing right and choosing wrong can mean dead batteries in the middle of nowhere—or wasted money on equipment gathering dust in your storage compartment.
This guide cuts through the confusion. We’ll walk you through exactly what you need, why it matters, and how to avoid the mistakes that trip up most RV buyers. Whether you’re storing your rig for winter or planning months on the road, we’ve got the answers.
Why Your RV Battery Needs Solar Charging (And Why Alternators Aren’t Enough)
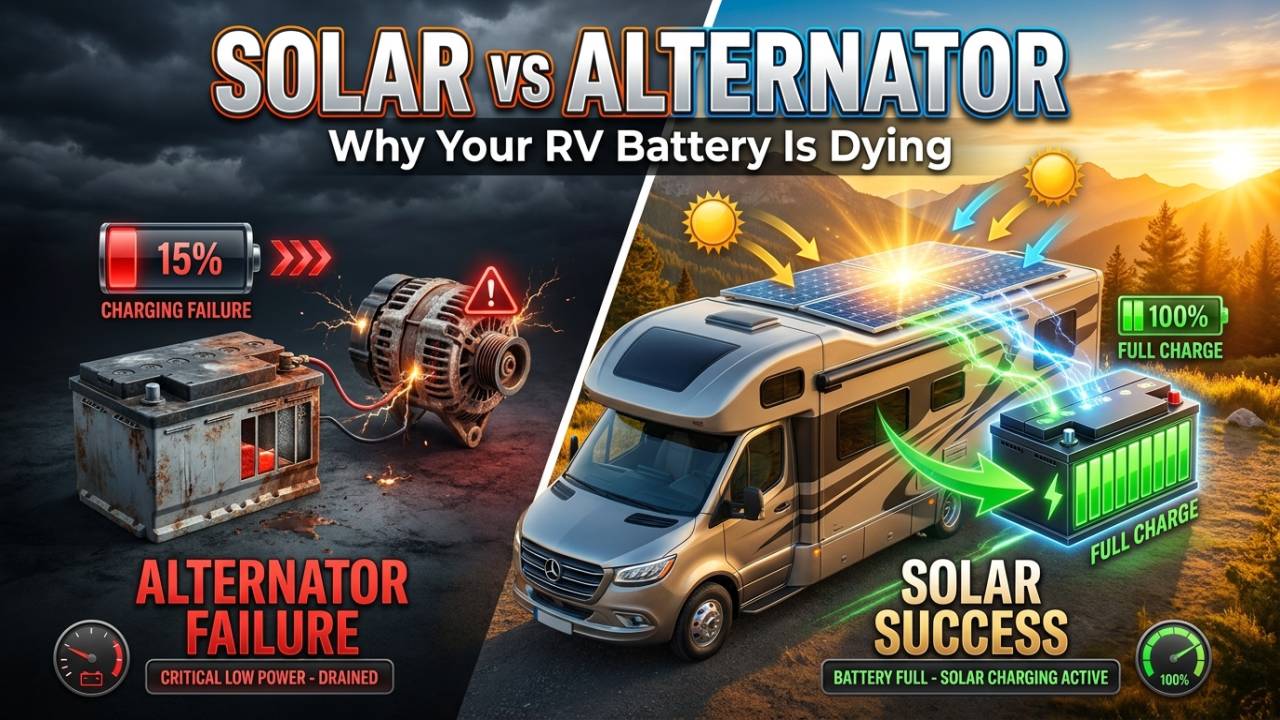
Let’s start with a hard truth: your RV’s alternator is working against you.
When you’re parked at a campsite with no hookups, your alternator is useless. It only charges when the engine runs—meaning you’re burning fuel just to keep your lights on. More importantly, your deep-cycle house battery has specialized chemistry that regular automotive charging damages. An alternator’s aggressive charging profile can cut your battery lifespan in half.
Enter solar charging. Here’s what actually happens:
Solar panels capture sunlight and convert it directly to electrical current. That current flows through a charge controller—a smart device that regulates voltage and current to match your battery’s needs. The battery stores that energy. You use it. Repeat.
The result? Silent, fuel-free power that works with your battery chemistry, not against it.
Here’s what this means for real RV life:
- Extended boondocking trips without running the engine or relying on campground power
- Battery health preservation through intelligent, chemistry-aware charging
- Noise-free mornings (your neighbors will thank you)
- Lower fuel costs and reduced engine wear
- Energy independence in remote locations where hookups don’t exist
That last point matters more than you might think. Try finding a full-hookup campsite in national forests during peak season. They’re rarer than a perfectly level boondocking spot.
The Three Types of RV Solar Systems—And Which One You Actually Need
This is where most guides go wrong. They lump all solar systems together. But the differences are massive, and picking the wrong type wastes serious money.
Type 1: Trickle Chargers (5W–20W) — For Storage & Light Maintenance
What they do: These tiny panels keep your battery topped off when the RV sits unused.
Real-world scenario: You store your fifth wheel for winter. Over four months, the battery naturally loses charge (about 1-2% per month) due to parasitic loads—your propane detector, refrigerator circuit board, water heater control, and other systems that pull power even when nothing’s running.
A 10-watt trickle charger provides just enough juice to offset this drain, preventing deep discharge that damages lead-acid batteries permanently.
Cost: $150–$300
Installation: Mounting bracket, alligator clips, or quick-disconnect connectors
Best for: RVs parked more than 3 months, seasonal users, budget-conscious owners
What they won’t do: Power appliances. Run a refrigerator. Charge dead batteries quickly. Support extended boondocking.
Type 2: Portable Solar Kits (50W–200W) — For Weekend Warriors & Part-Time Travelers
What they do: Provide meaningful daily charging that supports lights, water pumps, and other DC loads while you’re actively using the RV.
Real-world scenario: You’re boondocking for a long weekend in Utah. You’ve got one solar panel mounted on your RV roof, a 30-amp charge controller inside the cabinet, and 200 amp-hours of lithium battery storage. Each morning brings 6 hours of solid sunlight that refills your battery to 80%, supporting your ceiling fan, interior lights, water pump, and laptop charging.
Can you run the air conditioner? Nope. But you also don’t need to fire up the generator for daily needs.
Cost: $800–$2,500
Installation: Semi-permanent roof mounting or portable ground setup
Best for: Part-time RVers, weekend campers, people with modest power needs
Real advantage: Quiet mornings. No fuel burn. Weather-resistant components designed for years of use.
Type 3: Full Off-Grid Systems (300W+) — For Serious Boondockers & Full-Timers
What they do: Generate enough daily power to support air conditioning, microwave, cooking, full-time living.
Real-world scenario: You’ve ditched your house and live in a Class A motorhome year-round. You’ve got 400 watts of roof-mounted solar, a 100-amp MPPT charge controller (more advanced than PWM), 800 amp-hours of lithium battery storage, and a 3,000-watt pure sine wave inverter. On a good sunny day, you generate more power than you use. On cloudy days, your battery bank handles it.
You can run a small air conditioner for a few hours, charge laptops, cook, watch TV, and live comfortably without external power or fuel generators.
Cost: $4,000–$15,000+
Installation: Professional-grade, often requiring electrician expertise
Best for: Full-time RVers, full-time remote workers, those seeking true energy independence
The trade-off: Complexity. Cost. But the freedom is real.
The Solar Charging Decision Matrix: What You Actually Need
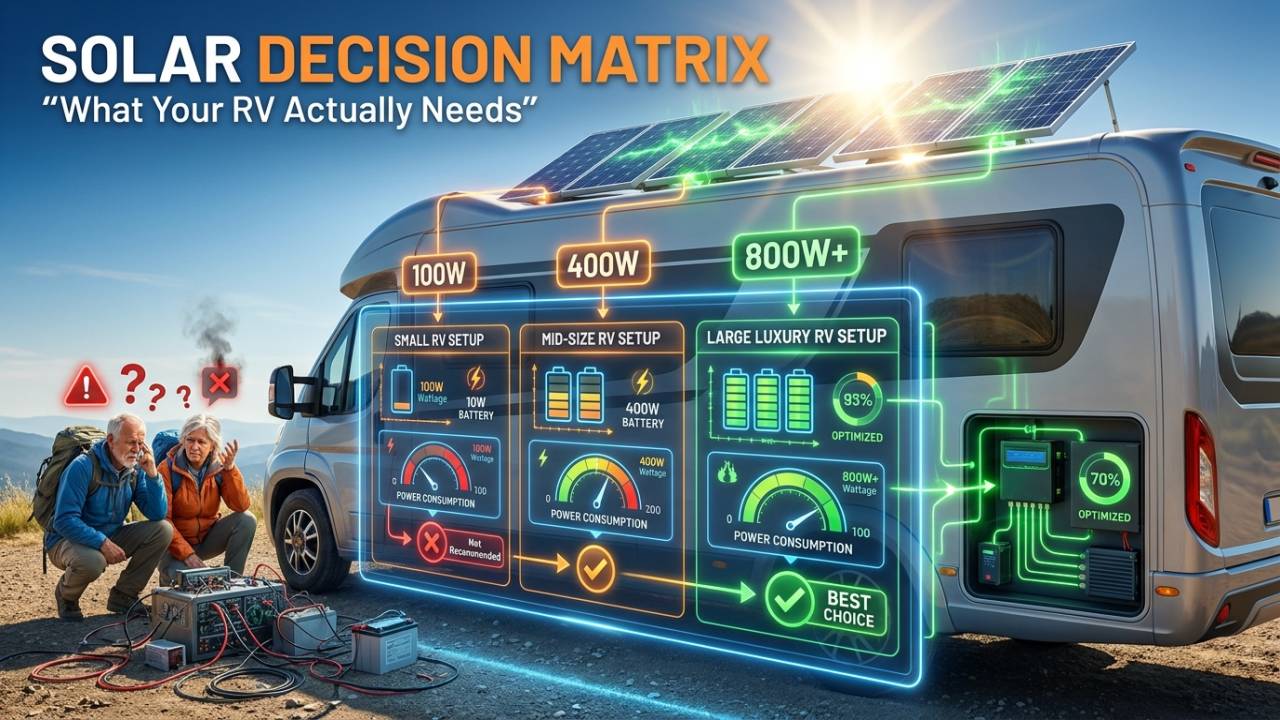
Before dropping $3,000 on a system you don’t need, answer these questions:
Question 1: How long are your typical trips?
- Weekend trips (2–3 days) → Trickle or small portable kit
- Extended boondocking (1–2 weeks) → Portable kit (100W–150W)
- Full-time living → Full system (300W+)
Question 2: What’s your power priority?
- Keeping batteries healthy during storage → Trickle charger
- Running lights, water pump, fan, limited DC loads → Portable kit
- AC, microwave, TV, multiple appliances → Full system
Question 3: How much roof space do you have?
- Class B or small sprinter van → Portable or compact (100W max)
- Travel trailer or Class C → Moderate system (150W–250W)
- Large Class A → Room for full-scale arrays (400W+)
Question 4: What’s your budget?
- Under $500 → Accept limited capability
- $500–$1,500 → Decent part-time system
- $1,500–$3,000 → Solid weekend/extended trip system
- $3,000+ → Professional-grade, full-time capable
Solar Panel Types: Why Monocrystalline Beats Everything Else
Here’s a detail that matters more than you’d think: the type of solar cell determines real-world efficiency.
| Panel Type | Efficiency | Weather Performance | Cost | Best For |
|---|---|---|---|---|
| Monocrystalline | 18–22% | Excellent (works in cloudy conditions) | $$$ | Permanent RV installations, limited roof space |
| Polycrystalline | 15–18% | Good (decent cloudy-day output) | $$ | Budget systems, larger roof space |
| Amorphous/Thin-Film | 8–12% | Poor (struggles in low light) | $ | Small portable panels, windshield mounted |
| Bifacial (Dual-sided) | 20–24% | Excellent (captures ground reflection) | $$$$ | Premium systems, high output needed |
Real-world truth: In most US climates, monocrystalline panels generate 20–30% more power than polycrystalline on the same roof space. For RVers with limited roof area, this difference means the difference between “decent” and “genuinely useful” power.
The amorphous panels you see advertised as “cheap solar chargers”? They’re not terrible for trickle charging, but don’t expect impressive performance on cloudy Colorado days.
(This Matters More Than You Think)
Your solar panels are only half the equation. The charge controller is the brain that decides how fast to charge your battery.
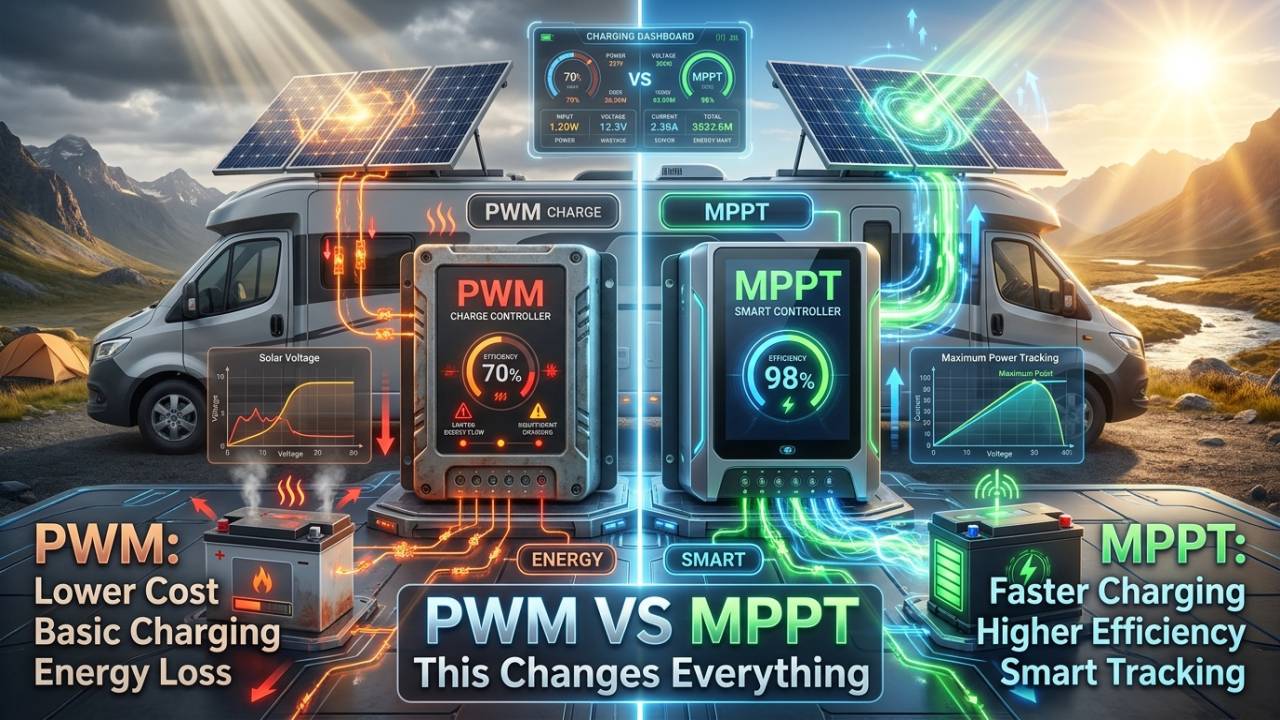
PWM Controllers (30–60 amps): The Budget Option
How they work: PWM (Pulse Width Modulation) controllers are simple. They rapidly switch the solar panel’s full output on and off, creating an “average” current that matches your battery’s needs.
Think of it like tapping a water faucet on and off to get the exact flow rate you want.
Pros:
- Cost-effective ($100–$300)
- Reliable, proven technology
- Simple installation
- Good enough for small systems
Cons:
- Less efficient in low-light conditions
- Wastes about 15–20% of available solar power
- Can’t optimize for different battery chemistries as well
Best for: Budgets under $1,500, small seasonal systems, simpler setups
MPPT Controllers (40–100 amps): The Smart Choice
How they work: MPPT (Maximum Power Point Tracking) controllers use microprocessors to continuously monitor the solar panel’s voltage and current, automatically adjusting to extract maximum power in all conditions.
It’s like the controller is constantly asking: “How can I squeeze every last watt out of these panels right now?”
Pros:
- 15–30% more efficient than PWM, especially in cloudy conditions
- Works brilliantly with lithium batteries (adjustable charge profiles)
- Better low-light performance
- Built-in monitoring (many models)
- Future-proof if you upgrade batteries later
Cons:
- Higher upfront cost ($300–$800)
- Slightly more complex installation
- Overkill for tiny trickle charger setups
Best for: Lithium batteries, systems over 150W, serious boondockers, anyone planning to keep this system for 10+ years
The bottom line: If you’re going larger than a basic trickle charger, MPPT is worth the extra cost. The efficiency gains pay for the upgrade within 3–4 years.
The 5-Minute Wattage Sizing Calculator
Here’s the equation everyone asks about but few guides actually explain clearly:
Daily solar generation = Panel wattage × Peak sun hours × Efficiency factor
In most US locations:
- Southwest (Arizona, Nevada, Southern California): 5–6 peak sun hours/day
- Southeast (Florida, Georgia, Carolinas): 4–5 peak sun hours/day
- Midwest (Colorado, Utah, Oklahoma): 4.5–5.5 peak sun hours/day
- Pacific Northwest (Oregon, Washington): 3–4 peak sun hours/day
Example: A 100-watt panel in Colorado during summer:
- 100W × 5 peak sun hours × 0.85 efficiency = 425 watt-hours per day
That’s enough to recharge:
- A completely depleted 200Ah lithium battery to 50% (roughly)
- Run lights, water pump, and other small DC loads indefinitely
- Keep a modest refrigerator running
Quick sizing guide:
- Want 500 Wh/day? → Get 100W+ panels
- Want 1000 Wh/day? → Get 200W+ panels
- Want 2000+ Wh/day? → Get 400W+ panels (full-time living)
Reality check: Don’t overssize thinking “more is better.” Extra panel capacity sitting idle is wasted money. Right-size for your typical trip, with a modest 20% buffer.
Battery Chemistry Matters: Lead-Acid vs. Lithium vs. AGM
Your solar charger must be compatible with your battery type. Using the wrong charging profile can reduce lifespan from 10 years to 3 years.
| Battery Type | Chemistry | Voltage | Charge Profile | Solar Compatibility | Lifespan |
|---|---|---|---|---|---|
| Lead-Acid (Flooded) | Traditional wet cells | 12V/24V | Simple charging | Any controller fine | 3–5 years |
| AGM | Sealed, absorbed glass mat | 12V/24V | Strict voltage limits | Needs compatible controller | 5–7 years |
| LiFePO4 (Lithium) | Lithium iron phosphate | 12V/24V/48V | Specific current curves | Requires MPPT or lithium-compatible controller | 8–15 years |
| Lithium (Other types) | Various chemistries | Varies | Manufacturer-specific | Check documentation | 5–10 years |
Key insight: Lithium batteries require MPPT controllers or PWM controllers with lithium-specific settings. Overcharging lithium even slightly activates safety cutoffs, preventing charging entirely.
This is the #1 mistake: buying a cheap solar charger, assuming “12V is 12V,” and then wondering why your $3,000 lithium battery stops accepting charge.
Installation: Roof Mount vs. Portable—The Hidden Trade-offs
Roof-Mounted Systems (Permanent)
Pros:
- Maximum sun exposure
- Always ready without setup
- Professional appearance
Cons:
- Permanent damage to RV roof (warranty issues)
- Heat buildup under roof-mounted panels reduces efficiency
- Limits flexibility (can’t reposition for optimal angle)
- Complex removal/reinstallation if upgrading
Portable Systems (Ground Mount)
Pros:
- Can reposition during the day for optimal angle
- No permanent RV modifications
- Easy to upgrade or sell separately
- Better cooling = better efficiency
- Perfect for boondocking where you can orient toward the sun
Cons:
- Requires manual setup/takedown each trip
- Takes up storage space or ground space
- Slightly less convenient than roof installation
Growing trend: Serious RVers prefer portable systems. The 10–15% efficiency gain from better positioning and cooling often outweighs convenience.
Real-World Scenario: What Actually Works for Typical RVers
Let’s build three realistic systems based on real boondocking patterns:
Scenario A: The Weekend Warrior (2–3 day trips)
Your needs: Keep battery topped off, run lights and water pump, use laptop for work
System recommendation:
- 1× 100-watt monocrystalline panel (portable)
- 1× 30-amp PWM charge controller
- 200Ah lithium battery (or 400Ah lead-acid)
- Simple wiring kit
Cost: $1,200–$1,800
Daily generation: ~400 Wh in decent sunlight
What it powers: Lights, water pump, laptop charger, small refrigerator fan, phone charging
Limitations: Can’t run AC, microwave, or multiple high-load devices simultaneously
Scenario B: The Extended Boondocker (1–3 week trips)
Your needs: Power a refrigerator, run lights/fans, charge multiple devices, maintain batteries long-term
System recommendation:
- 2× 100-watt monocrystalline panels (roof-mounted)
- 1× 60-amp MPPT charge controller
- 400Ah lithium battery bank (or 600Ah lead-acid)
- 2,000-watt pure sine wave inverter
- Robust wiring, 200A+ fuses
Cost: $3,500–$5,000
Daily generation: ~800–1000 Wh
What it powers: Refrigerator 24/7, lights, water pump, ceiling fan, laptop/tablet charging, phone charging, occasional microwave (10 min use)
Bonus: Works fine on partly cloudy days
Scenario C: The Full-Timer (Live in your RV year-round)
Your needs: Run AC for 4–5 hours/day, work remotely, cook, watch TV, maintain comfort in all seasons
System recommendation:
- 400+ watts of monocrystalline panels (split between roof and portable)
- 1× 100-amp MPPT charge controller with monitoring
- 800Ah+ lithium battery bank
- 3,000–5,000-watt pure sine wave inverter
- Professional installation strongly recommended
Cost: $8,000–$15,000
Daily generation: ~1,500–2,000 Wh minimum
What it powers: Everything. Full-time comfort. Small AC usage. Full kitchen. Office setup.
Trade-off: High upfront cost, but genuine energy independence
Frequently Asked Questions About RV Solar Battery Chargers
Q: Will a solar charger work on cloudy days?
A: Yes, but with reduced output. Monocrystalline panels generate 40–60% of rated power on cloudy days, while cheaper amorphous panels might only produce 20–30%. MPPT controllers optimize this low-light performance better than PWM.
In the Pacific Northwest, expect 3–4 peak sun hours instead of 5–6. It’s still meaningful power.
Q: Can I use a solar charger to charge a dead battery quickly?
A: Not really. Solar chargers are designed for maintenance and steady charging, not rapid recovery from deep discharge. A completely dead 200Ah battery needs 200 amps of charge to restore—something no portable solar system can provide.
Use a conventional AC charger or generator to recover from deep discharge, then use solar for ongoing maintenance.
Q: Do I need a charge controller if I have a small trickle charger?
A: Most modern trickle chargers (over 5W) include a simple charge controller built-in. Larger systems require a separate controller. Always check specifications before purchasing.
Q: How long do solar panels last on an RV?
A: Quality monocrystalline panels degrade about 0.5–0.8% per year. After 25 years, a panel operates at 80–90% capacity—still useful. Most RVers upgrade for better technology long before panels fail.
Charge controllers typically last 10–15 years before needing replacement due to component wear, not failure.
Q: Can I mix old and new solar panels on the same system?
A: Technically yes, but it’s not ideal. Panels degrade differently, and mismatched voltage characteristics can reduce overall efficiency by 5–15%.
If upgrading, keep old panels as backup or sell them rather than mixing.
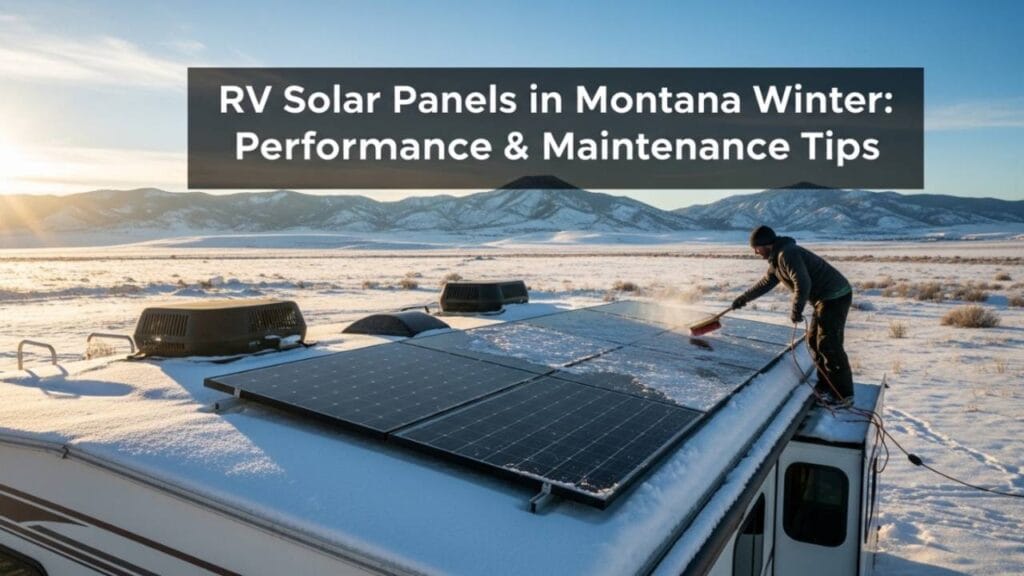
Q: What happens if I leave solar panels installed during winter in cold climates?
A: Panels work fine in cold weather—actually, they’re more efficient in cold temperatures than hot ones. Snow reduces output, but once it melts or slides off, normal operation resumes.
Freeze/thaw cycles on connectors and junction boxes are the real wear factor, not the panels themselves.
Q: Is it better to have one large panel or two smaller panels?
A: Two smaller panels offer flexibility—you can position them independently for optimal angle, store them separately, and distribute roof load. One large panel is simpler but less adaptable.
For RVs with limited roof space, one quality 200W panel beats two cheaper 100W panels. For portable systems, multiple smaller panels win.
Also Read:-
- Forest River’s New 2026 Cedar Creek Cottage 40CMK Feels More Like a Luxury Home Than a Trailer
- Mercedes Sprinter 144 Low Roof Interior Panel Kit Review: Premium Camper Van Upgrade Worth Buying?
- Cortes 22 Camper Review 2026: Durable One-Piece Fiberglass Travel Trailer Built to Last