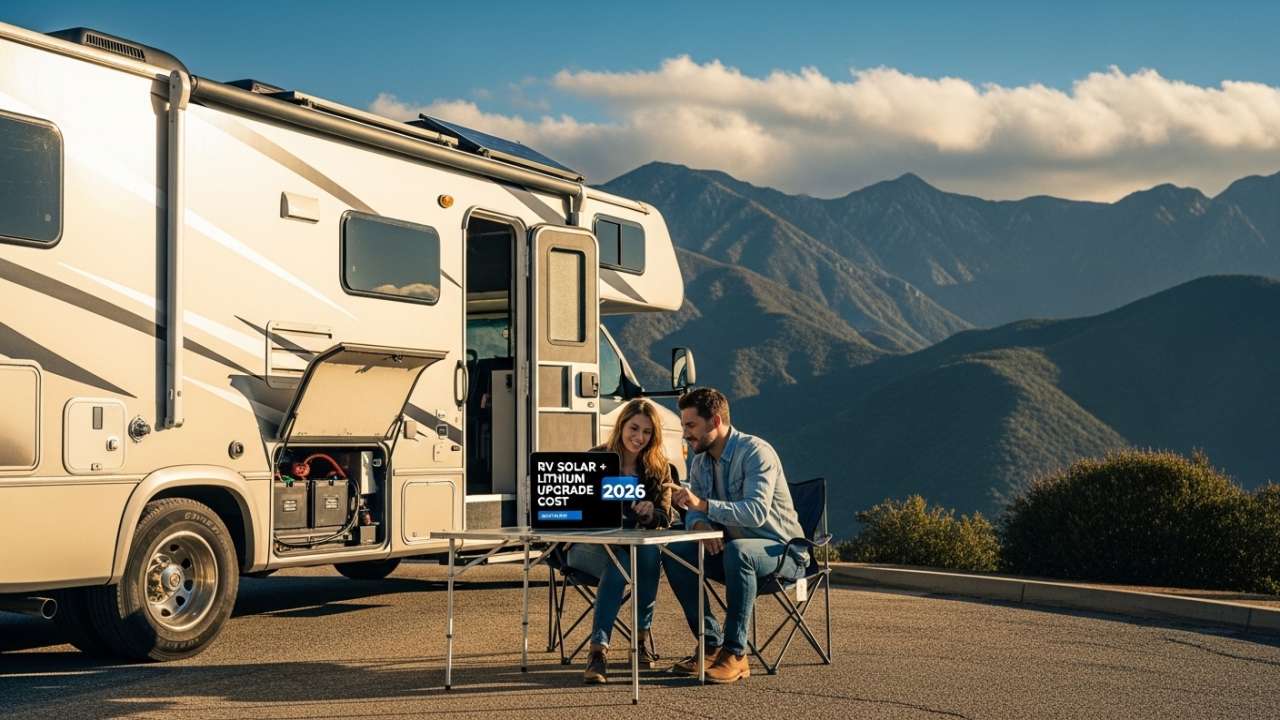
Looking to install RV solar in Billings, Montana? You’re in the perfect spot. With over 300 sunny days per year and Montana’s largest RV community, Billings has become the go-to hub for RV solar Billings installations. Whether you’re heading to Yellowstone, boondocking in the Beartooths, or spending weekends at Cooney Reservoir, solar power transforms how you camp.
This guide breaks down the top five local shops for RV solar Billings setups, walks you through a complete DIY installation, compares costs, and answers every question you’re probably Googling right now. Let’s get your rig powered by that legendary Montana sunshine.
Why RV Solar Makes Perfect Sense in Billings
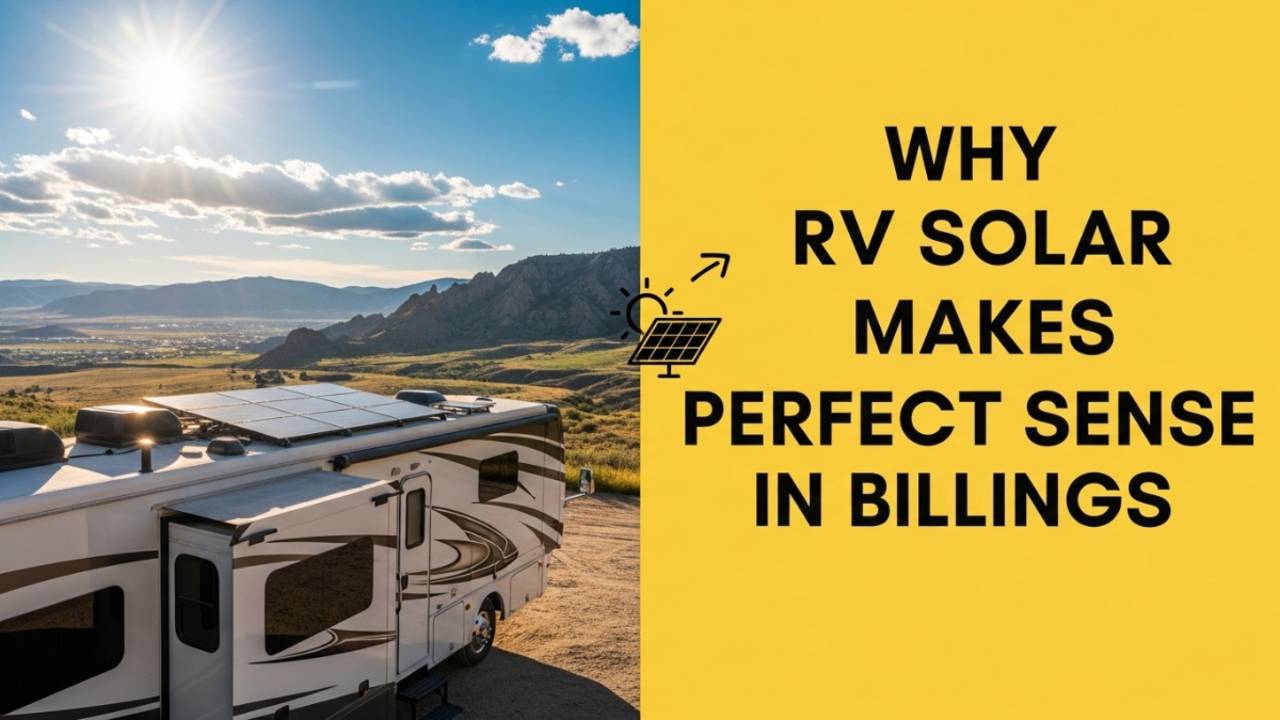
Billings isn’t just Montana’s largest city with 110,000 residents—it’s become a legitimate RV headquarters. Drive through the West End or along King Avenue West and you’ll see Class A motorhomes, fifth wheels, and travel trailers everywhere. We’re the gateway to Yellowstone (just 2.5 hours from the east entrance), sitting right on Interstate 90 with access to incredible dispersed camping in every direction.
The Billings solar advantage is real: Those 300+ sunny days translate to consistent power production from April through October. Even our cold, crisp winter days generate decent charging when snow reflects sunlight onto your panels. Summer temps regularly hit 95-100°F, which reduces panel efficiency by 10-15%, but our long June days (sunrise before 6 AM, sunset after 9 PM) more than compensate with 15+ hours of production time.
Montana’s RV culture runs deep here. Between hunting season, fishing the Yellowstone River, summer lake trips, and serving as basecamp for Yellowstone tourists, Billings families actually use their RVs. Solar panels mean you can boondock longer in Custer National Forest, keep your fridge running during MSU Billings tailgates, or maintain batteries during extended stays without generator noise.
For anyone escaping Billings’ famous windy springs or brutal summer heat by heading to higher elevations, RV solar Billings installations provide the freedom to camp off-grid for days or weeks at a time. No more hunting for hookups at $40-50 per night campgrounds.
Top 5 RV Solar Installers in Billings (Real Shops, Real Reviews)
1. Billings RV (Go Power! Authorized Dealer)
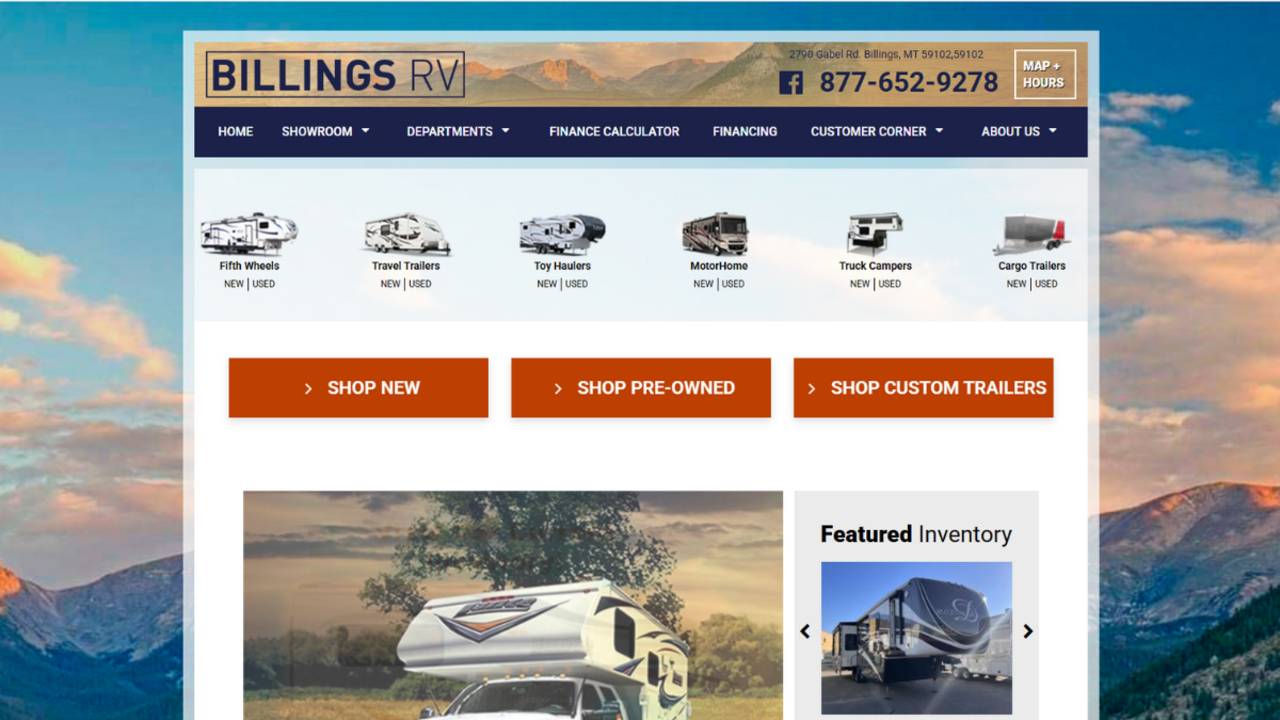
Location: 2790 Gabel Road, Billings, MT 59102
Phone: (406) 652-6339
This is the only authorized Go Power! dealer in Billings, and they’ve been selling and installing RV solar systems since the mid-2010s. Billings RV specializes in Go Power! solar kits which range from their 190-watt Weekender system ($800-1,100 installed) up to their 570-watt Extreme system ($2,400-2,800 installed). They know RVs inside and out since they also handle general RV service and repairs.
Pros: Authorized dealer with factory-trained installers, can integrate solar with other RV electrical work, Go Power! products have excellent warranties, convenient Gabel Road location near I-90
Cons: Limited to Go Power! brand (though it’s quality equipment), can get busy during spring/summer rush, may have 2-3 week wait times in peak season
Best for RV owners who want a proven system from a manufacturer that specializes in mobile solar. Go Power! has been in the RV solar game longer than almost anyone, and their kits are designed specifically for the vibration, temperature extremes, and mounting challenges of RVs.
2. YellowBall Roofing & Solar
Location: Multiple Montana locations including Billings
Established: Over 20 years in business
YellowBall started as a roofing company and added solar installations several years ago. While they primarily focus on residential solar, they’ve expanded into RV solar Billings installations and bring serious expertise in waterproofing and roof penetrations—critical skills for Montana weather. Their RV solar packages range from $1,100-2,600 depending on system size.
Pros: Exceptional roof sealing and waterproofing experience, licensed electrical contractor, offer military/teacher/first responder discounts, no money down financing available, complementary maintenance plans included
Cons: Higher pricing than RV-specific shops, residential solar is their main focus so RV availability varies, may push their partnership brands
Perfect choice if you’re also considering residential solar for your home, need absolutely bulletproof waterproofing for Billings’ wind and weather, or want to work with a Montana company that’s been around for two decades.
3. Harvest Solar Montana
Location: Offices in both Bozeman and Billings
Phone: (406) 570-8844
Website: harvestsolarmt.com
Owner Kyle MacVean is personally involved in every project, and Harvest Solar has over 30 years of combined experience. They specialize in off-grid solar installations, which makes them uniquely qualified for RV solar Billings work. They’re licensed electrical contractors who can design custom systems for full-time RVers or weekend warriors.
Pros: Exceptional off-grid expertise, licensed contractor with 30+ years experience, personalized service (small operation means attention to detail), service department for ongoing support, system monitoring and education included
Cons: Small operation may have limited availability, pricing tends toward premium, focus is quality over budget options
Choose Harvest Solar if you’re planning serious boondocking, full-time RV living, or want a system designed by someone who truly understands off-grid power. Their off-grid specialization is exactly what RV solar needs.
Also Read:- Best RV Solar Panels for Montana: Cold Weather Guide 2026
4. Big Sky Solar Wind

Location: 43 Yellowstone Ave, Billings, MT 59101 (office downtown)
Phone: (406) 694-7261
Email: energyconservingpeople@gmail.com
This locally-owned operation offers free estimates and installation bids with a focus on cost-effective solar solutions. They warehouse inverters, solar modules, and hardware right here in Billings, which helps keep costs down. They emphasize proper site surveys to guarantee results without inflating installation costs. Pricing for RV solar Billings installations typically runs $750-2,200.
Pros: Competitive local pricing, free site surveys and estimates, local inventory means fast turnaround, knowledgeable about Montana-specific challenges (wind, temperature extremes, snow loads)
Cons: Smaller operation with limited online presence, warehouse not open to public (call ahead), may require more customer involvement in planning
Best for budget-conscious RV owners who want local service and competitive pricing without sacrificing quality. Their Montana-specific knowledge about wind loads and temperature extremes is valuable.
5. Greentech Renewables Billings (Wholesale/Trade)
Location: Billings, MT (serving Billings, Laurel, Hardin, Big Timber, and Northeast Wyoming)
Focus: Solar equipment distributor
While Greentech Renewables is primarily a wholesale distributor selling to contractors, they’re worth knowing about if you’re DIY-ing your RV solar Billings installation. They can provide expert advice on system design, sell quality components at near-wholesale prices, and help you commission your system. They stock local inventory and offer daily delivery.
Pros: Access to professional-grade equipment at better prices, expert technical support, local inventory with daily delivery, can help with system design
Cons: Not an installation service (DIY only), trade/wholesale focus means you need to know what you’re doing, may require contractor license for some purchases
Perfect for handy RV owners who want to DIY their installation with professional-grade components and expert guidance. They can help you avoid rookie mistakes while saving money on labor.
Is RV Solar Worth It? (The Honest Answer)
Short answer: Yes, if you boondock even 15-20 nights per year.
Let’s do the real math. Campgrounds around Billings with full hookups run $40-55 per night. If you avoid just 20 nights of campground fees by boondocking with solar, you save $800-1,100 annually. Add in saved generator fuel ($15-25 per camping trip × 20 trips = $300-500), and you’re looking at $1,100-1,600 in annual savings.
A basic 400-watt RV solar Billings installation costs $1,400-1,800 professionally installed. Payback period: 14-18 months of normal RV use. After that, it’s pure savings. Plus, solar-equipped RVs sell for $2,000-4,000 more in this market.
RV solar is NOT worth it if you:
- Only use RV parks with full hookups
- Camp less than 10 nights per year
- Have unlimited generator fuel and don’t mind noise
- Can’t install at least 200 watts (minimum for meaningful benefit)
RV solar IS absolutely worth it if you:
- Boondock regularly (dispersed camping, BLM land, national forests)
- Visit Yellowstone and want to stay outside the park in free spots
- Hunt or fish from your RV and need quiet power
- Want to run your fridge, lights, and devices without hookups
- Plan to full-time or extended travel
- Hate generator noise and maintenance
Complete DIY RV Solar Installation Guide for Billings
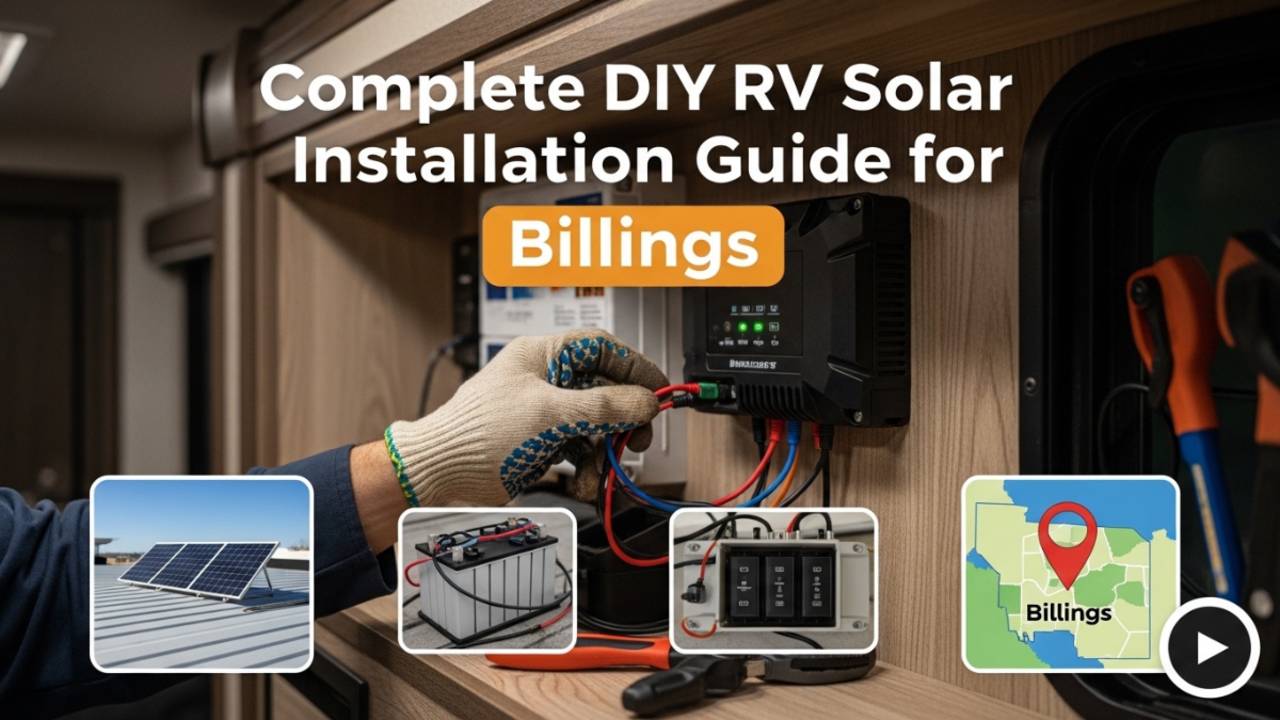
Installing your own RV solar Billings system saves $400-800 in labor costs and is genuinely doable if you’re comfortable on a ladder and can follow electrical diagrams. Here’s the complete process.
When to DIY vs Hire a Pro
DIY makes sense when:
- You have a simple, flat roof with clear mounting space
- Installing 400 watts or less (2-4 panels)
- Your RV already has decent batteries (2+ golf cart or 200+ Ah AGM/lithium)
- You’re comfortable drilling through your roof and sealing properly
- You have a weekend and basic tools
Hire a professional when:
- Installing 600+ watts or adding lithium batteries
- Your RV has complex roof geometry or multiple vents/ACs
- You need inverter installation or major electrical upgrades
- You’re not confident about waterproofing in Montana weather
- Your RV is under warranty (some require professional installation)
Where to Buy RV Solar Parts in Billings
Local options:
- Greentech Renewables Billings– Professional components, expert advice, near-wholesale pricing
- Tanner Electric(downtown) – Wire, breakers, basic electrical supplies
- Home Depot/Lowe’s(multiple locations) – Mounting hardware, sealants (get Dicor or Sikaflex for RVs), tools
- Fleet Farm(King Avenue area) – Sometimes stocks small solar panels and charge controllers
Online ordering (popular with Billings DIYers):
- Renogydirect (complete kits $600-1,200, arrives in 3-5 days)
- Amazon(wide selection, fast shipping to Billings)
- Battle Born Batteries(lithium battery specialists)
- com(RV-specific solar kits with installation videos)
Most Billings DIYers order complete kits online (panels, charge controller, cables, mounting hardware) then supplement with local hardware for mounting and sealing.
Complete DIY Installation Steps
Step 1: Calculate Your Power Needs
- List every device you’ll run: lights, fridge, water pump, fan, phone chargers, TV, etc.
- Find wattage (usually on label or manual)
- Estimate hours used per day
- Multiply watts × hours = watt-hours per day
- Add 20% buffer for inefficiency
- Example: 100W fridge × 12hrs + 60W lights × 4hrs + 50W devices × 6hrs = 1,740Wh/day
- Divide by 5 (average sun hours in Billings) = 348 watts minimum solar needed
Step 2: Plan Your Roof Layout
- Measure available roof space (avoid vents, AC units, skylights)
- Standard panels are roughly 39″ × 65″ (100W) or 47″ × 21″ (flexible)
- Account for shade from vent covers and roof-mounted items
- Plan cable routing to minimize roof penetrations
- Draw a diagram before buying anything
Step 3: Mount the Solar Panels
- Use aluminum mounting feet or rails (avoid steel—it rusts)
- Drill pilot holes through roof membrane (4-6 per panel)
- Apply Dicor self-leveling sealant to mounting foot bottoms (this is CRITICAL)
- Bolt mounting feet to roof (into roof rafters if possible)
- Apply more Dicor around all edges of mounting feet
- Attach panels to mounts using provided hardware
- Billings-specific tip:Over-seal everything. Our spring winds will find any gap.
Step 4: Run Wiring
- Use appropriate wire gauge (10 AWG for most runs, 8 AWG for long distances)
- Try to use existing roof penetrations (old antenna holes, etc.)
- If creating new penetration, use proper cable gland and seal with Dicor
- Run wire down wall inside RV to battery compartment
- Use wire clips to secure cables along roof and walls
- Leave some slack at panels for thermal expansion/contraction
Step 5: Install Charge Controller
- Mount inside RV near batteries (avoid heat sources)
- CRITICAL:Connect to batteries FIRST, then solar panels (prevents sparks)
- Battery connections: red to positive, black to negative
- Use appropriate fuse or breaker between battery and controller (based on amperage)
- Label all connections clearly
Step 6: Connect Solar Panels
- Wire panels in series (for higher voltage) or parallel (for higher amperage)
- Most RV setups use parallel for better shading tolerance
- Connect panel wiring to charge controller solar input
- Double-check polarity (red to positive, black to negative)
Step 7: Test the System
- Verify voltage at panels (should show on charge controller)
- Check charging current (should increase in direct sunlight)
- Confirm batteries are charging
- Monitor for 24 hours to ensure proper operation
Step 8: Final Weatherproofing
- Inspect all roof penetrations
- Add additional Dicor sealant anywhere you see gaps
- Check wire entry points inside RV
- Plan to re-seal annually (Billings weather is harsh)
DIY Cost Breakdown (2026 Prices)
Basic 200W System (weekend camping):
- 2× 100W solar panels: $180-240
- PWM charge controller: $30-50
- Mounting hardware: $60-80
- 10 AWG wire (25 feet): $20-30
- Dicor sealant (2 tubes): $30-40
- Connectors, fuses, misc: $30-40
- Total: $350-480 DIYvs $800-1,000 professional
Standard 400W System (regular boondocking):
- 4× 100W panels or 2× 200W panels: $400-600
- MPPT charge controller: $150-250
- Mounting hardware: $100-150
- Wire, connectors, fuses: $60-80
- Sealant and misc: $40-60
- Total: $750-1,140 DIYvs $1,400-1,800 professional
Premium 600W System (extended off-grid):
- 6× 100W or 3× 200W panels: $600-900
- MPPT charge controller (30A+): $200-350
- Mounting rails system: $150-200
- Wire, breakers, fuses: $80-100
- Sealant, connectors, misc: $60-80
- Total: $1,090-1,630 DIYvs $1,900-2,400 professional
Labor savings: $500-800 depending on system size and complexity.
RV Solar Cost Comparison: DIY vs Professional Installation
| System Size | DIY Parts Cost | Professional Install | You Save | Payback Time* |
| 200W Basic | $350-480 | $800-1,000 | $350-520 | 6-8 months |
| 400W Standard | $750-1,140 | $1,400-1,800 | $650-750 | 10-14 months |
| 600W Premium | $1,090-1,630 | $1,900-2,400 | $810-880 | 14-18 months |
| 800W+ Advanced | $1,800-2,600 | $2,800-3,800 | $1,000-1,200 | 18-24 months |
*Payback time assumes 20+ camping nights per year, avoiding campground fees and generator fuel costs
Professional installation includes:
- Warranty on labor (typically 1-2 years)
- Proper system sizing and design
- Integration with existing electrical
- Guaranteed weatherproofing
- Usually same-brand component compatibility
- Time savings (1-2 days vs your weekend)
Also Read:- RV Solar Panels in Montana Winter: Performance & Maintenance Tips 2026
Billings-Specific Solar Considerations

Climate Challenges and Advantages
Summer (June-August):
- Temperatures: 85-100°F (reduces panel efficiency 10-15%)
- Sunshine: 15+ hours per day (compensates for heat loss)
- Production: Excellent, panels generate 5-7 hours of full output
- Challenge: Keep panels clean from dust on dirt roads
Spring/Fall (April-May, September-October):
- Temperatures: 50-75°F (ideal for panel efficiency)
- Sunshine: 12-14 hours per day
- Production: Peak efficiency, best power generation
- Challenge: Spring winds (secure mounting critical)
Winter (November-March):
- Temperatures: -10 to 40°F (panels love cold, hate snow)
- Sunshine: 8-10 hours per day
- Production: Good on sunny days, snow reflection helps
- Challenge: Snow accumulation (tilt panels or brush clear)
Montana wind: This is your biggest enemy. Spring winds regularly gust 40-50+ mph. Every mounting bolt must be tight, every seal must be perfect. Budget an extra $20-30 for additional mounting hardware and sealant. Re-check everything after wind season.
Best Billings-Area Camping for Testing Your Solar

Close to town (test runs):
- Yellowstone River Campground– 15 minutes from downtown, mix of sun and shade
- Lake Elmo State Park– 20 minutes, good sun exposure
- Cooney State Park– 35 miles southwest, excellent solar testing ground
Weekend destinations:
- Bighorn Canyon National Recreation Area– 60 miles south, intense sun, multi-day boondocking
- Pryor Mountains– Wild horse country, dispersed camping, remote testing
- Beartooth Highway(summer only) – 90 minutes, elevation testing, stunning scenery
Extended trips from Billings:
- Yellowstone National Park– 2.5 hours, test your system at 7,000+ feet elevation
- Custer National Forest– Dispersed camping in every direction
- Missouri River breaks– Ultimate boondocking, days from civilization
Local RV Community and Resources
Billings RV Club meets monthly at MetraPark with 400+ members. Great source for RV solar Billings advice, installation tips, and hands-on help. Their Facebook group is active daily with solar questions.
Popular RV storage facilities (if installing while in storage):
- High Country RV Storage (near airport) – allows contractor access
- Rimrock Storage (West End) – call ahead for installation permission
- Most facilities allow you to work on your RV with advance notice
RV-friendly parking for installation work:
- Home Depot/Lowe’s parking lots (ask manager first)
- Some Walmart locations allow overnight parking
- Storage facilities often have work areas
Frequently Asked Questions About RV Solar in Billings
How much solar do I need for weekend camping near Billings?
For typical weekend camping (fridge, lights, water pump, phone charging, small TV), 200-400 watts is plenty. This keeps your batteries topped off during the day and handles overnight loads. Billings gets strong sunshine, so even 200 watts provides solid charging. If you run a furnace fan overnight or use a microwave, bump up to 400 watts minimum.
Real example: A Billings couple with a 25-foot travel trailer uses 300 watts (3× 100W panels) for weekend trips to Cooney Reservoir. They run their fridge 24/7, lights 4-5 hours nightly, water pump, and charge phones/tablets. Batteries stay charged with power to spare.
Will solar panels survive Billings’ wind, hail, and extreme temperatures?
Yes, quality panels are rated for 1-inch hail at 50+ mph and handle temperature ranges from -40°F to 185°F. Billings weather falls well within these specs. The critical factors are:
- Proper mounting– Use marine-grade hardware, not cheap brackets. Every bolt should be tight.
- Quality sealant– Dicor or Sikaflex specifically rated for RV use. Re-seal annually.
- Aerodynamic positioning– Low-profile panels reduce wind load.
Most RV solar Billings installers use mounting systems rated for 90+ mph winds. Our typical spring gusts (40-50 mph) won’t budge properly installed panels. Hail damage is rare—panels are tempered glass designed for this.
Can I run my RV air conditioner on solar in Billings summers?
Running AC directly from solar requires serious investment—minimum 1,200 watts of panels, 3,000+ watt inverter, and large lithium battery bank ($6,000-9,000 total system). Not practical for most people.
Better approach: Use solar to run everything EXCEPT AC. Run AC from shore power or generator when needed, use solar for fridge, lights, fans, electronics. Some Billings RVers install efficient 12V fans and park in shade, using solar to power fans instead of AC.
Alternative: Newer RVs have efficient 12V air conditioners with soft-start systems that CAN run on 800+ watts of solar with lithium batteries, but these are specific setups costing $4,000-6,000.
What’s the payback period for RV solar in Billings?
If you camp 20-30 nights per year and avoid $40-50 campground fees by boondocking, you break even on a $1,500 installation in 18-24 months. Add saved generator fuel ($15-25 per trip × 25 trips = $375-625 annually), and payback accelerates to 14-18 months.
Real numbers for typical Billings RV owner:
- Professional 400W installation: $1,600
- Annual savings: 25 camping nights × $45 average campground fee = $1,125
- Generator fuel savings: $500
- Total annual savings: $1,625
- Payback: Under 12 months
Beyond the math, solar adds $2,000-4,000 to RV resale value in Montana’s market. It’s essentially a value-added improvement that pays for itself quickly.
Do I need special permits for RV solar installation in Billings?
No permits required for RV solar installations in Billings or anywhere in Montana. RVs are titled vehicles, not permanent structures, so building codes and electrical permits don’t apply.
However:
- Some newer HOAs in Billings restrict RVs parked in driveways – check covenants before scheduling home installation
- If you park your RV at your house, no electrical permit needed for solar work
- Commercial RV parks may have rules about contractor access
- Storage facilities usually allow installation with advance notice
This is one reason DIY solar is popular—no inspections, no permits, just install and go.
How long do RV solar panels last in Montana’s harsh climate?
Quality panels carry 25-year warranties and typically last 30+ years. Montana’s climate (intense sun, temperature extremes) won’t significantly shorten lifespan. You’ll see about 0.5% efficiency loss per year, meaning panels still produce 85-90% of original output after 25 years.
Components that may need replacement:
- Charge controller:10-15 years typical lifespan
- Batteries:AGM 4-7 years, Lithium 10-15 years
- Wiring/connectors:Inspect annually, replace if corroded (rare with proper installation)
- Sealant:Re-seal roof penetrations every 1-2 years (Billings wind factor)
The panels themselves are the longest-lasting part of your system. Billings’ 300+ sunny days won’t wear them out—they’ll just generate more power.
Can I install solar on a travel trailer or fifth wheel?
Absolutely. Travel trailers and fifth wheels are often easier for solar than motorhomes:
Advantages:
- Simpler electrical systems
- More usable roof space (no engine compartment)
- Lighter weight (can use flexible panels if needed)
- Easier to access roof while parked
Challenges:
- Less battery capacity (typically 1-2 batteries vs 2-4 in motorhomes)
- May need battery upgrade for optimal solar use
- Roof structure varies (some need reinforcement for heavy panels)
Most Billings RV solar installers work on travel trailers and fifth wheels regularly. Standard 400W systems work perfectly for typical trailer use (fridge, lights, water pump, electronics).
What happens to my solar panels when I’m driving?
Solar panels continue generating power while you drive (assuming they’re roof-mounted and in sun). This actually provides several benefits:
While driving:
- Panels charge your house batteries
- Charge controller prevents overcharging
- No additional road vibration risk (properly mounted panels handle it fine)
- Good way to top off batteries between camping spots
Billings-specific consideration: If you’re driving I-90 east or west from Billings on a sunny day, you’re getting full solar production for hours. Many Billings RVers arrive at camping spots with fully charged batteries thanks to drive time.
Caution: Panels won’t charge your starting/chassis battery unless you have a battery isolator or DC-to-DC charger installed. They charge house batteries only by default.
Should I get a PWM or MPPT charge controller?
PWM (Pulse Width Modulation):
- Cost: $30-80
- Efficiency: 70-80%
- Best for: Small systems (under 300W), tight budgets, simple setups
- Billings use case: Weekend warrior with 200W of panels
MPPT (Maximum Power Point Tracking):
- Cost: $150-350+
- Efficiency: 92-97%
- Best for: Systems over 300W, cold climates (extracts more power), lithium batteries
- Billings use case: Serious boondockers, 400W+ systems, year-round camping
For Billings RVers: MPPT is worth the extra $100-200 on systems over 300 watts. Montana’s cold spring/fall mornings provide higher panel voltage, and MPPT controllers extract significantly more power in these conditions. In Billings’ climate, MPPT can deliver 20-30% more charging power than PWM in shoulder seasons.
Bottom line: Budget system under 300W? PWM is fine. Anything larger or if you camp in cold weather? MPPT pays for itself in better charging.
What size battery bank do I need with my solar panels?
A good rule: Your battery bank should store 2-3 times your daily power consumption.
Example calculation:
- Daily consumption: 100Ah (typical for lights, fridge, water pump, devices)
- Minimum battery: 200Ah (2× daily consumption)
- Recommended: 300Ah (3× daily consumption for cloudy days)
For Billings camping:
- Weekend warriors (200-400W solar):200-300Ah battery bank (2× golf cart 6V in series, or 200Ah AGM/lithium)
- Regular boondockers (400-600W solar):300-500Ah battery bank
- Extended off-grid (600W+ solar):500-800Ah battery bank
Billings’ reliable sunshine means you can size slightly smaller than cloudier regions—your batteries will recharge daily. But having extra capacity helps on those rare cloudy stretches or when parked under trees.
Battery types for Billings:
- Flooded lead-acid:Cheapest, require maintenance, struggle in cold
- AGM:Maintenance-free, handle cold better, 4-7 year life
- Lithium (LiFePO4):Expensive upfront, 10-15 year life, excellent cold performance, worth it for serious use
Conclusion: Your Path to RV Solar Freedom in Billings
After researching installers, comparing costs, and talking with dozens of Billings RVers, here’s the bottom line:
For most Billings RV owners, professional installation through Billings RV (Go Power! dealer) or Harvest Solar Montana delivers the best combination of quality, local support, and pricing. Expect $1,400-2,000 for a solid 400-watt system professionally installed with proper waterproofing for Montana weather.
If budget is tight and you’re handy, the DIY route with components from Greentech Renewables Billings or online kits from Renogy can save $500-800. Just don’t cut corners on roof sealant (use Dicor), and oversize your wire gauge for temperature extremes.
Disclaimer
Important Notice: This article is provided for informational and educational purposes only. While we strive to provide accurate and up-to-date information about RV solar installation in Billings, Montana, readers should be aware of the following:
Business Information: The shops, services, and pricing information mentioned in this guide are based on research conducted as of February 2026. Business details including locations, phone numbers, services offered, and pricing may change without notice. We strongly recommend contacting businesses directly to verify current information, availability, and pricing before making any decisions.
Professional Advice: This article does not constitute professional electrical, mechanical, or technical advice. RV solar installation involves electrical work and roof modifications that can be dangerous if performed incorrectly. Always:
- Consult with licensed professionals for your specific situation
- Follow all manufacturer guidelines and safety instructions
- Comply with local codes and regulations
- Consider hiring certified installers for complex systems
DIY Installation Risks: The DIY installation guide is provided as general information only. Improper installation can result in:
- Roof leaks and water damage
- Electrical hazards including fire risk
- Equipment damage
- Personal injury
- Voiding of RV warranties
- Insurance coverage issues
If you choose to perform DIY installation, you do so at your own risk. We recommend consulting with professionals and thoroughly researching proper techniques before attempting any installation work.
Financial Information: Cost estimates, payback periods, and savings calculations are approximations based on average usage patterns and market conditions as of February 2026. Your actual costs and savings will vary based on:
- Your specific RV usage patterns
- Local campground rates
- Fuel costs
- Equipment choices
- Installation complexity
- Energy consumption habits
Product Recommendations: References to specific brands, products, or services do not constitute endorsements. We are not affiliated with, sponsored by, or compensated by any companies mentioned in this article. Product availability, specifications, and pricing change frequently.
Local Information: Details about Billings climate, camping locations, and local resources are provided as general guidance. Always:
- Check current weather conditions before travel
- Verify camping regulations and availability
- Obtain necessary permits or reservations
- Follow Leave No Trace principles
No Warranty: This information is provided “as is” without warranty of any kind, express or implied. We make no guarantees regarding accuracy, completeness, or reliability of the information presented.
Your Responsibility: Readers are responsible for:
- Verifying all information independently
- Making their own informed decisions
- Conducting proper research before purchases
- Ensuring compliance with all applicable laws and regulations
- Following safety protocols during installation and use
Liability Limitation: Neither the author nor publisher shall be liable for any damages, losses, or injuries resulting from use of this information, including but not limited to property damage, personal injury, financial loss, or business interruption.
By using this guide, you acknowledge that you have read and understood this disclaimer and agree to use the information at your own risk. When in doubt, always consult with qualified professionals for your specific RV solar installation needs.