It’s 95°F outside, you’re parked at your favorite campground, and you flip on the AC expecting that familiar cool breeze. Nothing happens. Or worse—the fan runs but the air coming out is as warm as the desert heat beating down on your roof. Your heart sinks because you know what’s coming: sweaty nights, uncomfortable mornings, and a camping trip that just became a sauna experience.
Here’s the thing though: most RV AC problems aren’t the catastrophic compressor failure you’re dreading. In fact, I’ve seen RVers panic and call $200+ service visits when the real problem was just a dirty filter or a tripped breaker. The truth is, if you know where to look and what to check first, you can fix 70% of RV air conditioning issues yourself—no technician required.
Over the last few years of helping folks troubleshoot their rigs, I’ve learned that RV AC failures fall into predictable patterns. Understand those patterns, follow a systematic approach, and you’ll either have your cooling system running again within an hour or have the exact information a technician needs to help you faster (and cheaper). Let me walk you through the whole process.
Why RV Air Conditioners Are Different From Home AC Units
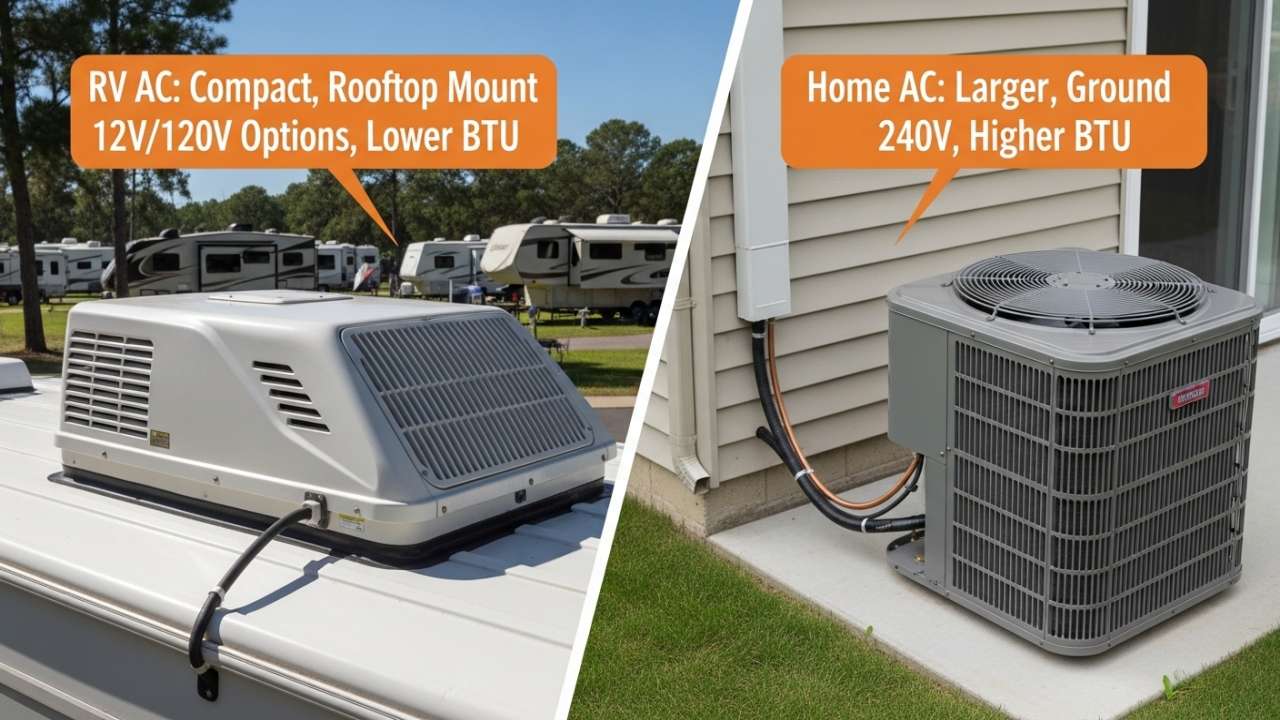
Before we jump into fixes, understand this: your RV’s AC isn’t like your living room unit.
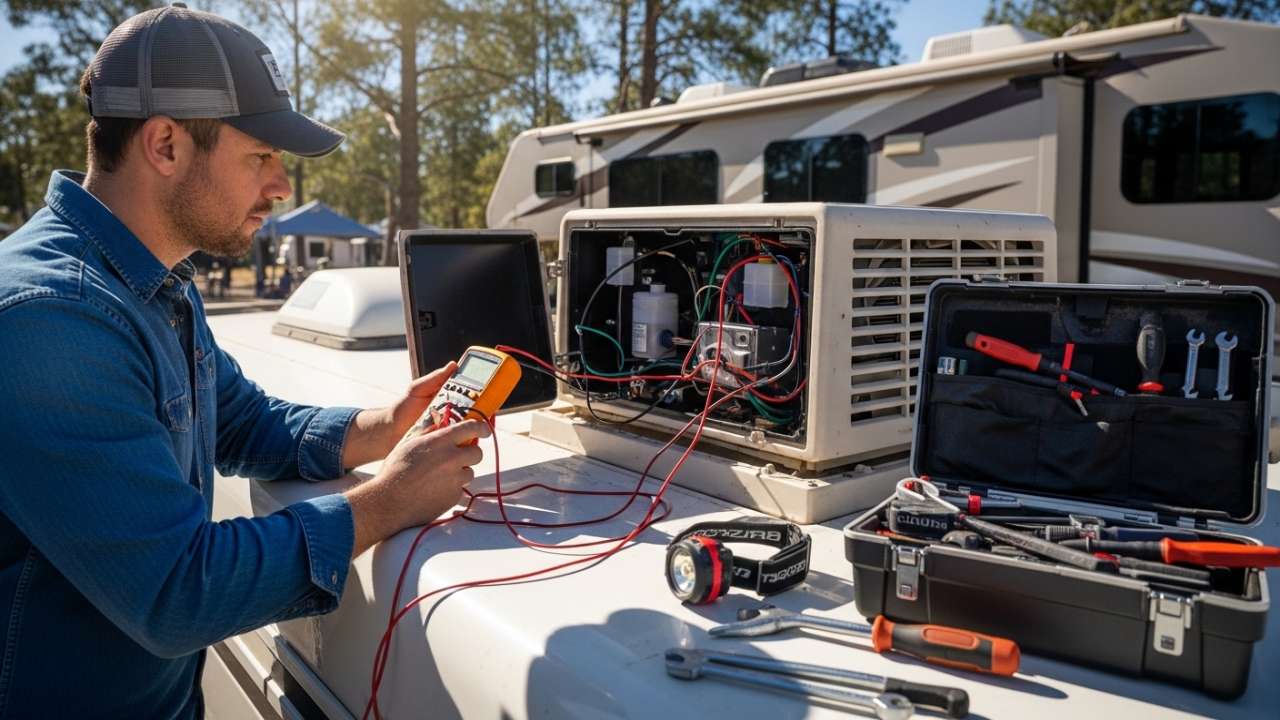
Your RV AC system requires two different power sources to operate. The thermostat and controls run on 12-volt DC power from your house battery. The fan and compressor need 120-volt AC power—either from shore power, a generator, or a solar + battery system. Lose either one, and the whole system dies.
This dual-power requirement is why so many RV AC problems are actually electrical problems hiding in disguise.
Also Read:- They Stole My RV Battery in 30 Seconds — Here’s What I Do Now (2026 Guide)
Symptom 1: AC Won’t Turn On at All (Nothing Happens)
This is the scariest situation, but it’s also the easiest to diagnose. Follow these steps in order:
Check the Shore Power Connection First
Don’t assume you’re plugged in correctly just because the cable looks connected.
Walk to your pedestal and check the 30-amp or 50-amp connector. Is it fully seated? Pull it out about an inch and push it back in firmly. I’ve seen loose connections waste hours of troubleshooting time. Also inspect the connector pins for corrosion or damage—if your RV has been sitting in humidity, oxidation happens fast.
If at the campground: Walk to the pedestal itself. Is the outlet light working? Do other RVs around you have their ACs running? If not, it’s likely a dead pedestal and the campground maintenance crew needs to know.
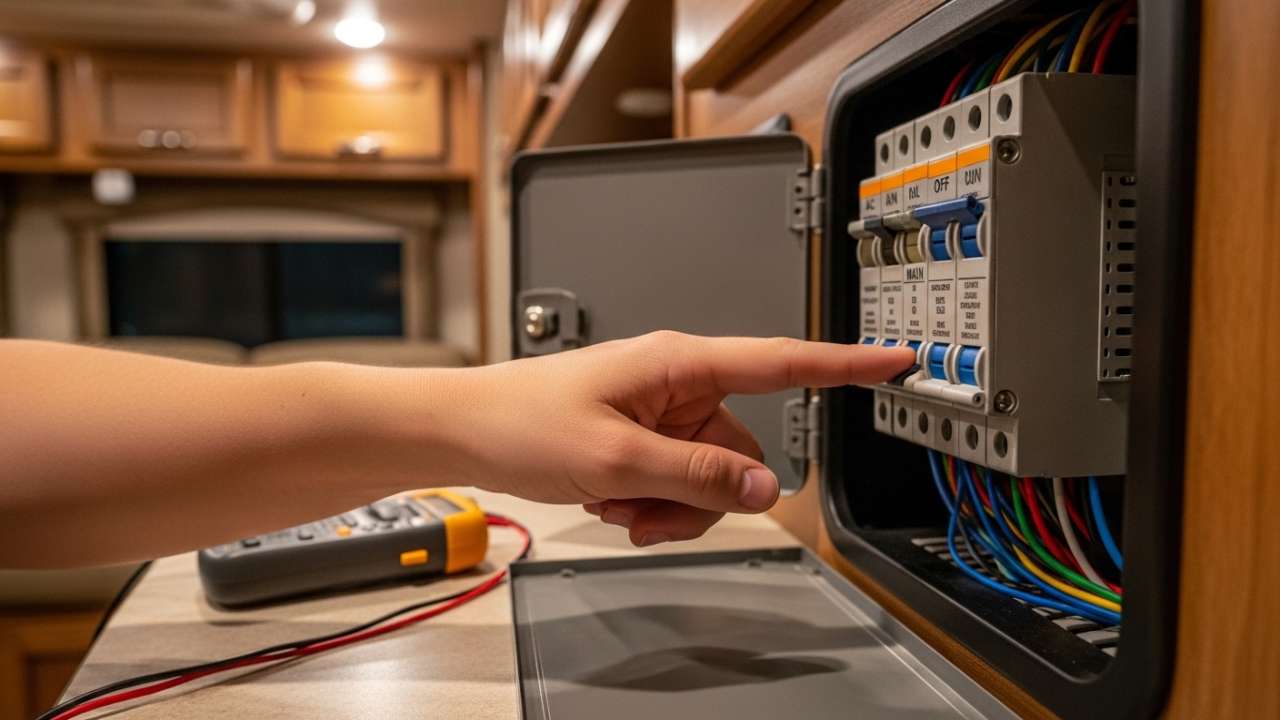
Check Your RV Electrical Panel
Pop open your RV’s main breaker panel (usually inside near the kitchen or entrance). Look for a tripped breaker. The AC breaker will typically be labeled clearly.
If it’s tripped, push it all the way to the OFF position, then flip it back to ON. Wait 5 minutes before turning on the AC.
If it trips immediately again, stop. Don’t keep resetting it. This points to a serious electrical issue (usually low voltage or a power surge) and you need a certified tech.
Verify Your House Battery
Your thermostat is completely dead without 12V DC power from the house battery.
Check your battery monitor (if you have one). The battery should read at least 12 volts when not on shore power. If it reads below 10V, the system won’t operate.
Quick fix: Plug into shore power or run your generator for 30 minutes to charge the battery, then try the AC again.
Check the Battery Disconnect Switch
If your RV has a battery disconnect switch (many do, especially newer rigs), make sure it’s turned ON. It’s usually a red switch near or on the battery itself. If it’s off, the entire 12V system is dead—including your thermostat.
Also Read:- How to Fix RV Plumbing Problems: Step-by-Step Repairs That Actually Work
Symptom 2: AC Runs But Blows Warm Air
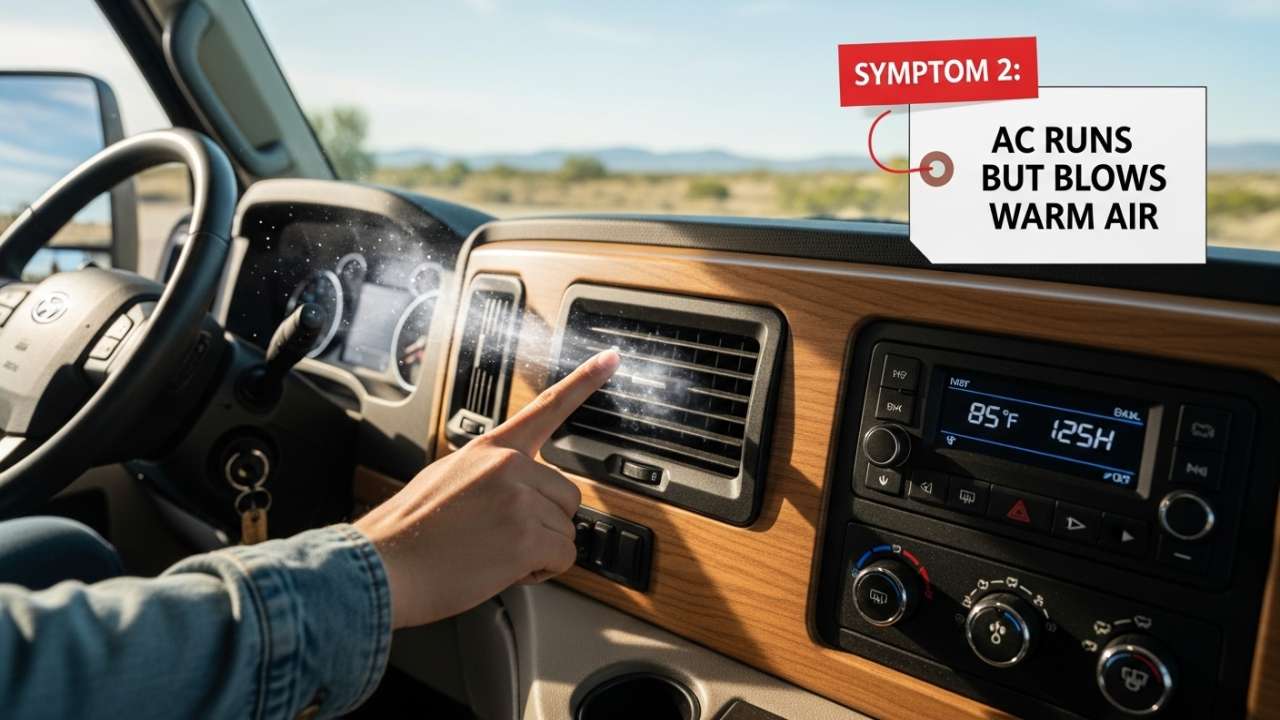
This is the most common complaint, and the fix often depends on exactly what “warm” means.
The Temperature Test (Requires 15-20 Minutes)
Let the AC run for 15 minutes to reach normal operating conditions. Don’t judge performance in the first 5 minutes.
Once warmed up, grab a thermometer (a cheap $3 one works fine). Measure two temperatures:
- Return air temperature — Hold the thermometer in front of the return air grille (the inlet where air gets sucked into the AC)
- Supply air temperature — Hold it at an AC vent inside the RV (the outlet)
Subtract: Return temperature – Supply temperature = Delta T
A healthy RV AC should have a Delta T between 16–24 degrees Fahrenheit.
If Delta T is 24+ degrees: Congratulations, your AC is working fine. The problem is your RV design (poor insulation, single AC for a large space, direct sun exposure).
If Delta T is 16–24 degrees: Normal operation.
If Delta T is less than 16 degrees or close to 0: Your AC is struggling. Likely culprits are low refrigerant, dirty coils, or airflow blockages.
Dirty Air Filter (The #1 DIY Fix)
A clogged filter restricts airflow and forces your AC to work harder than necessary. It’s also the first thing to check because it takes 30 seconds.
Locate your air filter (check the manual—it’s usually above the thermostat or in a wall panel near the AC unit). Pull it out. If it looks like it’s been collecting a month’s worth of desert dust, it needs cleaning or replacement.
Washable filters: Rinse with warm water, let dry completely, reinstall.
Disposable filters: Toss it and buy a replacement (Dometic, Coleman, or Furrion—check your brand). They’re $15–$30 and take 2 minutes to swap.
Many RV owners replace filters once per season. If you travel in dusty areas or during peak use, clean monthly.
Dirty Coils (The Overlooked Fix)
Evaporator and condenser coils collect dust, pollen, and debris. Dirty coils kill efficiency faster than almost anything else.
On the roof of your RV, you’ll see the outdoor AC unit under a plastic shroud. The coil fins are visible. If they look matted or clogged with dust, they need cleaning.
Safe way to clean:
- Turn off the AC completely
- Use a soft-bristle brush or old toothbrush
- Gently brush the fins from top to bottom
- For stubborn buildup, spray with a Shop-Vac on the suction setting (no harsh chemicals yet)
- If you want to get aggressive, some RVers use products like “Awesome” cleaner sprayed lightly on fins, followed by a soft brush
Do not pressure wash. The fins bend easily and bent fins mean efficiency loss.
Refrigerant Level (When DIY Ends)
If your Delta T is below 16 degrees and the filter/coils are clean, your AC is likely low on refrigerant.
Bad news: You cannot refill refrigerant yourself. Federal regulations (Section 608 of the Clean Air Act) require a certified HVAC technician with EPA credentials to handle refrigerants. Attempting it yourself is illegal and dangerous.
What to do: Call a mobile RV tech or stop at an RV service center. Recharging typically costs $200–$400 depending on the refrigerant type and your location.
Symptom 3: AC Blows Cold Air, Then Cycles Off (Short Cycling)
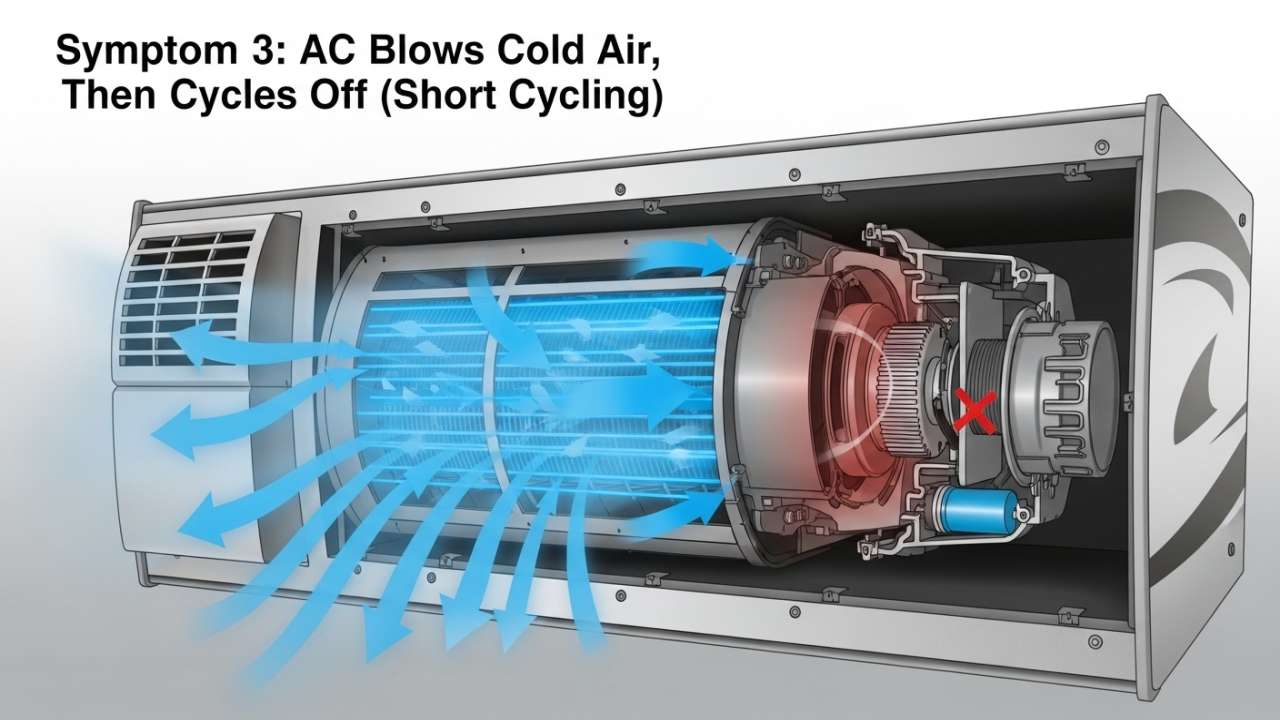
Your AC cools for 10 minutes, then shuts off. After a few minutes, it comes back on. This pattern repeats.
Cause: Usually a dirty filter, low refrigerant, or frozen coils.
Clean the Filter
See the filter section above. Do this first.
Check for Frozen Coils
Frozen coils restrict airflow and trigger the AC to shut down to protect itself.
This happens when:
- Humidity is very high (the evaporator coils get too cold, moisture freezes)
- Temperature inside the RV is very cold (using AC in cool weather doesn’t make sense but people do it)
Quick fix: Turn the AC off and set your thermostat to “Fan Only” mode. Let the fan run on high for 30 minutes. This melts the ice without compressing cold air.
If it keeps freezing up repeatedly, you need a technician. It usually signals a refrigerant leak or improper installation.
Low Refrigerant
See the refrigerant section above. Same story—you need a pro.
Symptom 4: AC Breaker Keeps Tripping
Your AC runs for a few minutes, then the breaker trips. You reset it, and it trips again.
This is a safety mechanism telling you something’s wrong.
Low Voltage from Shore Power
The most common cause. When voltage drops (usually below 10V), the AC compressor draws more amperage to compensate, which trips the breaker as a safety measure.
Quick test: Use a multimeter on the 120V AC setting. Plug it into an outlet near the AC. If it reads below 115V, notify the campground. They likely have a bad pedestal or an overloaded circuit.
If you’re using a generator: Your generator may be undersized. Most RVs need at least a 4,000-watt generator to run AC safely.
Other Appliances Drawing Too Much Power
Your 30-amp shore power provides 3,600 watts total. A 50-amp setup provides 12,000 watts.
If you run the water heater on electric + your AC + the refrigerator on electric, you’re exceeding your power budget. The AC breaker trips because it’s the newest component to activate.
Solution: Turn off the water heater’s electric setting before running AC. Use propane instead, or run them sequentially.
A Faulty Breaker
Less common, but it happens. If you’ve verified voltage and power draw are fine, the breaker itself might be failing. This requires a certified RV electrician to replace safely.
Also Read:- How Much Power Does Your RV Use Daily? Easy Solar Sizing Calculation Guide
Symptom 5: Water Dripping Inside the RV
This happens when the AC has been running, and you see water drops from the ceiling near the unit.
Root Cause: Blocked Drain Line
Every RV AC has a drain line that runs from the indoor evaporator coil to the roof. When this line clogs, condensation backs up and drips inside instead of running out.
Quick fix:
- Find the drain line exit on your roof (usually a small pipe coming from the AC unit)
- Use a small flexible wire or pipe cleaner to gently push the clog through
- Blow compressed air through the line if you have access (careful not to force it)
Prevention: Pour a small amount of white vinegar down the drain line once a month during cooling season. It kills mold and mildew that cause clogs.
Cracked or Loose Gasket
Over time, the rubber gasket around the AC unit shrinks and cracks. Rain seeps in, and so does moisture during condensation.
How to tell if it’s just rain: If water only leaks when it rains, it’s a gasket problem. If water leaks when the AC is running on a dry day, it’s a clogged drain.
To fix:
- Tighten all bolts holding the AC shroud to the roof (they loosen from road vibration)
- If tightening doesn’t help, the gasket needs replacing. This is a 30-minute DIY job or a $100–$200 service call if you want professional help
Symptom 6: Weak Airflow (Fan Runs, But Air is Barely Moving)
You turn on the AC and feel a gentle breeze instead of robust cold air.
Blocked Vents or Ducts
Check every vent and register inside your RV. Is anything covering them? Are they all open? Sometimes registers get accidentally closed.
For ducted systems, the issue might be a leak or separation in the ductwork. If cold air is escaping between the AC unit and your living space, you lose cooling power.
Seal small gaps: Use HVAC foil tape. It’s silver, sticky, and seals ductwork leaks instantly.
Frozen Evaporator Coil
See the frozen coils section above.
Weak Fan Motor
If the airflow is weak but steady (not pulsing), the fan motor might be failing.
This is when you call a technician. Fan motors are $150–$300 to replace.
Comparing Common RV AC Problems and Their Solutions
| Problem | Symptom | DIY Fix? | Estimated Cost (DIY) |
|---|---|---|---|
| Dirty Filter | Weak airflow, poor cooling | Yes | $15–$30 |
| Dirty Coils | Weak cooling, high runtime | Yes | $0–$20 (supplies) |
| Low Refrigerant | Minimal temperature drop | No | $200–$400 |
| Frozen Coils | Cycling on/off, weak airflow | Sometimes | $0 (switch to fan mode) |
| Clogged Drain | Water dripping inside | Yes | $5–$15 |
| Cracked Gasket | Water leaking when raining | Yes | $20–$50 (new gasket) |
| Tripped Breaker | AC won’t start | Yes | $0 (reset breaker) |
| Faulty Compressor | No cooling, high amps | No | $500–$1,200+ |
| Bad Thermostat | No response to controls | No | $150–$300 |
Quick Reference: Step-by-Step Troubleshooting Flowchart
- Does the AC turn on at all?
- NO → Check shore power connection, breaker, house battery, disconnect switch
- YES → Go to step 2
- Is cold air coming out?
- NO → Do the Delta T test (see above). Check filter, coils, and refrigerant
- YES → Go to step 3
- Is it cold enough?
- NO → Check for short cycling, coil freeze, weak fan
- YES → Done! Your AC works. Problem might be RV insulation or sun exposure
Maintenance Schedule to Avoid Future Problems
The best RV AC fix is prevention. Follow this simple schedule:
Monthly (During Cooling Season)
- Clean or inspect the air filter
- Pour a cup of white vinegar down the drain line
- Check the roof around the AC unit for debris or damage
Every 3 Months
- Clean the evaporator and condenser coils with a soft brush
- Inspect the gasket for cracks or gaps
- Test your thermostat—make sure it responds to temperature changes
Before Season Starts (Spring)
- Full inspection: filter, coils, gasket, drain line, and breaker function
- Confirm shore power and battery are working
- Test on a mild day (not during extreme heat) to ensure it cycles normally
Before Long-Term Storage (Fall)
- Run the AC for 20 minutes once a week to keep the compressor lubricated
- Check that all controls and switches are in the correct position
When to Call a Professional
DIY troubleshooting stops here:
- Refrigerant leaks or recharge — Requires EPA certification and special equipment
- Compressor issues — If you hear grinding or screeching from the outdoor unit
- Electrical problems — If breakers trip repeatedly or voltage is consistently low
- Persistent freezing — If coils freeze even after filter/coil cleaning
- Thermostat failure — If the unit won’t respond to any control input
- Water leaks you can’t trace — If you’ve checked gaskets, drain, and ductwork
For these issues, call a mobile RV tech or visit a Camping World service center. Most areas have certified RV AC specialists who will come to your campground.
FAQ: RV Air Conditioner Not Working
Q: Can I run my RV AC on battery power alone without shore power? A: Only if you have a very large solar/battery setup (most don’t). Standard RVs need shore power or a properly-sized generator. Your house battery powers only the thermostat and controls, not the compressor.
Q: My AC was working last week. Now nothing. What changed? A: Check three things: Did you recently unplug? (Battery died or house battery got discharged). Did the weather get cooler? (Some ACs won’t cycle below certain temperatures). Did you bump something on the roof? (Loose connection or disconnect switch flipped).
Q: Is 80°F inside the RV acceptable when it’s 100°F outside? A: Actually, yes. Most RV ACs cool about 20 degrees below the outside temperature in normal conditions. Humid weather reduces this. It’s not a compressor problem; it’s physics.
Q: How long should an RV AC last? A: 10–15 years with proper maintenance. If you neglect filters and coil cleaning, expect 5–8 years. Some units go 20+ years if babied.
Q: Do I really need a technician to replace the gasket? A: Nope. It’s a $20 part and a 30-minute job. Remove the plastic shroud, unscrew the AC unit slightly (just enough to lift it), peel off the old gasket, install the new one, screw back down. YouTube has good walkthroughs for your specific brand.
Q: What’s the difference between Dometic, Coleman, and Furrion ACs? A: Minor. All three are solid brands. Furrion is newer and has better digital controls. Dometic and Coleman are industry standards. If you need a replacement, match your existing brand for simplest wiring and installation.
Q: Should I use “Max Cool” mode all the time? A: No. Use thermostat mode (set temperature, let it cycle) instead. Max Cool runs 24/7 and wastes power. Cycling gives you better comfort and fuel economy.
Final Thoughts: Your AC Problems Are Usually Fixable
Nine times out of ten, when an RV AC stops working, it’s not a $1,200 compressor failure waiting to happen. It’s a $20 filter, a blocked drain, or a loose breaker.
Walk through this guide methodically. Test your power, inspect your filter, check your coils, and measure your temperature drop. These basic steps will either fix your problem or give you exact information to show a technician (which speeds up service and cuts costs).
And remember: a little preventative maintenance—monthly filter checks, seasonal coil cleaning, and annual drain-line flushing—keeps your RV AC humming through every trip. That’s worth way more than the handful of dollars it costs