That’s the promise of RV solar power, and Albuquerque—the land of 310+ sunshine-packed days yearly—is practically begging you to harness it. But here’s what most guides skip: finding trustworthy local installers, understanding what DIY actually means, and knowing exactly how much sun you’ll actually capture in this specific region.
This guide gives you both sides. We’ll walk through Albuquerque’s top-rated solar shops, then break down exactly how to DIY if you’re up for it. Whether you’re a full-time boondocker planning your escape or a weekend warrior wanting to cut generator noise, you’ll find answers here that actually apply to the high desert.
Why Albuquerque RVers Are Going Solar Now (And Why It Actually Makes Sense)
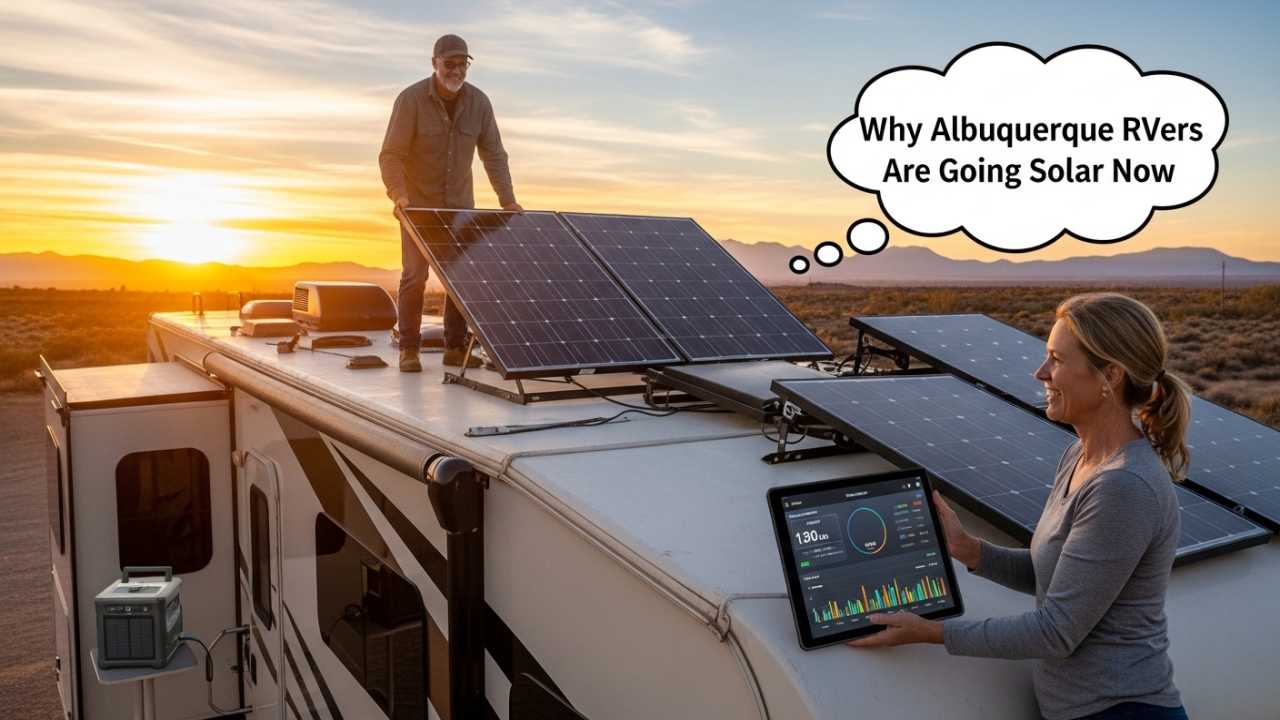
New Mexico’s capital isn’t just known for hot air balloons and red chile. It’s becoming an unexpected solar hotspot for the RV community. Here’s why:
The Numbers Tell the Story: Albuquerque averages 310 days of sunshine annually—that’s 28 more sunny days than San Diego and roughly double the national average. Your solar panels aren’t just working; they’re working hard.
You’re At Elevation: Sitting at 5,312 feet above sea level, Albuquerque offers clearer atmospheric conditions. Less air density means more direct solar radiation reaches your panels. This matters. A lot.
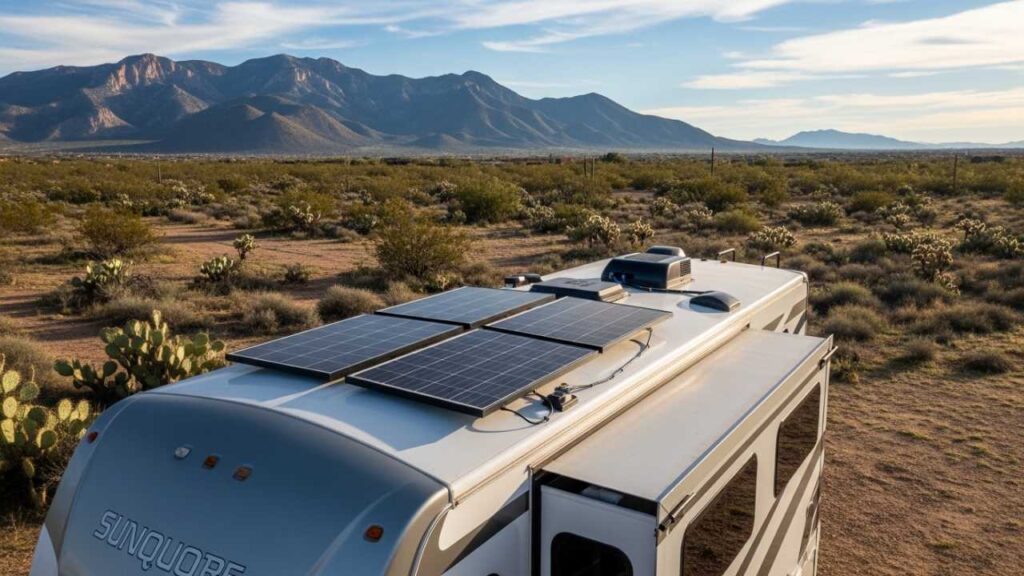
Boondocking Paradise Nearby: Within an hour’s drive, you’ve got BLM land near Belen, remote camping around the Sandia Mountains, and countless spots where “no hookups” meets “incredible views.” RV solar isn’t a luxury in Albuquerque—it’s your ticket to actually using those camping spots.
The Balloon Fiesta Problem: Albuquerque’s famous balloon fiesta brings 50,000+ visitors annually. If you want to camp without generator noise sharing your experience with thousands of neighbors, solar is genuinely the better choice. Some RVers specifically time visits knowing they’ll need to run silent.
Part 1: Albuquerque’s Best RV Solar Installation Shops (2026)
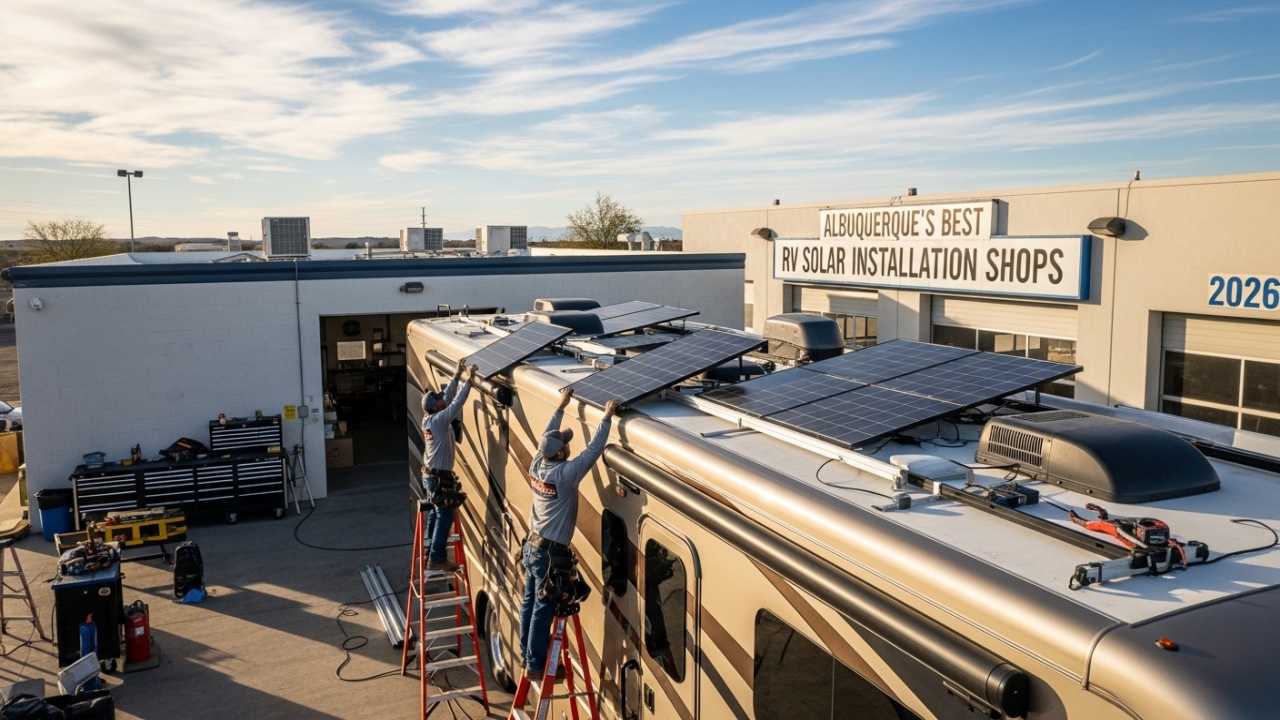
Not everyone wants to DIY. If you don’t—or if you want professional installation after buying components—these are the shops actually doing this work in and around Albuquerque.
Tom’s RV Service & Sales – The Local Workhorse
Location: On-site Albuquerque
Experience: 30+ years in RV service
Specialization: Full-service RV solar installation and accessories
Tom’s isn’t flashy, but they’re reliable. They’ve been fixing RVs in Albuquerque for three decades, and solar is just one of their strengths. They handle the whole job—from panel mounting to internal wiring—and they understand local roof challenges (fiberglass, metal, rubber—they’ve worked with them all).
What Sets Them Apart:
- Accept insurance claims directly
- Same-day or next-day appointments available
- They work on all RV types (motorhomes, fifth wheels, travel trailers, truck campers)
- Also offer satellite accessories and hitches if you’re doing full upgrades simultaneously
Best For: Budget-conscious RVers who value “gets the job done right” over trendy marketing. If you call and say “my roof is a weird shape,” they’ll probably say “yeah, we did three like that this month.”
Also Read:- How to Charge RV Battery with Solar: Best Solar Chargers, Panels & RV Solar Power Systems
Echo One Adventures – The Specialists
Location: Mobile service throughout Albuquerque area
Specialization: Advanced RV solar and off-grid power systems
Notable: They bring the work to you
This is the team if you want cutting-edge energy solutions. They don’t just slap panels on your roof—they design integrated systems including lithium batteries, inverters, and off-grid power management.
What Customers Say:
- One reviewer mentioned they ran AC while packing before a trip without plugging in—that’s the confidence these systems deliver
- They maintain contact throughout installation, explaining what they’re doing step-by-step
- Mobile service means no towing your RV to a shop
Their Approach:
- Free on-site consultation to assess your power needs
- Custom design for your specific setup
- Expert lithium integration (increasingly popular, more complex, definitely worth professional help)
Best For: RVers wanting premium systems, lithium battery setups, or those nervous about DIY electricity work. If you’re going big (full off-grid, high power consumption), these are your people.
Albuquerque’s National RV Chains
eTrailer.com and similar platforms connect you with vetted installers throughout the area. These work well if:
- You’re buying components online and need installation
- You want to compare quotes from multiple shops
- You’re looking for specific brand expertise
The advantage: you control the component selection. The downside: you might pay shipping + installation vs. buying local and having everything handled together.
Also Read:- Best RV Water Heater for the Money in 2026: Tested Models, Real Talk & the One That Actually Wins
Part 2: The DIY Path – What You Actually Need to Know
When DIY Makes Sense (And When It Doesn’t)
DIY Makes Sense If:
- You’re comfortable with basic electrical work
- You have 2-3 full days to dedicate to the project
- Your RV roof is standard (not a complex shape)
- You want to save $500-1,500 in labor costs
- You’re willing to make multiple hardware store trips
Professional Installation Makes Sense If:
- Electrical work makes you nervous
- Your roof is unusual or hard to work with
- You want a warranty that covers installation errors
- You value your time at more than $200/day
- Your RV has pre-existing electrical issues
The Most Common Mistake: RVers buy quality panels, then realize they don’t understand charge controllers well enough to wire them correctly. This isn’t a DIY-or-professional choice—it’s about being honest about your skills.
The Real Components You’ll Actually Use
Stop reading articles that start with “solar panel basics.” You know what solar panels are. Here’s what actually matters for installation:
1. Solar Panels (300-400W for Most Full-Time RVers)
Rigid vs. Flexible: This choice affects your entire installation approach.
| Feature | Rigid Panels | Flexible Panels |
|---|---|---|
| Mounting | Screws through brackets (drilling required) | Adhesive (usually no drilling) |
| Cost | $150-200 per panel | $200-300 per panel |
| Durability | 25-year lifespan guaranteed | 20-year lifespan, adhesive failure risk |
| Efficiency | 15-22% conversion | 12-17% conversion (lower due to adhesive layer) |
| Repair/Replacement | Easy to remove and replace | Adhesive removal is messy |
| Best For | Permanent installations, performance priority | Lease concerns, minimal roof penetration |
Real Talk: For Albuquerque’s climate, rigid panels make more sense. You’re not worried about getting your deposit back, and the efficiency difference matters when you’re boondocking.
Also Read:- RV Water Heater Replacement Cost 2026 — How Much Should You Actually Budget?
2. Charge Controller (MPPT or PWM)
This is the device that prevents your battery from exploding. Yes, really. Solar panels dump variable voltage and amperage. Controllers regulate it.
MPPT vs. PWM:
| MPPT | PWM |
|---|---|
| Optimizes panel voltage for maximum power extraction | Uses full panel voltage directly |
| 20-30% more efficient | Basic but reliable |
| $300-600+ | $100-200 |
| For: Serious setups, larger arrays | For: Small portable systems |
For Most Albuquerque RVers: MPPT wins. The efficiency gain offsets the higher cost within 2-3 years, especially given our year-round sun exposure.
3. Battery Bank (200-400Ah Lithium for Full-Timers)
The battery stores what your panels capture. Size depends entirely on your power habits.
Lithium vs. Lead-Acid Battery Showdown:
| Aspect | Lithium | Lead-Acid |
|---|---|---|
| Lifespan | 3,000-5,000 charge cycles (10+ years) | 1,000-2,000 cycles (3-5 years) |
| Cost | $3,000-6,000+ for 200Ah | $1,000-2,000 for 200Ah |
| Usable Capacity | 95% of rated capacity | 50% (to avoid sulfation) |
| Weight | 60-80 lbs per 100Ah | 600+ lbs per 100Ah |
| Temperature Range | -20° to 158°F | Limited in extreme cold |
| Maintenance | None | Regular water/equalization checks |
What That Means in Albuquerque: Your weight savings alone let you tow a year-round air-conditioned vehicle behind a smaller motorhome. Lithium’s temperature tolerance handles our winter cold snaps and summer heat.
4. Inverter (500-3000W Depending on Needs)
Converts stored DC power to household AC power. Your coffee maker, laptop charger, and TV run on AC.
Sizing Example:
- Microwave alone: 1,200W
- Hair dryer: 1,800W
- AC unit: 2,500W startup, 1,500W running
If you want to run multiple things simultaneously, you need a bigger inverter. Most full-time boondockers run 2,000-3,000W units.
The DIY Installation Process (Step-by-Step)
Phase 1: Planning (Day 1)
Before you touch a tool, spend 2-3 hours mapping this out:
- Assess Your Roof
- Walk around with measurements and a phone camera
- Note: vents, A/C units, satellite dishes, any existing penetrations
- Check roof material (rubber, fiberglass, metal—all require different sealants)
- Identify the sunniest south-facing orientation
- Calculate Your Power Needs
- List every appliance: lights, fridge, furnace, TV, laptop charger, pump, etc.
- Estimate daily usage: “I use lights 6 hours, fridge runs 24/7, I charge my laptop 2 hours”
- Total watt-hours = individual watts × hours used
- Most full-time RVers land between 1,000-2,000Wh daily
- Map Component Placement
- Batteries near the RV’s center of gravity (usually under-bed for travel trailers)
- Charge controller in a visible, cool location
- Inverter close to batteries (minimizes voltage drop)
- Rough sketch of wire routing from roof to inside
Phase 2: Component Installation (Day 2-3)
Mount Solar Panels on Roof
What you’ll do:
- Place panels in planned location (don’t screw yet)
- Mark holes using the bracket template
- Check that holes hit roof stud
- Pre-drill pilot holes
- Apply Dicor sealant generously in the pilot holes
- Install screws with brackets
- Run butyl tape around panel bottom edges for extra seal
- Apply heavy sealant bead around all bracket edges and screw heads
- Tighten bolts securely but don’t overtighten (aluminum frames bend)
Penetration: The Cable Entry
Your panel wires need to get inside the RV. Options (in order of preference):
- Refrigerator Vent (Most Common)
- If it exists and faces the right direction, use it
- Requires no new hole
- Wires feed directly to where you need them
- Existing Plumbing Vent
- Second choice
- Similar benefits to fridge vent
- New Hole with Weatherproof Grommet
- Only do this if other options truly aren’t viable
- Seal meticulously—it’s a future leak source
- Use stainless steel grommets rated for RV use
Critical Safety Step: Cover panels with a drop cloth while working above them. If you have open circuit panels while you’re touching connectors, you could get shocked. Seriously.
Wire the Battery Bank and Charge Controller
Steps:
- Mount battery box (securely—driving creates vibration)
- Connect battery positive and negative to charge controller with appropriate gauge wire (use a size calculator online—wire size matters for safety)
- Add a fuse/breaker between battery and controller
- Connect solar panel wires from roof to charge controller
- Double-check polarity before final connections
- Use a multimeter to verify voltage before touching anything
Test: The charge controller should show battery voltage. If it doesn’t, stop and troubleshoot before continuing.
Phase 3: Integration (Day 3-4)
Mount and Wire the Inverter
- Choose a location where it won’t vibrate excessively (RV cabinets above engines are bad)
- Mount securely and ensure ventilation
- Connect battery positive and negative to inverter
- Add appropriate breaker/fuse
- Run AC output cables through conduit to your distribution panel
- Connect inverter AC output to chosen breaker in existing 120V panel
Test Everything Before Celebrating
- Turn on charge controller—does it read voltage?
- Check solar panel output on the charge controller display
- Turn on inverter—does household voltage read correct?
- Plug in a light or phone charger—does it work?
- Monitor the system for 2 hours to confirm nothing gets hot
Don’t skip this. A loose connection that works fine at 1,000W can create a fire at 2,000W.
Also Read:- Best RV Solar Panels for New Mexico: Desert Climate Guide 2026
Part 3: Real Questions from Albuquerque RVers (We Asked Real People)
“Will Solar Work During Winter? What About When It Snows?”
Yes, but at reduced capacity. Albuquerque winters are dry—snow doesn’t stick to panels long. When it does, clear it off gently (microfiber cloth, not metal).
Winter production typically drops 40-50% compared to summer. This is why Albuquerque’s year-round sun advantage matters. Even winter days generate decent power. Budget November-January at 30-40% of summer production and plan accordingly.
“What’s the Real Cost to Install?”
DIY: $1,500-2,500 (panels, controller, batteries, wiring, miscellaneous) Professional: $3,000-5,000+ (labor adds $1,500-3,000)
Most Albuquerque RVers report the system pays for itself through generator fuel savings in 4-6 years of full-time boondocking.
“Can I Run My AC on Solar?”
Short answer: Not really.
Longer answer: A window AC unit draws 1,200W continuously. Your largest battery bank would drain in 1-2 hours. You’d need 8,000W+ of solar panels, a $20,000+ battery bank, and a 4,000W+ inverter.
However, Run your AC while plugged into shore power, or run a small supplementary generator for AC. Use solar for everything else—that’s where you save real money and noise.
“How Often Do I Need to Maintain Solar Panels?”
Hardly ever.
- Clean panels 2-3 times yearly with a soft brush and distilled water
- Check wire connections annually (especially after highway driving)
- Inspect sealant around panel mounts yearly (Albuquerque’s UV is intense)
- Battery banks (if lithium) need zero maintenance
If your charge controller has a display, glance at it occasionally. That’s it.
“Should I Get a Portable Solar Panel Instead?”
Portable panels (100-400W units) offer flexibility—you can reposition them as the sun moves, and you can take them off when selling the RV. But they require setup at every camp and don’t generate power while you’re parked.
For Albuquerque RVers planning to park in one spot 3+ days, roof-mounted wins. For those moving camps every day, portable has appeal but won’t supply full power.
Part 4: Albuquerque-Specific Advantages (Why This Location Actually Matters)
The Elevation Effect
At 5,312 feet, Albuquerque receives solar irradiance that rivals desert regions closer to the equator. The thinner atmosphere means more direct radiation. Actual measurement: Albuquerque gets approximately 6.2 peak sun hours daily (annual average), compared to 5.4 nationally.
Translation: Your 400W panel generates like a 420W panel would in a national average location.
The Temperature Factor
Solar panels perform better in cooler conditions. Albuquerque’s evening/morning temperatures drop significantly even in summer (highs near 95°F, lows around 65°F). This temperature swing actually helps panel efficiency.
You lose roughly 0.5% efficiency per degree Celsius above 25°C. A panel in 100°F Arizona loses more efficiency than one in 95°F Albuquerque with cooler nights. It sounds small until you’re tracking power generation daily.
The Dust Consideration
The high desert means occasional dust storms. This affects panel cleaning frequency (maybe 4x yearly vs. 2x). But it’s not a dealbreaker—just part of maintenance. Use distilled water and a microfiber cloth, and you’re fine.
Spring Wind (Mild Issue)
March-April brings occasional strong winds. Ensure your panels are mounted securely with locking bolts. This isn’t unique to Albuquerque, but it’s worth remembering.