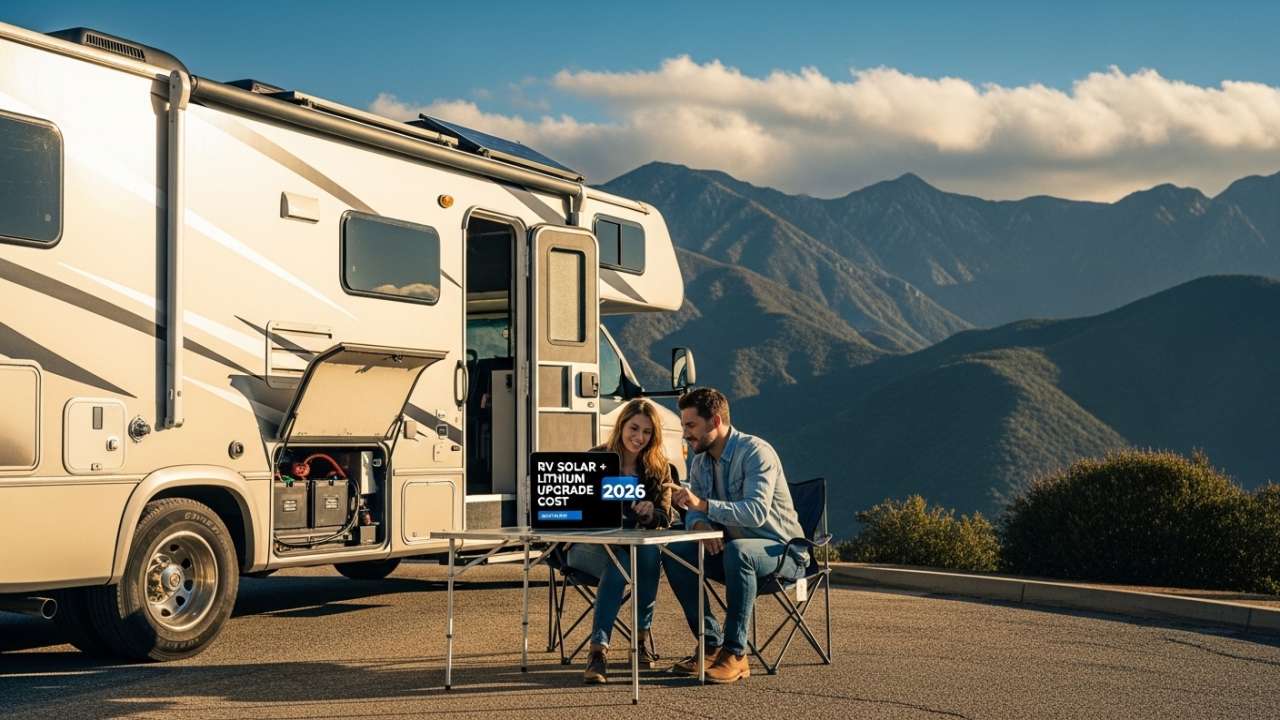
An RV solar system is basically your own personal power plant on wheels. It captures sunlight through panels on your roof, stores that energy in batteries, and turns it into usable electricity for everything inside your rig — your lights, your fridge, your phone charger, your fan, your TV, all of it.
And the best part? Once it’s set up, the fuel is completely free. The sun doesn’t send you a bill.
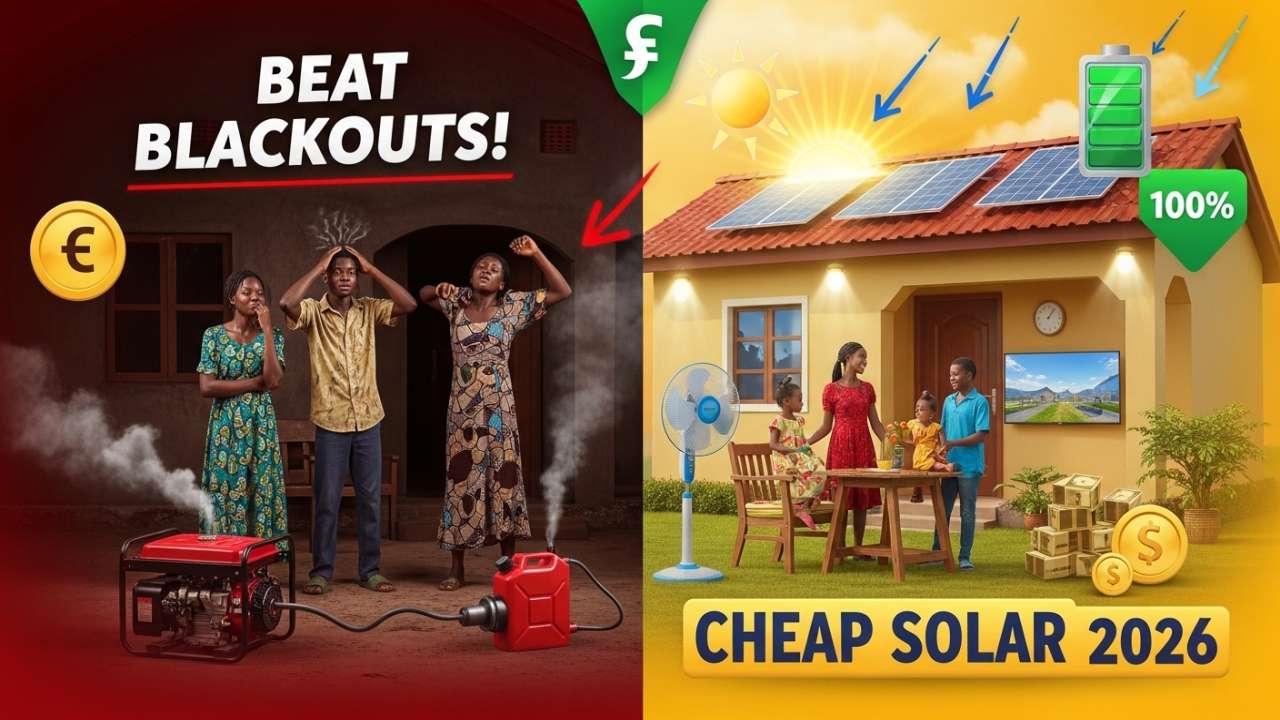
Here in the United States, the off-grid camping lifestyle is booming right now. BLM land in Nevada and Arizona, national forests in the Rockies, free dispersed camping spots all across the Southwest — millions of Americans are hitting these spots every year. But camping off-grid without reliable power means sacrificing your refrigerator, your devices, your lights after dark, and honestly, a lot of your comfort.
That’s exactly the problem RV solar solves. With a properly sized solar setup, you can park anywhere the sun shines and have all the power you need. No hookups, no generator noise, no campground fees just for the electricity.
How Does RV Solar Power Actually Work?

Don’t let the technical side scare you. The way solar power flows through your RV system is actually pretty simple once you see it laid out.
Here’s the basic flow: Sunlight hits your solar panels. The panels generate DC electricity — direct current, the same type your car battery uses. That electricity flows through a charge controller, which acts like a smart gatekeeper, regulating how much power goes into your batteries so they don’t overcharge or get damaged. Your batteries store that energy. Then, when you want to use it, either your 12V devices draw straight from the battery bank, or an inverter converts the 12V DC power into 120V AC — regular household-style electricity — so you can use normal outlets inside your RV.
That’s it. Sun goes in, usable power comes out. The charge controller and inverter are the two pieces in the middle that make it all work safely and efficiently.
The charge controller is honestly the unsung hero of the whole system. A good MPPT charge controller can squeeze significantly more power out of your panels compared to a basic PWM controller — especially during the morning hours, the evening, and on partly cloudy days. We’ll talk more about that in the components section.
Also Read:- How Many Solar Panels Does an RV Need?
The 5 Key Components of Every RV Solar System
Before you buy anything, you need to understand what a solar system is actually made of. Every setup — no matter how big or small — has these five core pieces.
Solar Panels
These are the most visible part of your system, mounted on your roof or set up on the ground. Panels are rated in watts. More watts means more power generation. A single 100-watt panel is great for topping off batteries on a weekend trip. Serious off-grid RVers typically run 400 to 800 watts or more. The most common panel types you’ll see for RVs in 2026 are monocrystalline rigid panels — they’re the most efficient, the most durable, and the best long-term value.
Battery Bank
Your batteries are where all that solar energy actually gets stored. Panels only generate power when the sun is shining, but your batteries carry you through the night, through cloudy days, and through those cozy morning hours before the sun clears the treeline. Battery capacity is measured in amp-hours (Ah). The bigger your battery bank, the longer you can run your appliances without needing the sun to recharge.
Charge Controller
This is the brain between your panels and your batteries. It monitors your battery state and regulates incoming power so your batteries charge efficiently and safely. There are two main types — MPPT and PWM — and the difference matters a lot. An MPPT (Maximum Power Point Tracking) controller is more sophisticated and can be up to 30% more efficient than a basic PWM (Pulse Width Modulation) controller. For almost any serious RV solar setup, MPPT is the way to go.
Inverter
Your RV runs on 12V DC power internally, but most of your household appliances — your coffee maker, your laptop charger, your microwave — need 120V AC. The inverter converts battery power into that household-style current. When shopping for an inverter, always look for a pure sine wave inverter rather than a modified sine wave. Pure sine wave inverters work cleanly with every appliance, including sensitive electronics and medical devices like CPAP machines.
Wiring, Fuses, and Safety Components
This is the part beginners underestimate, but it matters a lot. Properly-sized cables, inline fuses, circuit breakers, weatherproof connectors, and a battery monitor are all essential parts of a safe, reliable system. Think of the wiring as the arteries of your solar setup — everything depends on them being the right size and properly protected.
Portable vs. Rooftop Solar: Which Is Right for You?
When most people picture RV solar, they picture panels bolted permanently to the roof. And for a lot of RVers, that’s absolutely the right call. But portable solar panels have gotten seriously good in recent years, and they’re worth understanding before you decide.
Portable solar panels fold up into a suitcase-sized package, set up in minutes, and plug into your RV’s solar charging port with zero installation required. They’re perfect if you’re just getting started and want to test the solar lifestyle before committing. They’re also great for anyone who parks in a lot of shade — you can position portable panels in a sunny spot even when your RV is parked under a tree. The downsides: you have to set them up and break them down every time, they can’t charge your batteries while you’re driving, and they’re a theft risk if left unattended.
Permanent rooftop systems are where the real freedom is. Once installed, your panels are silently harvesting energy every single day — while you drive, while you sleep, while you’re out hiking. You never think about it. The sun just handles it. For anyone spending multiple nights off-grid, especially full-timers and serious boondockers, a permanent setup is worth every penny of the installation effort.
There’s also a middle option worth mentioning: flexible solar panels. These thin, lightweight panels can be bonded directly to curved or fiberglass roofs and work well for Class B vans and smaller rigs. They run a little hotter than rigid panels, which can reduce efficiency slightly over time, but they’re a great solution when a rigid mount just isn’t practical for your specific roof.
How to Figure Out What Size RV Solar System You Actually Need
This is the step most beginners skip, and it’s the most important one. Before you spend a dollar on solar equipment, you need to know how much power you actually use in a typical day.
Start by making a list of every electrical device you use regularly in your RV. Lights, refrigerator, phone and laptop chargers, fans, water pump, TV, coffee maker, CPAP machine — write them all down.
Next, find the wattage for each device. This is usually printed on a label on the device itself, or you can Google the model number. Some common numbers to work with: LED lights typically draw around 10 watts, a 12V compressor refrigerator averages about 45 watts, a laptop charger runs around 65 watts, a box fan uses about 50 watts, and a CPAP machine typically draws between 30 and 60 watts.
Then estimate how many hours per day you use each device. Multiply the watts by the hours to get watt-hours (Wh). Your fridge runs 24 hours a day, so a 45-watt fridge uses about 1,080 watt-hours daily. Your laptop running 3 hours uses about 195 watt-hours.
Add everything up to get your daily total. Then add 25% on top of that number to account for system inefficiencies, wiring losses, and cloudy day buffers.
Finally, divide your daily watt-hour total by the average peak sun hours in your area. Most of the USA averages around 5 peak sun hours per day, with the Southwest getting 6 to 7 on good days, and the Northeast and Pacific Northwest getting 4 to 5.
The result is how many watts of solar panel capacity you need.
For a typical American RV weekend setup with a fridge, lights, fans, and devices, most people land between 300 and 600 watts. Full-timers with heavier usage often go 600 to 1,200 watts. When in doubt, size up — solar panels are cheaper than they’ve ever been, and having extra capacity means cloudy days are never a problem.
Also Read:-RV Solar Setup for Yellowstone: Complete Wyoming Camping Guide
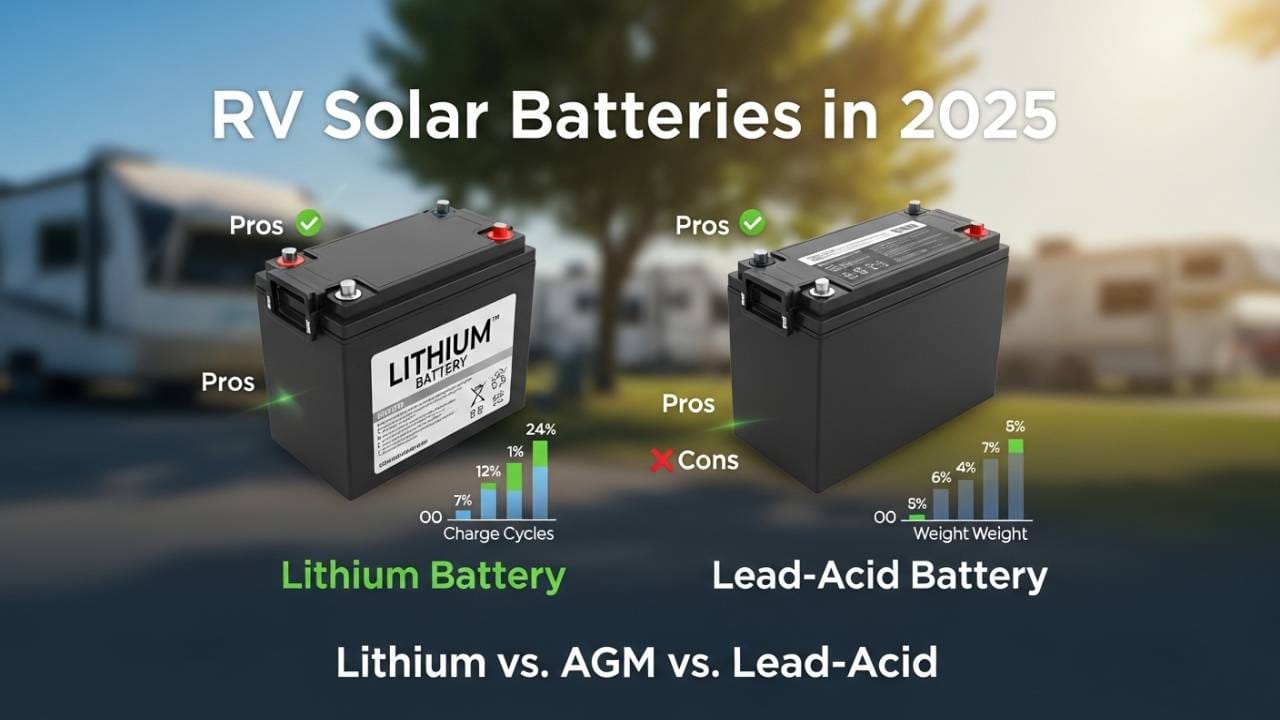
RV Solar Batteries in 2026: Lithium vs. AGM vs. Lead-Acid
Your battery bank is the heart of your entire solar system. Getting this right is arguably more important than getting your panels right. Here’s what you need to know about the three main options.
Lithium (LiFePO4) Batteries
Lithium iron phosphate batteries are the gold standard for RV solar in 2026, and for very good reason. They can be safely discharged to 80 to 100% of their capacity — meaning a 100Ah lithium battery actually gives you 80 to 100 amp-hours of usable power. They last between 3,000 and 5,000 charge cycles, which translates to 10 to 15 years of heavy use. They’re significantly lighter than lead-based batteries. They charge faster. And they perform consistently even in cold weather.
The upfront cost is higher, but when you calculate cost per usable kilowatt-hour over the battery’s full lifespan, lithium batteries are actually the most cost-effective option for serious RVers. Brands like Battle Born, Renogy, and LiTime offer solid lithium batteries in the $300 to $700 range for 100Ah, and prices have been dropping steadily.
AGM Batteries
AGM (Absorbent Glass Mat) batteries are sealed, maintenance-free, and don’t require ventilation the way flooded lead-acid batteries do. They’re a reliable, proven option that pairs well with solar. The main limitation: you should only discharge them to about 50% of their rated capacity to maintain a reasonable lifespan. So a 100Ah AGM battery only gives you about 50Ah of usable power. They typically last 500 to 1,000 cycles.
For part-timers and weekend warriors on a budget, AGM is a solid choice. For full-timers who need maximum off-grid capability, lithium wins easily.
Flooded Lead-Acid Batteries
These are the old-school option — the cheapest upfront but the most demanding to maintain. They require regular water top-offs, venting for off-gassing, and careful charge management. Like AGM, they should only be discharged to about 50% capacity. Lifespan is typically 200 to 500 cycles. For serious solar use, they’re not recommended in 2026. The lithium revolution has made them largely obsolete for off-grid RV applications.
Also Read:- RV Solar vs Generator — Which Is Better for Camping?
Step-by-Step RV Solar Installation: How to Actually Do It
Ready to install your own system? Here’s how a permanent rooftop solar installation actually goes, broken down into clear steps for beginners.
Step 1: Plan Your Roof Layout
Measure your roof carefully. Identify every obstacle — air conditioning units, vents, fans, skylights, antennas, and the holding tank vents. Notice where shadows from these obstructions fall during the middle of the day when your panels will be working hardest. Shade falling across even a portion of a panel can significantly reduce its output. Use painter’s tape on the roof to mock out where your panels will sit before you commit to drilling anything.
Step 2: Gather Your Materials
You’ll need your solar panels, mounting hardware (Z-brackets or adjustable tilt mounts), a weatherproof cable entry housing, MC4 connectors and a crimping tool, appropriately sized wire, inline fuse holders, wire loom or conduit, a drill, a hole saw or spade bit, and self-leveling lap sealant for waterproofing. Quality sealant is not optional — treat it like gold.
Step 3: Mount Your Brackets
Position your Z-brackets or tilt mount feet at the marked spots. Apply a generous layer of self-leveling lap sealant under every single bracket foot before screwing it down. Use stainless steel hardware to prevent rust. This sealant is your protection against water infiltration — the single most expensive mistake you can make during a rooftop install.
Step 4: Attach Your Panels
Secure the panels to your brackets. Make sure they sit flat and secure, with a small air gap underneath for airflow. Panels run cooler with airflow underneath them, and cooler panels are more efficient panels.
Step 5: Wire Your Panels
Connect your panels using MC4 connectors. Depending on your system design, you’ll wire panels in series (adds voltages, keeps amperage the same), in parallel (adds amperage, keeps voltage the same), or a combination of both. Your charge controller’s specifications will tell you which configuration works best for your setup. Route all wiring along the roof and into the cable entry housing, protected in UV-resistant wire loom.
Step 6: Install the Cable Entry Housing
Choose a spot to pass your wires through the roof, ideally close to where your charge controller will be mounted inside. Cut the hole carefully, install the cable entry housing, and apply sealant completely around the housing base. This is waterproofing step number two — be thorough.
Step 7: Connect to Your Charge Controller
Inside the RV, run the panel wires to your charge controller. Install an inline fuse in the positive wire between the panels and the controller. Always connect in the order your controller’s manual specifies — typically battery first, then solar panels. Reversing this can damage your controller.
Step 8: Connect Your Battery Bank and Inverter
Wire the charge controller’s output terminals to your battery bank. Connect your inverter directly to the battery terminals using heavy gauge cable — 4 AWG or thicker for most systems — with a fuse as close to the battery as possible. Keep this run short to minimize power loss.
Step 9: Test Everything
Go outside on a sunny day. Your charge controller should immediately show incoming power from your panels and rising battery voltage. Walk through every connection and check for anything warm to the touch — warmth indicates resistance, which means a loose or undersized connection. Test your inverter by plugging something in. You’re solar-powered.
What Does an RV Solar System Actually Cost in 2026?
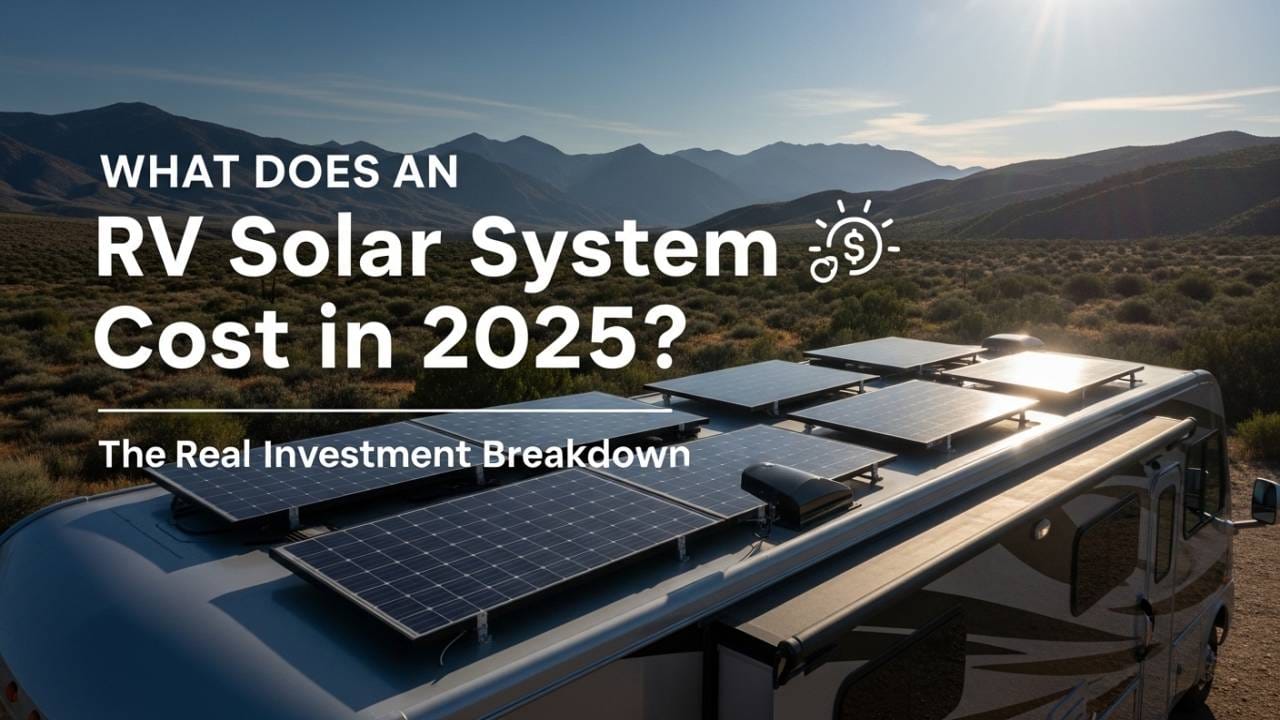
Here’s a realistic cost breakdown for the USA market right now.
A 400-watt system — two 200-watt rigid panels — will run you $200 to $400 for the panels themselves. A quality MPPT charge controller (40 amp) costs $80 to $200. A 100Ah lithium battery is $300 to $700. A 1,000 to 2,000-watt pure sine wave inverter runs $100 to $350. Wiring, fuses, connectors, and cable entry hardware adds $50 to $120. Mounting hardware is another $40 to $100.
Total for a solid DIY 400-watt starter system: roughly $770 to $1,870 depending on brands and where you shop.
If you want professional installation, add $300 to $800 or more in labor. For a larger system — 800 watts of panels and 200Ah of lithium — budget $2,000 to $4,000 for a quality DIY build.
The single biggest cost factor you can control is your battery choice. Lithium costs more upfront but saves you money over time. If budget is genuinely tight, starting with AGM batteries and upgrading to lithium later is a completely reasonable approach.
Also Read:- Cheyenne RV Solar Installers: Top 5 Shops Reviewed (2026)
The Biggest Mistakes Beginners Make With RV Solar
After looking at hundreds of RV solar setups, these are the mistakes that come up over and over again.
Undersizing the battery bank. Panels generate power during daylight. Batteries carry you through everything else. A lot of beginners put money into panels but cut corners on battery capacity and end up with depleted batteries every morning. As a general rule, your battery bank should store at least 1.5 to 2 times your daily watt-hour usage.
Putting panels where they’ll be shaded. Your rooftop AC unit, your vents, your satellite dish mount — all of these cast shadows. And in many solar panel configurations, partial shading on one panel can drag down the output of your entire array. Spend real time planning your layout before you drill.
Using wire that’s too thin. Undersized wire doesn’t just waste power through resistance — it creates heat, and heat creates fire risk. Use 10 AWG wire between your panels and charge controller, and go to 4 AWG or thicker between your battery bank and inverter. When in doubt, use heavier wire.
Skipping a battery monitor. Without a battery monitor, you genuinely don’t know your battery state of charge. You can’t tell how hard you’re pulling on your system or how fast the sun is refilling it. A Victron BMV battery monitor is the USA standard for serious RV solar users and costs $60 to $120. Get one.
Not sealing roof penetrations. This is how water gets into your walls and ceiling. A poorly sealed cable entry or bracket can cause hidden water damage for months before you notice it. Use quality self-leveling lap sealant on everything that touches your roof, and inspect it at least once a year.