Picture this: You’re three weeks into the adventure of a lifetime. Your Class A motorhome is parked at a beautiful lakeside campground. You wake up, stumble to the shower, and… nothing. Ice-cold water. Your spouse yells from the back: “What’s wrong with this thing?”
That’s when reality hits. Your RV water heater is dead. And suddenly, you’re not thinking about scenic views—you’re Googling “how much does a replacement cost” while mentally calculating damage to your vacation fund.
Here’s the honest truth: RV water heater replacement costs between $300 and $2,500 depending on what you choose and who does the work. But that’s just the headline. The real story—the one that determines whether you’re spending $450 or $2,200—involves understanding what’s actually driving that price tag.
This guide breaks down exactly what you’ll pay in 2026, why some options cost double others, and most importantly, how to avoid the expensive mistakes that catch RV owners off guard.
What Actually Drives Your Final Cost? (It’s Not Just the Unit Price)
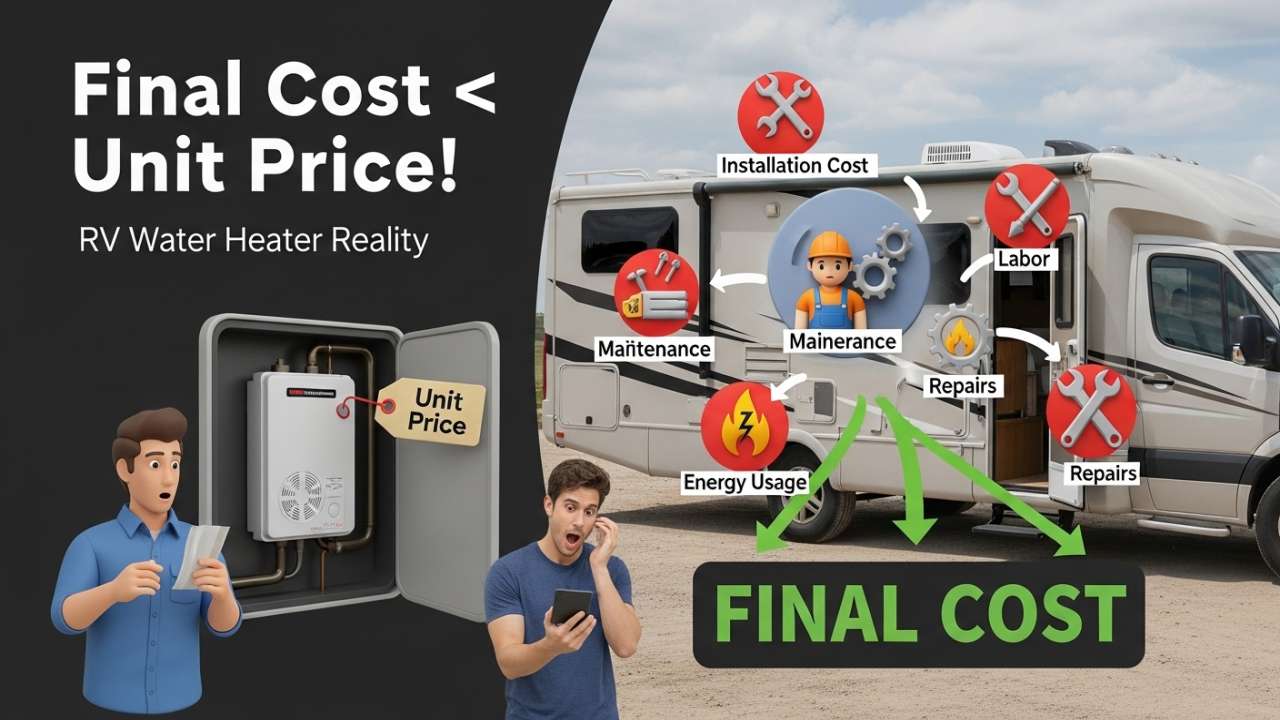
Before we throw numbers at you, let’s talk about the four decisions that will shape your entire bill.
1. The Type of Water Heater Matters More Than You Think
There are really only two categories: tank-style (the traditional approach) and tankless (the on-demand upgrade).
Tank-style heaters are what you probably have right now. They’re basically a storage container filled with water that stays hot and ready. You open a faucet, hot water comes out instantly. But when the tank runs empty—after a 20-minute shower or two—you’re waiting 20-35 minutes for it to reheat.
Most RV owners camp 2-3 weekends a month. For them, a tank heater is perfect.
Tankless heaters are the fancy upgrade everyone keeps talking about. They heat water on demand as it flows through the unit. No storage, no waiting, unlimited hot water. Sounds amazing, right?
But here’s what many full-time RV forums don’t tell you: tankless heaters in RVs have a quirk. They need a minimum water flow to activate. So if you’re doing a “navy shower” (quick rinse, soap up, quick rinse) or camping during winter when water pressure drops, the sensor might not trigger. You’re left jiggling the handle wondering why your $1,000+ heater won’t light.
A significant portion of RVers who bought a rig with a factory-installed tankless unit have swapped it back to a tank-style heater. Just something to know going in.
Bottom line: Tank heaters run $300-$900. Tankless runs $600-$1,500. You’ll add $150-$400 more for installation labor.
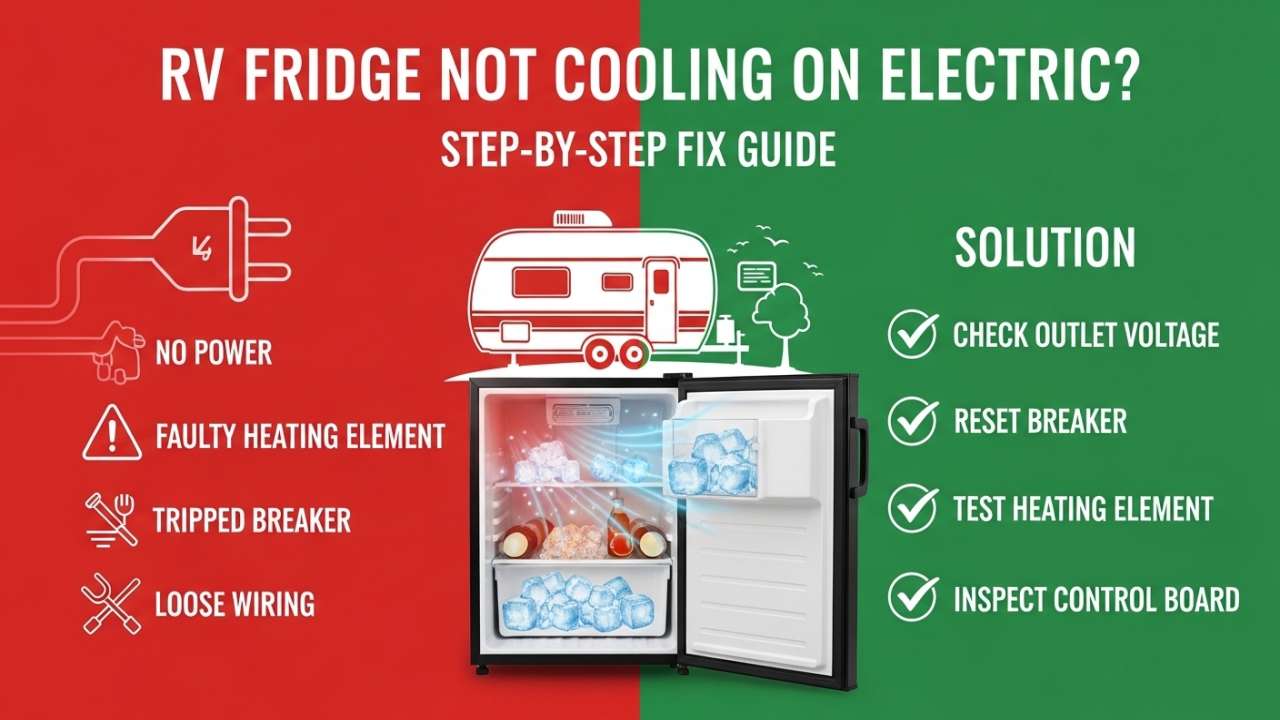
Also Read:- RV Refrigerator Not Cooling on Electric: The Complete Troubleshooting Guide That Actually Works
2. Size Matters (But Not The Way You Think)
RV water heaters come in three main sizes: 6-gallon, 10-gallon, and 12-gallon.
A 6-gallon tank is fine for a couple camping weekends. It’s also the cheapest option. A 10-gallon is the sweet spot for families or anyone who likes longer showers. A 12-gallon is overkill for most RVs unless you’re a Class A with lots of onboard space.
Here’s the thing: size adds about $50-$150 to your total cost. It’s not a huge jump. But that jump stacks on top of everything else.
3. Power Source Changes Everything (And Can Surprise You)
This is where things get interesting. Your RV water heater can run on:
- Propane only (cheapest, but limited if you run out of gas)
- Electric only (requires shore power or a big battery bank)
- Dual-fuel (gas + electric) (the most flexible, most common choice)
- Tankless propane (premium price, best for boondocking)
Most RV owners pick dual-fuel because it works at campgrounds (electric mode) and during off-grid trips (propane mode). That flexibility usually adds $100-$250 to your bill compared to a propane-only model, but it’s worth it.
If you’re heavily invested in solar panels and battery power, an electric-only upgrade might make sense. But you’ll need to verify your electrical capacity first—this is actually a common hidden cost people overlook.
4. Who Does the Installation (This Can Literally Double Your Cost)
This is where most RV owners get sticker shock.
DIY route: If you’re replacing an identical unit (same brand, same size), you can probably do it yourself in 2-3 hours. Cost: just parts and supplies, maybe $30-$80.
Mobile RV technician: These are the guys who come to your campground. They typically charge $75-$150 per hour. A basic swap: $150-$450 in labor.
RV dealership service center: These folks charge $100-$200 per hour and sometimes add 25-40% markups on parts. A basic swap: $300-$800 in labor, plus markup on the unit.
The difference between DIY and dealer installation can easily be $500-$1,000 on the same job.
Let’s Talk Real Numbers: 2026 Pricing by Type
Tank-Style Heaters (The Traditional Choice)
These are what you’re most likely to find in RVs right now.
| Unit Type | Tank Size | Brand Examples | Price Range | Best For |
|---|---|---|---|---|
| Propane-only tank | 6-gallon | Suburban SP6D, Girard tankless | $200–$400 | Weekend warriors on a budget |
| Dual-fuel tank | 6-gallon | Suburban SW6DE | $350–$550 | Most RV owners (the sweet spot) |
| Dual-fuel tank | 10-gallon | Suburban SW10DE | $450–$700 | Families, full-timers |
| Dual-fuel tank | 12-gallon | Suburban SW12DEL | $550–$850 | Large Class A motorhomes |
Suburban is still king in this category. They’ve been the factory standard in RVs for decades. If your RV came from Forest River, Keystone, or Coachmen, it almost certainly has a Suburban. Parts are everywhere. Technicians know them inside out. Replacement is straightforward.
Tankless Water Heaters (The Upgrade)
These are what you get if you’re willing to spend more upfront for the promise of unlimited hot water.
| Brand | Model | Flow Rate | Price Range | Real-World Vibe |
|---|---|---|---|---|
| Girard | GSWH-2 | 2.1 GPM | $600–$800 | Gold standard. Certified techs love them. Reliable in boondocking scenarios. |
| Furrion | FWH09A | 2.4 GPM | $600–$900 | Newer to the market. Good reviews. Parts availability improving. Works well with Jayco/Coachmen newer rigs. |
| Fogatti | InstaShower Pro | 2.6 GPM | $350–$550 | Budget-friendly Amazon option. Good BTU output. Less established parts network. |
| Dometic | WH-6GEA (newer) | N/A | $600–$800 | Replaced the old Atwood line. Modern features. Higher price reflects new tech. |
Important reality check: Tankless doesn’t mean “always unlimited.” In cold climates, at low water pressure, or during winter camping, you might still get inconsistent heating. Certified RV technicians will tell you that 20% of full-time RVers who switched to tankless eventually swapped back.
Also Read:- Cheap Solar System in Nigeria 2026: Complete Guide to Beat Blackouts Without Breaking the Bank
The Real Cost Breakdown: Scenarios That Match Your Situation
Let’s stop talking abstract and get into actual dollars and cents.
Scenario 1: The Basic Swap (Same Brand, Same Size)
You’ve got a 2020 Travel Trailer with a failing 6-gallon Suburban SW6DE. You want to replace it with the exact same unit.
What you’ll spend:
| Line Item | Cost |
|---|---|
| Suburban SW6DE unit | $430 |
| Anode rod (important!) | $12 |
| Teflon tape, pipe dope, fittings | $18 |
| Total (DIY) | $460 |
Time investment: 2-3 hours on a Saturday morning. Watch a YouTube video first.
If you hire a mobile tech: Add $150-$300 in labor. Total cost: $610-$760.
This is the cheapest path forward and honestly, the least stressful. Same unit, same cutout, same wiring. It almost always works.
Scenario 2: Brand Swap or Size Upgrade (The Mid-Range Reality)
You’ve got a 2015 Fifth Wheel with a dead Atwood unit (discontinued). You want a Dometic WH-6GEA (which is the modern Atwood replacement). You hire a mobile tech.
What you’ll spend:
| Line Item | Cost |
|---|---|
| Dometic WH-6GEA unit | $640 |
| New exterior door kit (different fitment) | $55 |
| Mobile tech labor (3.5 hours) | $420 |
| Misc fittings, sealant, testing | $40 |
| Total | $1,155 |
Why is labor higher here? Because Dometic and Atwood use slightly different connection layouts. The tech needs to make minor plumbing adjustments. Still reasonable, just more involved than a simple swap.
Scenario 3: The Full Upgrade (Tankless Installation)
You’re a full-timer in a 2018 Class A Motorhome. You want to dump your aging 10-gallon Suburban and go tankless with a Girard GSWH-2. You want professional installation because tankless involves gas line work.
What you’ll spend:
| Line Item | Cost |
|---|---|
| Girard GSWH-2 tankless unit | $750 |
| Exterior door kit (new size/shape) | $85 |
| 12V wiring, control panel, fittings | $130 |
| RVIA-certified technician (7 hours at $130/hour) | $910 |
| Pressure testing, leak testing, startup | Included |
| Total | $1,875 |
Why so many hours? Because a tankless swap isn’t just “plug and play.” The tech needs to:
- Reroute water lines to new connection points
- Run new 12V DC wiring for the display panel
- Verify gas line pressure and safety
- Test water flow rate to ensure it triggers heating
- Pressure-test all connections before signing off
It’s worth the cost if you’re serious about boondocking. It’s overkill if you mostly camp at RV parks with full hookups.
Scenario 4: The Budget Upgrade (DIY Tankless Swap)
You know your way around tools. You’re installing a budget Fogatti InstaShower Pro tankless unit yourself. Confident in your skills.
What you’ll spend:
| Line Item | Cost |
|---|---|
| Fogatti InstaShower Pro | $480 |
| Door kit | $65 |
| PEX fittings, 12V wiring, misc parts | $100 |
| Total (DIY, with tools) | $645 |
Time: 5-6 hours. Complexity: moderate. Risk: medium (gas connections require respect, but not impossible if you’re methodical).
The Hidden Costs Nobody Mentions (But Should)
When budgeting for replacement, most people only think about the unit price + labor. Here’s what they miss:
Anode rod replacement ($12-15): This is a magnesium or aluminum rod inside your tank that corrodes instead of the tank itself. If you’re not replacing it annually, your tank will corrode from the inside out. This is the #1 neglected maintenance item in RV ownership.
Exterior door kit ($45-85): If you’re switching brands or types, the new unit might not fit the existing cutout. You need a new trim ring and possibly a new door. Many people skip this, then deal with water leaks around the seams.
Fittings and sealant ($30-50): PEX connectors, Teflon tape, pipe dope, thread sealant. These add up fast. Don’t cheap out here.
Pressure relief valve ($20-40): Some installations require a new PRV. Budget for it.
12V wiring (for tankless upgrades, $50-150): If you’re going tankless, the heater needs a 12V DC control wire. You might be running wire 15-20 feet from your heater to your control panel. That’s not trivial.
Exterior venting modifications ($100-300, if needed): Some upgrades might require rerouting the exhaust vent. This is rare but possible on Class A motorhomes with tight roof layouts.
Add it all up: You can easily have $200-$400 in “miscellaneous” costs hiding in your budget.
Also Read:- Best RV Brands 2026: Class A vs B vs C Motorhomes (Complete Comparison & Buyer’s Guide)
Tank vs. Tankless: The Honest Comparison
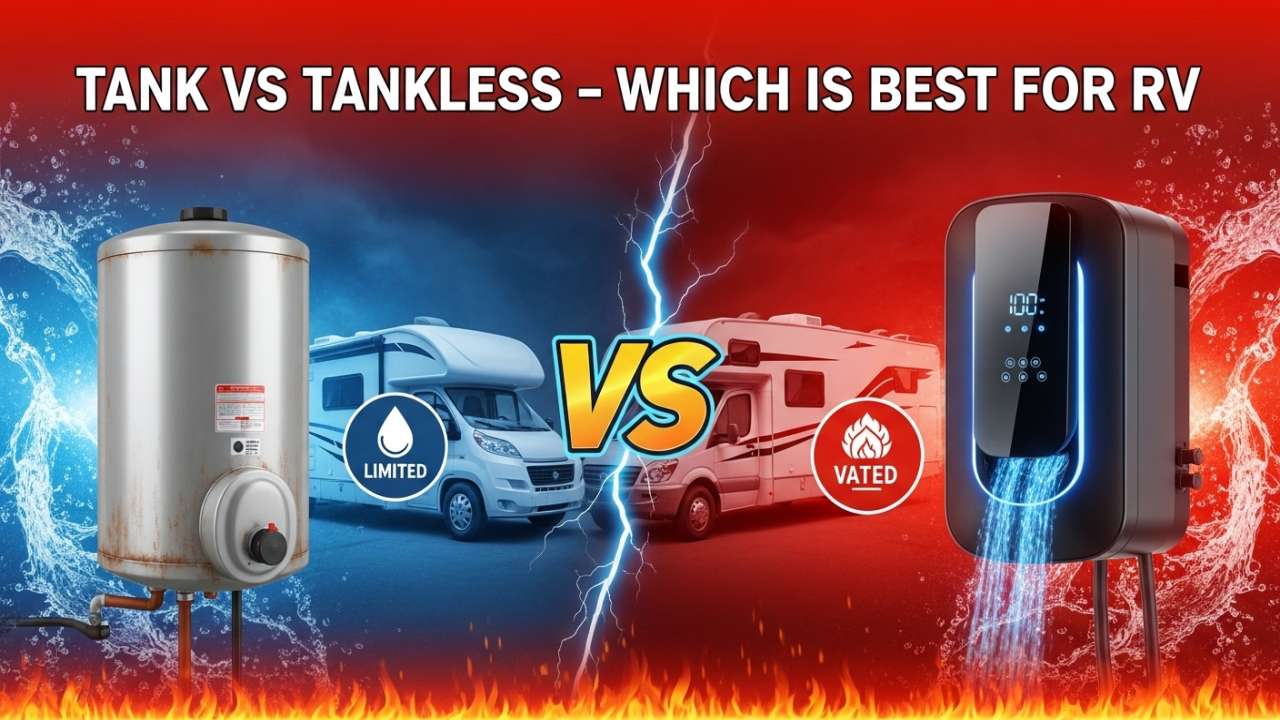
Here’s the real-world breakdown. No marketing spin.
| Factor | Tank (6–12 gallon) | Tankless (On-Demand) |
|---|---|---|
| Unit cost | $200–$900 | $350–$1,500 |
| Installation complexity | Low to moderate | Moderate to high |
| Hot water when shore power is off | Yes (propane or electric on battery) | Mostly (propane models only) |
| Works with low water pressure | Always | Sometimes (below certain GPM, won’t trigger) |
| Works with navy showers | Yes, perfectly | Often fails (not enough flow to activate) |
| Recovery time | 20–35 minutes to reheat | Instant (no downtime) |
| Maximum hot water duration | Limited by tank size | Unlimited (or until propane runs out) |
| Works while boondocking | Yes (especially dual-fuel) | Yes, but propane-dependent |
| Lifespan with maintenance | 8–12 years | 12–20 years |
| Best for | Casual campers, budget-conscious | Full-timers, large families |
| Worst-case scenario | Tank cracks, entire unit fails | Low flow trigger issues in winter |
The truth many RV blogs won’t tell you: Tankless is genuinely better if you’re full-timing in warm climates and love long showers. But if you’re a weekend warrior doing quick camp showers, or if you boondock in winter, a good 6-gallon dual-fuel tank heater is superior. Simpler, fewer error codes, more reliable.
Which Brands Should You Actually Buy? (Not Just Brand Names)
Suburban: The Default Choice (And For Good Reason)
Suburban dominates RV factory installs. They’re in Forest River, Keystone, Coachmen—most major manufacturers use them out of the box.
Why? Because they work. Reliably. Parts are available everywhere. Used-market replacement units are cheap.
Sweet spot models:
- SW6DE: The workhorse. 6-gallon dual-fuel. $380-480. Do a same-unit swap and your RV tech can do it blindfolded.
- SW10DE: 10-gallon dual-fuel. $500-650. Best for families or full-timers who don’t want to go tankless.
Pro: Bulletproof reliability, parts everywhere, cheap replacements, technicians know them.
Con: No advanced features, older design, heating speed is average.
Dometic (Formerly Atwood): The Modern Upgrade
Dometic bought out the Atwood line and refreshed it. Their newer models have aluminum tanks (resist corrosion better), hybrid heating, and digital diagnostics.
Models to know:
- WH-6GEA: 6-gallon gas+electric. $550-700. Modern features at a midrange price.
- WH-10GEA: 10-gallon with aluminum tank. $750-950. Best in class for corrosion resistance.
Pro: Modern efficiency, better materials, solid warranty, decent parts availability.
Con: Pricier than Suburban, slightly harder to find at discount suppliers.
Girard: The Tankless Specialist
If you’re committing to tankless, Girard is what certified RV technicians recommend. Their build quality is exceptional. They have excellent warranty support. Techs actually want to install them.
Flagship model:
- GSWH-2: Propane tankless. 2.1 GPM. $600-800. The benchmark for quality.
Pro: Excellent reliability, great tech support, long lifespan, certified tech preference.
Con: Most expensive tankless option, fewer DIY-friendly features, less common in used market.
Furrion: The Modern Alternative
Furrion has been gaining traction in newer RV builds (Jayco, Coachmen). Their tankless units have antifreeze protection and nice digital controllers.
Model to know:
- FWH09A: 2.4 GPM tankless. $600-900. Good features, improving parts availability.
Pro: Newer technology, digital controls, compatible with modern rigs.
Con: Less used-market availability, fewer independent techs trained on them yet.
Fogatti: The Budget Option
If you’re DIY-ing and want to save money, Fogatti offers legitimate tankless performance at half the Girard price. You can grab an InstaShower Pro on Amazon for $350-550.
Trade-off: It’s newer to the RV market. Parts availability is limited. If something breaks, you might be stuck ordering direct.
Best use case: You’re mechanically confident, you boondock regularly, and you want the upgrade without the luxury price tag.
DIY vs. Professional Installation: Making the Smart Call
When DIY Makes Sense (Do It Yourself)
DIY is reasonable if:
- You’re replacing with the exact same brand and size. Suburban to Suburban. Same cutout, same wiring, same connections. Easy win.
- You’ve watched the installation video and felt confident. Seriously. Spend 30 minutes on YouTube first.
- You have basic hand tools: adjustable wrench, multimeter, Teflon tape, pipe dope. Nothing fancy.
- You’re not dealing with propane gas modifications. If you’re just unplugging and replugging existing gas lines, fine. If you’re rerouting gas lines or installing new venting, stop and hire a pro.
What the DIY process actually looks like:
- Turn off water supply. Drain the tank (open hot water faucet until empty).
- Shut off propane at the source.
- Disconnect water lines at both ends (have a bucket ready for drips).
- Unscrew the gas line at the fitting.
- Disconnect the 12V DC wiring and 120V AC wiring.
- Slide the old unit out of the exterior bay (might be heavy—ask a friend).
- Slide the new unit in and reconnect everything in reverse.
- Pressure test all water connections before powering up.
- Light the pilot or DSI and confirm it ignites.
Timing: 2-3 hours for someone handy. Maybe 4 hours if you’re careful and methodical.
Cost savings: $200-400 in labor you didn’t pay.
When Professional Installation Is Worth It (Hire Someone)
Hire a pro if:
- You’re switching brands. Dometic to Suburban, or Suburban to tankless. Connection points vary. A tech navigates these variations faster and better.
- You’re going tankless. The gas line pressures, 12V wiring, and venting requirements are different. Get it right the first time.
- You’re uncomfortable with gas connections. Propane leaks are serious. No shame in paying a pro to handle it.
- Your RV has unusual plumbing layouts. Some Class A motorhomes have complex water systems. A tech knows the quirks.
- You want a warranty guarantee. If something breaks within 6 months, a pro-installed unit is covered. DIY is on you.
Where to find certified technicians:
The RV Industry Association (RVIA) certifies technicians. Look for “RVIA Master Certified” in your area. These folks have factory training and carry liability insurance.
Also check local Facebook RV groups. Ask which techs people trust. Recommendations beat strangers.
Labor rate reality: $75-130 per hour is standard. A basic swap: 2-4 hours. A tankless upgrade: 6-8 hours.
The math: Basic swap at $100/hour = $200-400 labor. Tankless upgrade = $600-800 labor. Is that worth peace of mind? For most people, yes.
The Signs Your Water Heater Needs Replacement (Not Just Repair)
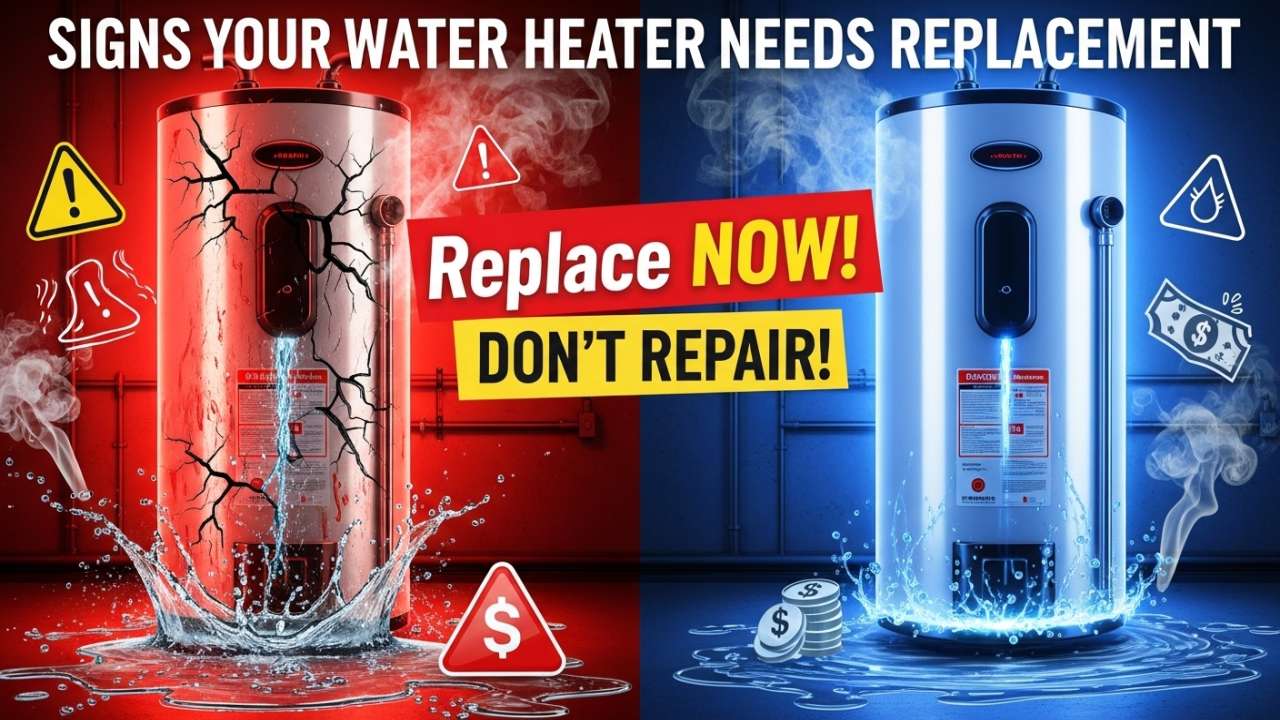
Replace It If You See These Red Flags
Cracked or corroded tank: If the tank body has a visible crack, it’s done. You can’t patch a tank crack without it leaking again within weeks.
Active leaking from the tank body (not a fitting): Leaking around a fitting? Tighten it. Leaking from the tank itself? That’s terminal.
Rust-colored hot water constantly coming from taps: This means internal corrosion is happening. The anode rod failed (or wasn’t replaced). The tank’s days are numbered.
Unit is 10-12+ years old and failing regularly: RV water heaters last 8-12 years with proper maintenance. If yours is hitting that age and you’re getting repair calls every season, replace it.
Atwood model that can’t get parts: Atwood is discontinued. If you have an old Atwood, replacement parts are getting scarce. Swap to a Dometic or Suburban SAW-series (designed as an Atwood drop-in replacement).
Repair First If You Have These Issues
Igniter that won’t spark: Usually a $15-30 part and 20 minutes of work.
Failed anode rod causing odor or sediment: Replace the rod annually. $12 part, 10 minutes. This extends your tank’s life by years.
Faulty thermostat or temperature limit switch: $40-80 part, pretty straightforward replacement.
Bad heating element on the electric side: $30-60 part for most tank-style heaters.
Dripping pressure relief valve: Replace the valve, not the whole unit. $20-40.
Can’t light the pilot: Might be a fuel line issue, not the heater. Have a tech diagnose first.
The Money-Saving Hacks That Actually Work
Buy From RV Parts Suppliers, Not Dealerships
RV dealership service centers mark up parts 25-40% above retail. They’re convenient, sure, but expensive.
Where to actually buy:
- United RV Parts (online, ships fast)
- RV Parts House (huge inventory, good prices)
- Amazon (for less common brands like Fogatti)
- eBay (used units, sometimes 30% discount)
Compare prices before you commit. A Suburban SW6DE might be $430 at a dealer but $380 online. That’s a $50 difference that matters.
Do Same-Brand Swaps Yourself
A Suburban-to-Suburban swap or Dometic-to-Dometic swap is the most DIY-friendly replacement you can do. Same cutout, same wiring, same connections. If you’re moderately handy, this is a layup.
You’ll save $200-400 in labor and gain confidence in your rig.
Replace the Anode Rod Every Season (Seriously)
This is the single most neglected maintenance item in RV water heater care.
The anode rod is a sacrificial piece of metal inside your tank that corrodes instead of the tank. Without it, your tank corrodes from the inside. When the anode rod is gone, the tank cracks.
Cost: $12.
Time: 10 minutes.
Lifespan extension: 2-3 years.
Do this. Seriously. More RV water heater failures are caused by neglected anode rods than anything else.
Also Read:- RV Refrigerator Not Cooling on Electric: The Complete Troubleshooting Guide That Actually Works
Ask Technicians to Quote Labor Separately
When you call a mobile tech or dealer, ask them to itemize: parts cost vs. labor cost.
This gives you leverage to buy your own unit online (at a discount) and just pay them labor. You might save $100-300 on the same job.
Many techs are happy to do this. They’d rather have guaranteed labor income than fight with dealership markups.
Check for Recall Notices and Active Warranties
Suburban and Dometic have active warranty claim processes for units under 5 years old.
If your water heater is relatively new and fails, there might be a free replacement or repair covered. Check the manufacturer website before buying a replacement.
Suburban offers a 2-year full warranty and 5-year tank warranty on many models. Worth checking.
Exactly How Long This Job Takes (Real Timelines)
Same-brand tank swap (DIY): 2-3 hours. Includes draining, disconnecting, reconnecting, pressure testing.
Same-brand tank swap (professional): 1-2 hours. Techs move fast.
Brand swap (professional): 3-5 hours. Includes plumbing adjustments, testing, possibly new door kit.
Tankless upgrade (professional): 5-8 hours. Includes rerouting water lines, running 12V wiring, venting inspection, pressure testing, startup testing.
DIY tankless upgrade (if you’re confident): 6-8 hours. Same work, just slower.
Pro tip: If you’re getting a pro to install, schedule it early in the day. If something unexpected comes up (like your water line connections are corroded), they have time to handle it. Afternoon appointments = rush jobs = mistakes.
Real-World Scenarios: Three Families, Three Solutions
Family 1: The Weekend Warriors (Budget First)
- RV: 2020 Travel Trailer
- Current heater: 6-gallon Suburban, failed
- Decision: Replace with same unit, DIY
Their cost: $460 (unit + parts)
Their time: Saturday morning, 2.5 hours
Their decision-making: “We camp 3-4 weekends a year. A 6-gallon tank is perfect. We’ve watched YouTube videos and feel confident doing this ourselves.”
Outcome: Successful DIY swap. They’re proud of themselves. They bookmarked the anode rod replacement guide and plan to replace it every spring.
Family 2: The Full-Timers (Upgrade Ready)
- RV: 2016 Fifth Wheel (over the road 5 months/year)
- Current heater: Atwood 6-gallon, dead
- Decision: Upgrade to Dometic WH-6GEA, hire pro
Their cost: $1,155 (unit + labor + door kit)
Their time: Phone call to book tech + 4-hour installation day
Their decision-making: “Atwood is discontinued. We need something modern. We don’t feel confident with the gas line work. Paying for peace of mind is worth it.”
Outcome: Professional install goes smoothly. Tech finds one corroded water line fitting and replaces it. Total time: 3.5 hours. They use their rig normally within 24 hours.
Family 3: The Boondocking Serious (Go Tankless)
- RV: 2018 Class A Motorhome (5+ months boondocking annually)
- Current heater: 10-gallon Suburban, needs upgrade
- Decision: Girard GSWH-2 tankless, professional install
Their cost: $1,875 (unit + labor + door kit + 12V wiring)
Their time: Research (2 weeks), scheduling (1 week lead time), installation day (7 hours)
Their decision-making: “We boondock extensively in Arizona. Unlimited hot water with no shore power dependency is worth the investment. We want it done right by someone certified.”
Outcome: RVIA-certified tech installs the Girard. Pressure tests. Startup testing shows water flow triggers heater reliably. The family now has hot water whenever they want, regardless of campground hookups or battery state.
Also Read:- Cheap Solar System in Nigeria 2026: Complete Guide to Beat Blackouts Without Breaking the Bank
FAQ
How much does it cost to replace a 6-gallon RV water heater?
Unit only: $350-600 depending on whether it’s propane-only or dual-fuel.
DIY total (same-brand swap): $380-650 including parts.
Professional install: $600-1,100 including 2-4 hours of labor.
What’s the most reliable RV water heater brand in 2026?
For tank-style: Suburban. Decades of proven reliability. Parts everywhere. Techs know them inside out.
For tankless: Girard. Higher price, but exceptional build quality. Certified techs prefer them.
Budget alternative: Fogatti is newer but legitimate if you’re DIY-ing.
Can I replace my RV water heater myself?
Yes, if: You’re doing a same-brand, same-size swap. You’re moderately handy. You feel comfortable with gas connections (or skip the gas work and have a tech handle it).
No, if: You’re switching brands, switching to tankless, or uncomfortable with propane work. Let a pro handle it.
Rule of thumb: If you’ve successfully changed a car battery or replaced a leaky faucet, you can probably handle a same-brand swap. Anything more complex? Hire help.
How long does RV water heater replacement take?
Same-brand DIY: 2-4 hours.
Same-brand professional: 1-2 hours.
Brand swap professional: 3-5 hours.
Tankless upgrade: 5-8 hours with a pro.
Should I upgrade to tankless when replacing?
Upgrade to tankless if:
- You full-time in warm climates
- You take long showers regularly
- You boondock and want independence from shore power
- You’re willing to pay $600+ more upfront
Keep a tank if:
- You camp 2-4 weekends per year
- You do quick showers or navy showers
- You boondock in winter (low water pressure is an issue for tankless)
- You want simpler, fewer error codes
The honest truth: Tankless is genuinely better for specific use cases. But 20% of people who switched to tankless ended up switching back to tanks. Know your camping style.
What’s the lifespan of an RV water heater?
Tank-style: 8-12 years with proper maintenance (annual anode rod replacement, regular flushing).
Tankless: 12-20 years because there’s no storage tank to corrode. Fewer moving parts = longer life.
Why do RV water heaters fail so early?
Top reasons:
- Neglected anode rod (most common). It gets used up, tank starts corroding, tank fails.
- Winter freeze damage. Not draining the tank before winter storage. Ice expands. Tank cracks.
- Hard water sediment. Calcium buildup on the heating element reduces efficiency and causes failure.
- Igniter burn-out from lack of use during off-season storage.
- Corroded water line fittings that slowly leak and damage the mounting area.