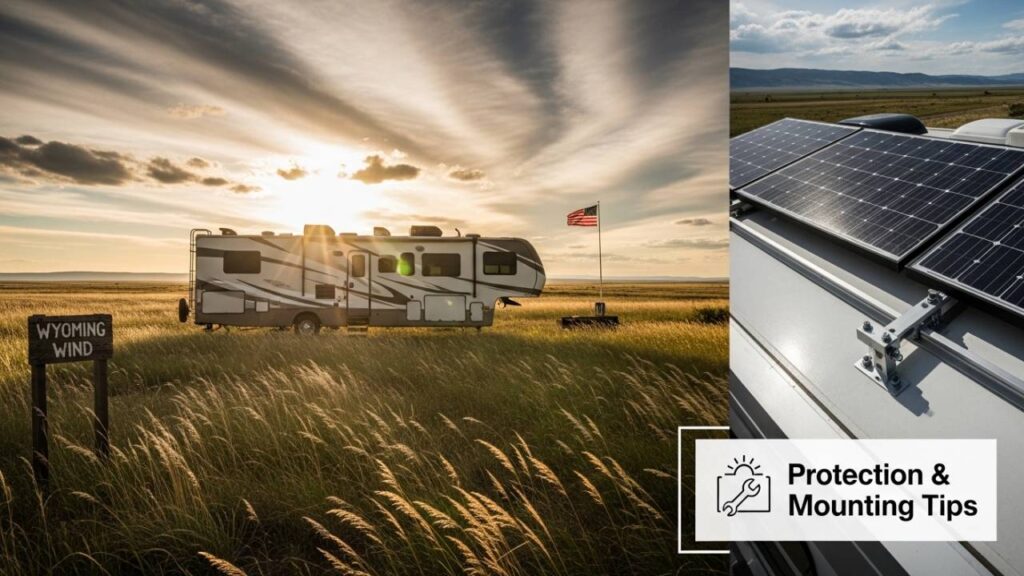
Imagine you are cruising down Interstate 80 in Wyoming on a beautiful sunny day. The scenery is stunning: wide-open plains, distant mountains, a big blue sky. Then, out of nowher,e your RV sways hard to one side. Your coffee goes flying. And somewhere up on your roof, your brand new solar panels are fighting for their lives against 70-mile-per-hour gusts.
Welcome to Wyoming. The wind here does not knock before it enters.
If you are an RVer who is serious about solar power, and Wyoming is anywhere on your route, you need a real plan. Not just “stick some panels on the roof and hope for the best.” A proper, thought-out, Wyoming-tested plan. This guide is exactly that. We are going to cover everything from mounting methods to wind protection, panel selection, wind turbines, hail, snow, dust, and every question RVers ask about running solar in one of America’s windiest states.
Why Wyoming Is the Hardest Test for RV Solar Panels
Most states have weather. Wyoming has weather events. It is consistently one of the windiest states in the entire country. The geography is the reason. High altitude terrain, wide open plains, and mountain passes that funnel cold air masses at terrifying speeds across flat land with nothing in the way to slow them down.
Near Wheatland on I-25, gusts above 113 mph have been recorded. Cheyenne airport regularly logs gusts in the 90 mph range. In Laramie, Rawlins, and Rock Springs, locals genuinely joke that 50 mph winds are just a breezy Tuesday. For an RVer with solar panels sitting on the roof, that is not funny at all. That is a recipe for a very expensive, very preventable disaster.
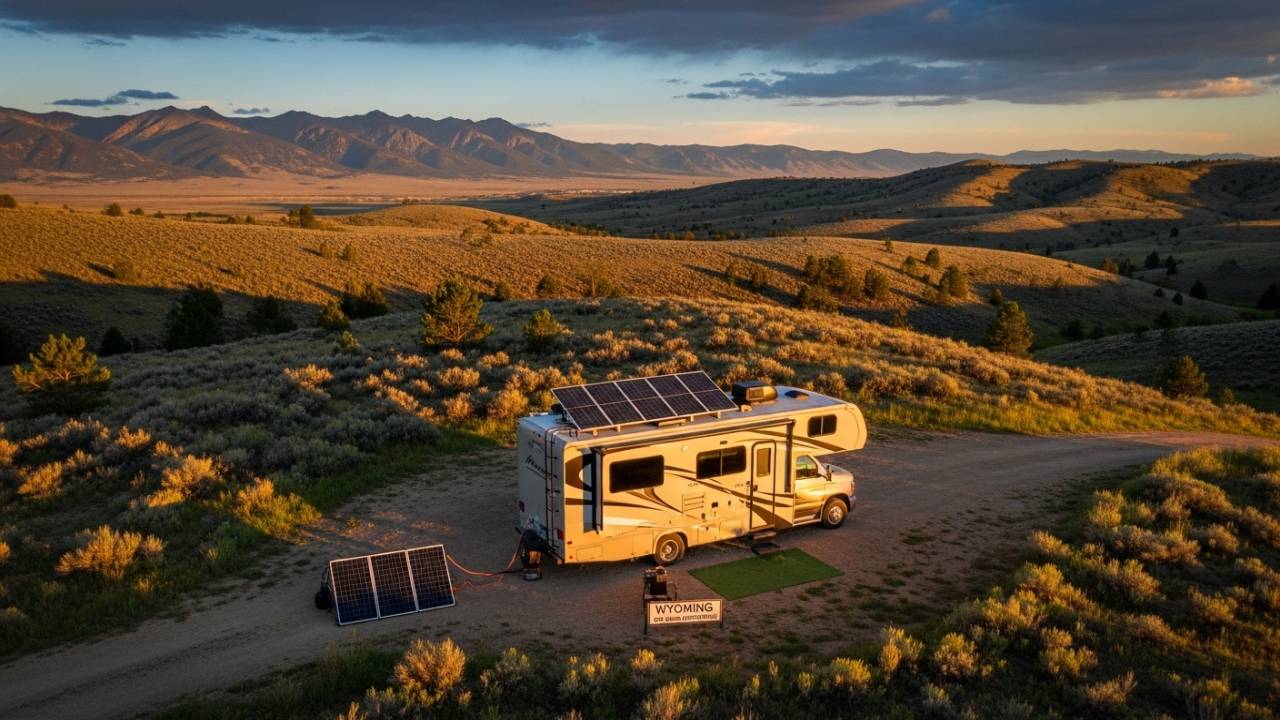
Here is the good news though. Wyoming is also an absolutely amazing state for solar RVing. The skies are enormous and clear. Sunshine hours are generous. Boondocking opportunities across BLM land and national forests are some of the best in America. You can absolutely run a fully off grid solar powered setup through Wyoming. You just have to do it correctly.
What Wind Actually Does to Your Solar Panels
Before we talk solutions, we need to understand the problem. Because once you understand what wind is actually doing to your panels, the fixes make total sense.
The Lift Problem
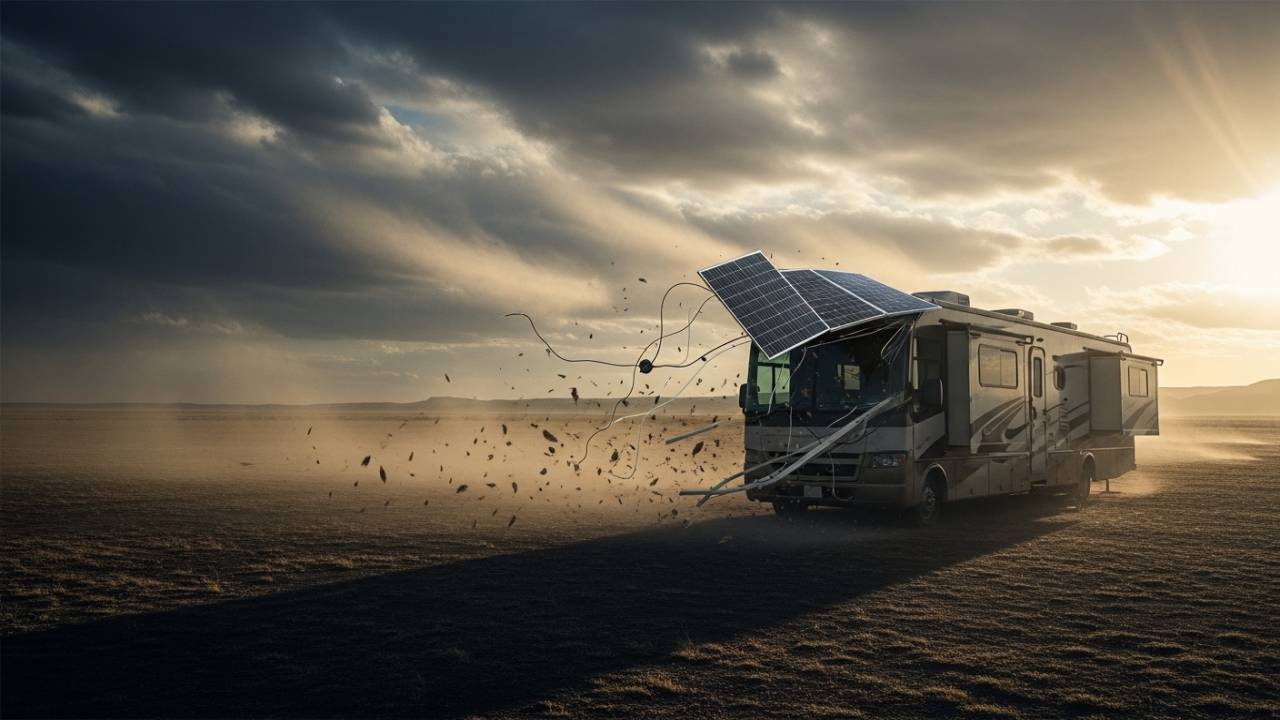
A solar panel sitting flat on your RV roof behaves a little bit like an airplane wing. Wind moving over the top of the panel creates lower air pressure above it. Wind catching underneath pushes upward. The result is real aerodynamic lift force, the same basic principle that gets a plane off the ground. In a strong Wyoming gust, that lift force can easily exceed what your mounting hardware is designed to hold.
One RVer shared that while driving through a windy stretch, a front solar panel was completely torn through its own aluminum frame and destroyed. The mounting brackets stayed on the roof just fine. The panel itself failed because of aerodynamic stress. That is how powerful this force can be.
The Leading Edge Effect
The panels at the very front of your roof array take the worst beating. As your RV rolls down the highway, the leading edge of the roof is where air turbulence is most violent. Even a small gap between the bottom of the panel and the roof surface becomes an entry point for wind to wedge underneath and massively increase that upward lift force. This is why experienced installers always spend extra time reinforcing the front panels specifically.
Driving vs. Parked
Here is something a lot of new solar RVers do not fully appreciate. The wind load your panels face while parked in a Wyoming campsite and while driving down a Wyoming highway are completely different situations. When you drive at 65 mph directly into a 50 mph headwind, your panels experience an effective airspeed of 115 mph. Your mounting system has to be able to handle that scenario without blinking.
Also Read:- RV Solar Setup for Yellowstone: Complete Wyoming Camping Guide
Mounting Methods: What Actually Works in Wyoming
Not all mounting systems are equal. Wyoming has a way of quickly exposing every shortcut. Here is an honest look at your main options.
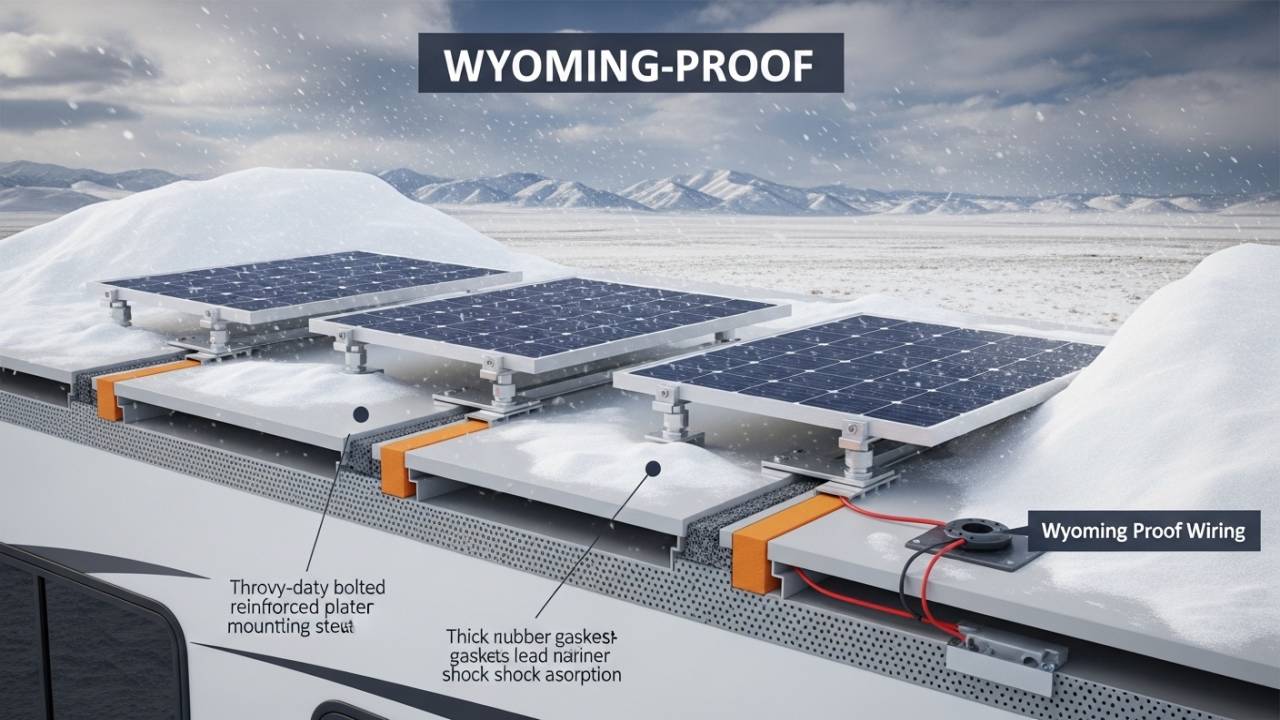
Z-Brackets Into Roof Trusses — The Best Option
For rigid solar panels in a high wind state, Z-brackets mechanically fastened into your roof trusses are the gold standard. The critical word there is trusses, not just roof decking. A screw going into thin plywood decking will eventually pull free under sustained wind load. A screw going into a structural truss member will hold. Full stop.
Before you drill anything, use a stud finder to locate every truss across your roof. Mark them clearly with tape. Then position your Z-brackets so that each one gets at least one screw directly into a truss. After that, seal every single penetration with Dicor lap sealant, a quality roofing sealant used on RVs. Plan to re-inspect and refresh that sealant every year. In Wyoming conditions, this is not optional. It is necessary maintenance.
Flexible Panels With VHB Tape and Sikaflex — A Good No-Drill Option
If the thought of drilling into your roof gives you nightmares about water leaks, flexible solar panels with a proper adhesive installation are a legitimate alternative. The approach that works well is layering two types of adhesion. First, 3M VHB industrial tape as the primary bond. Second, a bead of Sikaflex sealant applied over and around each mount point as a secondary seal and UV protector.
Some RVers have run this system successfully for three or more years and tens of thousands of highway miles including multiple Wyoming crossings. The honest trade off is that flexible panels produce less wattage per square foot and some are less durable long term. Choose panels specifically designed for bonded installations.
VHB Tape Alone on Rigid Panels — Do Not Do This in Wyoming
Tape only mounting for rigid framed panels is simply not sufficient for regular Wyoming use. UV exposure and temperature swings across Wyoming seasons will degrade the tape bond over time. Combined with the aerodynamic lift forces we already described, this is an installation that is likely to fail sooner or later. It is not worth the risk.
Roof Rack With Locking Clamps — Excellent for Larger Setups
For larger arrays or overlanding style rigs, a dedicated roof rack with proper locking clamps is an excellent system. It keeps panels elevated slightly off the roof surface, makes wiring easier, and distributes load across a strong structural framework. More expensive and heavier, but very solid for Wyoming conditions.
Wind Dams and Fairings: Are They Worth It?
A wind dam, sometimes called a wind fairing, is a strip of material mounted at the leading edge of your solar array. The idea is to redirect airflow up and over the panels so less turbulent air gets underneath them. It sounds very smart in theory. In practice it is somewhat more nuanced.
The real benefit of a wind dam is that it converts aerodynamic lift force into drag force. This means instead of your panels being pulled upward, the wind is pushing your RV slightly harder from the front. Your engine has to work a tiny bit more against that drag, which marginally reduces fuel economy. But your panels are far less likely to be peeled upward. For Wyoming RVing, that trade off is usually worth accepting.
That said, a wind dam is a backup layer of protection. It is not a substitute for proper mechanical mounting. If your panels are not well secured into trusses in the first place, a wind dam will not save them. Think of it as a seatbelt and airbag situation. Both are good. Neither replaces the other.
A simple DIY wind dam can be made from aluminum square tubing mounted directly in front of your panel array with Dicor sealant and stainless steel screws every six inches. It does not need to look fancy. It needs to seal tight and hold at 75 mph on a Wyoming interstate.
Also Read:- Cheyenne RV Solar Installers: Top 5 Shops Reviewed (2026)
Choosing Panels That Can Handle Wyoming
When you shop for solar panels, most people focus entirely on wattage and efficiency numbers. In Wyoming, you also need to pay close attention to the wind load rating on the spec sheet.
Quality monocrystalline panels from reputable brands are engineered to handle dynamic wind loads up to around 2400 Pa, which equals roughly 130 mph equivalent wind pressure. The best panels on the market reach 5400 Pa static load ratings. For Wyoming use, you want to be at the higher end of that range.
Beyond wind ratings, look for tempered glass surfaces rated to survive one inch diameter hail at 50 mph, because Wyoming is genuine hail country from May through August. Look for fully framed aluminum construction with corner reinforcement, since framed panels distribute wind stress much better than frameless designs. And look for independent TÜV or IEC certification, which confirms the manufacturer’s claimed specs have actually been verified by a third party lab.
Higher efficiency panels also help indirectly. If each panel produces more watts, you need fewer panels for the same total output. Fewer panels means a smaller, lighter, less aerodynamically challenging rooftop array.
RV Wind Turbines in Wyoming: The Honest Truth
Since Wyoming has all this amazing wind, should you be using a turbine? It is a completely reasonable question. The answer is maybe, but only if you go in with realistic expectations.
Wyoming is genuinely one of the best states in the country for consistent, productive wind energy. If you are parked stationary in an open area, a portable wind turbine can meaningfully supplement your solar array, especially at night when your panels are producing nothing. A good 400 watt turbine with a startup speed around 5 mph will spin up reliably at most Wyoming BLM campsites.
But there are real limitations to understand before you invest. You cannot run a wind turbine while driving. Highway speeds combined with Wyoming headwinds can push the combined airspeed past the turbine’s rated survival wind speed and destroy the blades. You must dismantle it before you roll. Turbines also produce a noticeable whooshing sound and vibration that some campers find irritating. And their power output per dollar spent is generally less favorable than solar panels.
The best case for a turbine in Wyoming is if you stay at single sites for multiple days at a stretch, have modest overall power needs, and want overnight charging capability without firing up a generator. In those specific circumstances, Wyoming wind can be genuinely productive for a turbine setup.
The ideal full time Wyoming boondocking power setup combines a solid rooftop solar array as the main source, a portable turbine as a situational supplement, and a large enough lithium iron phosphate battery bank to carry you through multi-day weather gaps.
Also Read:- RV Solar System Setup Complete Beginner’s Guide (2026)
Step by Step: How to Mount Solar Panels the Wyoming Proof Way
Step 1 — Measure and map your entire roof before touching anything. Note every existing vent, AC unit, antenna, and penetration. Shadows from AC units can cost you hours of daily solar production, so keep your panels well clear of those shadow zones.
Step 2 — Locate every roof truss with a stud finder and mark each one with tape across the full roof. This single step is the difference between a solid installation and a risky one.
Step 3 — Plan your bracket positions so each bracket lands on a truss. Pre-drill pilot holes to avoid splitting the decking.
Step 4 — Clean your roof surface completely. Remove all dirt, old sealant, and grease. For rubber EPDM roofs use a roof safe cleaner. Adhesion of any kind depends entirely on proper surface prep.
Step 5 — Apply VHB tape under every bracket foot even if you are also using mechanical screws. The tape prevents the micro-movement that loosens fasteners over time from road vibration.
Step 6 — Mount brackets and drive screws into trusses using stainless steel roofing screws. Do not overtighten on rubber roofs as this can crack the decking beneath.
Step 7 — Apply Dicor lap sealant generously over every screw head and around every bracket foot. Allow it to cure fully before any serious weather exposure.
Step 8 — Route all wiring front to back, parallel to the direction of travel. Secure with UV rated cable ties. Never run wires side to side across the roof as they flap in the wind and eventually develop shorts.
Step 9 — Test at highway speed before entering Wyoming. Take a 30 minute drive at 65 mph or faster, then pull over and inspect every bracket, every sealant bead, and listen carefully for any new sounds or vibrations.
Step 10 — Inspect your entire roof installation at the start of every travel season and after any major Wyoming windstorm. Refreshing sealant takes 15 minutes and can save you from a catastrophic leak or panel loss mid-journey.
Hail, Dust, and Snow: Wyoming’s Other Solar Threats
Wyoming is a multi threat environment for RV solar panels. Wind gets all the attention but the others matter too.
Hail is a real concern across the eastern plains from May through August. Most quality panels survive one inch hail at 50 mph. Golf ball size hail in severe storms exceeds that rating. If you get advance warning of severe hail, angle your panels to 45 degrees if your mount allows it. Hail glances off an angled surface instead of striking it face on, which dramatically reduces impact force.
Blowing dust in Wyoming can coat your panels in a thick layer of fine mineral grit that noticeably drops your power output. Clean panels with a soft lint-free cloth and mild soap and water after every dust event. Never use abrasive cleaners. The anti-reflective coating on quality panels is not indestructible.
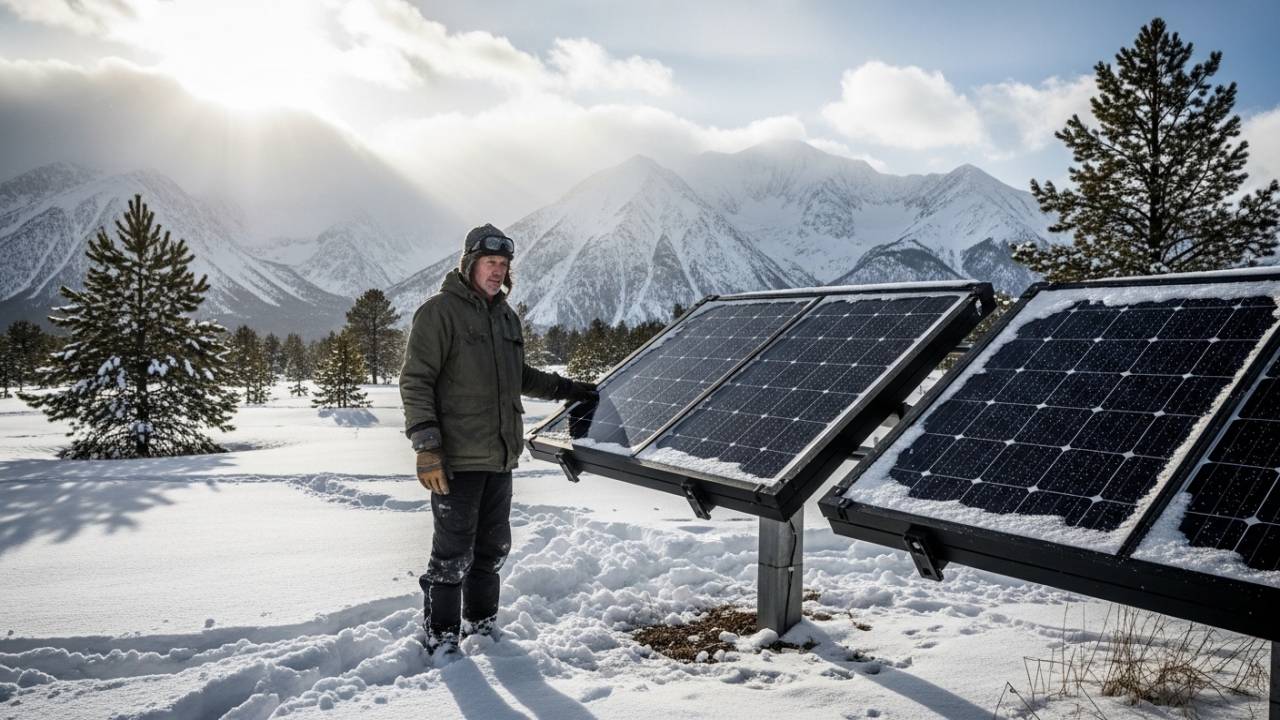
Heavy snow at high elevation Wyoming camps creates a static weight concern. Most premium rigid panels are rated for snow loads well above what typical overnight accumulation produces. The bigger risk is ice formation during freeze-thaw cycles, which can stress adhesive bonds on flexible panel installations. Clear snow gently with a soft squeegee. Never chip at ice with a metal scraper as thermal shock to the glass is a real risk.
Best Practices for Parked Solar RVing in Wyoming
Once you are set up at a Wyoming campsite, the game shifts from survival mode to optimization mode.
Park facing south whenever you can. In summer Wyoming delivers long days with excellent solar production even through passing clouds. In spring and fall when the sun angle is lower, panel orientation matters significantly more for your daily harvest.
Never park broadside to the prevailing wind if you have any choice. Wyoming wind typically comes from the west and southwest. Pointing your nose or tail into the wind rather than presenting your full broadside both reduces load on your roof array and significantly lowers the risk of your rig being rocked or destabilized overnight.
Use the free app Windy.com to check wind direction and speed forecasts at your specific location before choosing your parking orientation. It takes 30 seconds and is one of the most practically useful habits any Wyoming RVer can develop.
Also Read:- Jackson Hole RV Solar Mountain Weather Performance Guide
Frequently Asked Questions
Can I just use VHB tape to mount rigid panels on my EPDM rubber roof?
You can, but for Wyoming use it is strongly discouraged for rigid framed panels. VHB tape on EPDM has limited mechanical strength and degrades with UV exposure and seasonal temperature swings. For flexible panels bonded directly to the roof surface, VHB plus Sikaflex is a proven system. For rigid framed panels, mechanical Z-brackets into trusses are the right choice.
Should I add a wind fairing if I drive through Wyoming regularly?
It is a sensible addition for the front panels in your array, especially if you frequently drive at highway speed. It will not improve your fuel economy and may slightly reduce it, but it adds a real layer of protection that experienced Wyoming RVers appreciate. A DIY version built from aluminum tubing and Dicor works just as well as a commercial product.
What is the right solar setup size for full time Wyoming RVing?
Most experienced full time solar RVers in Wyoming recommend a minimum of 600 to 800 watts of panel capacity paired with a 200 to 300 amp hour lithium iron phosphate battery bank. This gives you enough buffer for cloudy days, storm gaps, and higher consumption situations. Wyoming’s generous summer sunshine means even a 400 watt setup performs well seasonally, but more capacity is always valuable when the weather turns unpredictable.
How often should I check my mounting hardware?
At minimum twice a year, once before spring travel season and once in early fall. After any significant Wyoming windstorm, do a quick visual check of all sealant beads, bracket feet, and cable runs. Look for Dicor that has cracked or lifted at its edges and re-apply immediately. This habit takes 15 minutes and can prevent a catastrophic failure.
Are wind turbines noisy at Wyoming campsites?
Yes. They produce a consistent whooshing sound and vibration, especially at higher wind speeds. If you mount one directly to your RV structure you will feel and hear it inside. Most RVers who use turbines mount them on a separate free standing pole specifically to keep vibration away from the rig. Whether you get used to the sound overnight is entirely a personal thing.
The Bottom Line
Wyoming does not forgive a careless solar installation. But for RVers who build their setups properly, with trusses located and brackets anchored correctly, Dicor applied and re-inspected every season, wiring routed front to back and secured against the wind, and panels rated for real world weather loads, Wyoming rewards you with some of the most spectacular off grid camping in the entire United States.
The open BLM land in Fremont and Carbon counties, the high desert spots around the Wind River Range, the wide plains camps under skies so full of stars they seem impossible, all of it is accessible and all of it is solar friendly once your rig is properly set up for what the state throws at you.
Do the work upfront. Mount those panels correctly. Seal every penetration. Check everything every season. And then go out there and enjoy it, because once your solar system is solid and dependable, the Wyoming wind that terrifies everyone else is just background music to the most freeing way to travel there is.