If you’re an RV owner tired of relying on noisy generators or expensive campground hookups, building your own RV solar battery bank could be the game-changer you’ve been looking for. I’ve spent years tinkering with solar setups in my own camper, from weekend getaways in the Rockies to full-time boondocking in the desert Southwest. Trust me, nothing beats the satisfaction of powering your lights, fridge, and even a small AC unit with free energy from the sun. In this guide, I’ll walk you through everything you need to know about creating a reliable RV solar battery system, including how to assemble a complete RV solar system with batteries that’s tailored to your needs. We’ll cover the basics, step-by-step instructions, common pitfalls, and tips from real-world experience to help you get started without breaking the bank.
Why Choose Solar Power for Your RV?

Let’s face it: Traditional RV power sources have their downsides. Generators are loud, fuel-hungry, and not always welcome in quiet campsites. Shore power is great when available, but what about those remote spots where the grid is miles away? That’s where a well-designed RV solar battery bank shines. It stores energy harvested from solar panels during the day, so you can run your appliances at night or on cloudy days.
From my own adventures, I can tell you that a solid solar setup not only saves money on fuel and hookups but also gives you the freedom to camp anywhere. According to data from the RV Industry Association, over 11 million households own RVs in the U.S., and a growing number are going solar to embrace sustainable living. If you’re new to this, don’t worry—I’ll break it down simply, drawing from hands-on builds I’ve done for friends and family.
Read Also:- Best Solar RV Panel Kit & Best Caravan Solar Panel Kit Guide 2026
Key Benefits of an RV Solar Battery System
- Cost Savings: Initial setup pays for itself in 2-5 years through reduced fuel and hookup fees.
- Eco-Friendly: Zero emissions, perfect for nature lovers.
- Reliability: Modern batteries like LiFePO4 hold charge longer and perform better in extreme weather.
- Customization: Scale it to your RV’s size—whether it’s a compact camper van or a full-size motorhome.
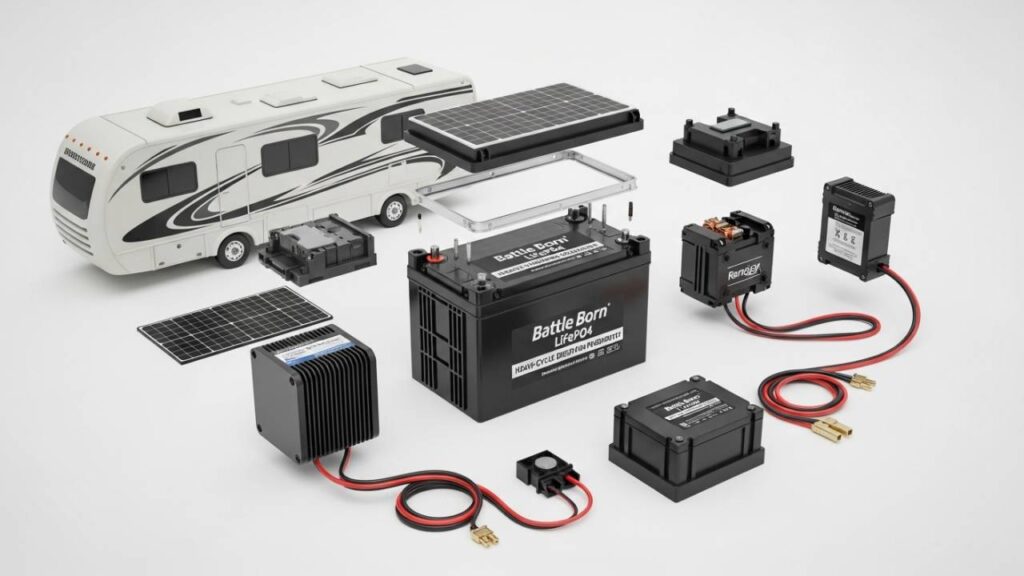
Understanding the Components of a Complete RV Solar System with Batteries
Before diving into the build, let’s get familiar with the essentials. A complete RV solar system with batteries isn’t as complicated as it sounds. It boils down to four main parts that work together to capture, store, and deliver power.
1. Solar Panels: Your Energy Harvesters
These are the rooftop heroes that convert sunlight into electricity. For RVs, I recommend monocrystalline panels—they’re efficient and compact. Start with 200-400 watts for basic needs (like charging phones and running lights). If you’re powering a fridge or microwave, bump it up to 600 watts or more.
In my first setup, I used flexible panels to avoid drilling holes in the roof. They’re lighter and easier to install, but rigid ones are more durable for long-term use.
2. Charge Controller: The Traffic Cop
This device regulates the flow of power from panels to batteries, preventing overcharging. Go for an MPPT (Maximum Power Point Tracking) controller over PWM—it’s 20-30% more efficient, especially in partial shade. A 40-amp model handles most mid-sized systems.
3. RV Solar Battery: The Heart of Your Bank
The RV solar battery is where the magic happens. Lead-acid batteries are cheap but heavy and short-lived (2-5 years). I’ve switched all my setups to lithium-iron-phosphate (LiFePO4) batteries—they’re lighter, last 10+ years, and can be discharged deeper without damage. For a basic bank, aim for 200-400 amp-hours at 12 volts.
Pro tip: Build your bank in parallel for more capacity or series for higher voltage (like 24V for larger inverters).
4. Inverter: Converting DC to AC
Most RV appliances run on AC power, so you’ll need an inverter to convert your battery’s DC output. A 2000-watt pure sine wave inverter is versatile for running everything from coffee makers to TVs. Avoid modified sine wave models—they can damage sensitive electronics.
Other must-haves include wiring (10-4 AWG for low voltage drop), fuses for safety, and a battery monitor to track usage.
How to Build Your RV Solar Battery Bank

Now, let’s get practical. This is based on a setup I installed last year on a 25-foot travel trailer. It powers essentials for 3-4 days off-grid. Total cost? Around $1,500-$2,500, depending on quality.
Step 1: Assess Your Power Needs
Calculate your daily consumption. List appliances and their wattage:
- LED lights: 10W x 4 hours = 40Wh
- Fridge: 50W x 24 hours = 1,200Wh
- Fan: 30W x 8 hours = 240Wh
Total: About 1,500Wh/day. Double it for cloudy days, and size your RV solar battery bank accordingly (e.g., 300Ah LiFePO4 provides ~3,600Wh usable).
Step 2: Gather Materials
Here’s a shopping list for a mid-range complete RV solar system with batteries:
| Component | Recommendation | Approximate Cost (USD) |
|---|---|---|
| Solar Panels | 2x 200W Monocrystalline | $300-500 |
| Charge Controller | Victron 100/30 MPPT | $200-300 |
| Batteries | 2x 100Ah LiFePO4 (in parallel) | $400-600 |
| Inverter | 2000W Pure Sine Wave | $200-400 |
| Wiring & Accessories | Cables, fuses, mounts | $100-200 |
| Total | $1,200-2,000 |
Shop from reputable brands like Renogy, Battle Born, or Victron for reliability.
Step 3: Install the Solar Panels
Mount them on your RV roof using Z-brackets. Run wires through a roof gland to keep things watertight. Connect in parallel for shade tolerance.
Step 4: Wire the Charge Controller and Batteries
Connect panels to the controller, then controller to batteries. Add fuses between each connection—safety first! I once skipped a fuse and fried a wire; lesson learned.
For the RV solar battery bank, secure batteries in a vented compartment. Use bus bars for clean connections.
Step 5: Add the Inverter and Monitor
Hook the inverter directly to the batteries with heavy-gauge wire. Install a shunt-based monitor (like a Victron BMV) to see real-time stats on your phone.
Step 6: Test and Troubleshoot
Charge in sunlight, run a load test, and monitor voltages. Common issues? Loose connections or undersized wires are causing a voltage drop.
Read Also:- Top Solar RV Battery Setup for Off-Grid Weekends (2026 Guide): Panel Size, Battery Type & Cost Breakdown
Common Mistakes to Avoid When Building an RV Solar Battery Bank

From forums like Reddit’s r/vandwellers and my own trial-and-error:
- Undersizing: Don’t skimp on battery capacity—overestimate your needs.
- Poor Wiring: Use marine-grade cables to prevent corrosion.
- Ignoring Expansion: Design for future additions, like more panels.
- Forgetting Maintenance: Check connections monthly; clean panels regularly.
Upgrading to a Complete RV Solar System with Batteries
If basic isn’t enough, expand with:
- A DC-DC charger for alternator power while driving.
- Solar generator hybrids for portability.
- Smart tech like Bluetooth apps for remote monitoring.
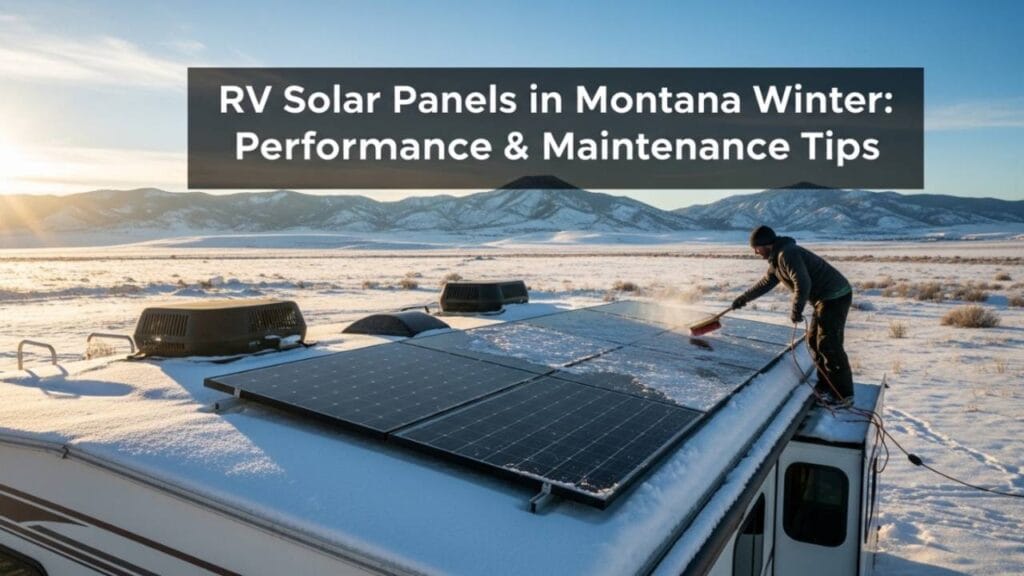
In extreme climates, opt for temperature-compensated controllers.
Real-World Results and Testimonials
Last summer, I took my solar-equipped RV on a two-week trip through Utah’s national parks. Zero generator use, and we ran the AC for hours on hot days. Friends who’ve followed my advice report similar success—one even sold his generator after going solar.
For more inspiration, check out communities like the Solar Power for RVs Facebook group or YouTube channels from experienced builders.
Final Thoughts: Empower Your Adventures
Building an RV solar battery bank isn’t just a project—it’s an investment in freedom. With the right RV solar battery and a complete RV solar system with batteries, you’ll spend less time worrying about power and more time enjoying the open road. If you have questions or need tweaks for your setup, drop a comment below. Safe travels!
About the Author: Saket Kumar is a full-time RVer with over 10 years of experience in off-grid solar installations. He’s helped dozens of fellow travelers go solar and shares tips from real campsites across North America.