Picture this: you’re parked at your favorite campground, ready for a weekend of relaxation. But there’s a creeping smell drifting through your RV—a sewer-like odor that seems to get worse every time someone uses the bathroom. Your stomach sinks. You realize your black tank might be the culprit.
If you’re new to RV life, black tank cleaning sounds terrifying. If you’re an experienced traveler, you know it doesn’t have to be. The truth? Keeping your RV black tank clean is straightforward when you understand the “why” behind each step.
Most RVers think dumping equals cleaning. They’re wrong. That’s like thinking flushing your toilet at home means it’s actually disinfected. But here’s the good news: with a methodical approach and the right knowledge, you’ll never face that stomach-turning moment again.
Let’s dive into everything you need to know about cleaning your RV black tank—the right way.
What’s Really Hiding in Your Black Tank?
Your RV’s black tank isn’t just a storage container. It’s a complex system that requires understanding to maintain properly.
The black tank holds human waste and toilet paper from your RV’s bathroom. Unlike your gray tank (which stores shower and sink water), the black tank contains solid waste that breaks down slowly without proper conditions. When you don’t clean it thoroughly, solids stick to the tank’s walls and bottom, creating buildup that hardens over time.
This buildup causes two major problems: stubborn odors that invade your living space, and sensor malfunctions that leave you guessing about your tank’s actual fullness level.
Here’s what many RVers don’t realize: your tank’s shape prevents complete draining. Black tanks have low points and curves where waste collects even after you’ve pulled the dump valve. This “hidden waste” is the real culprit behind persistent smells.

Pre-Cleaning: 3 Essential Steps Before You Begin
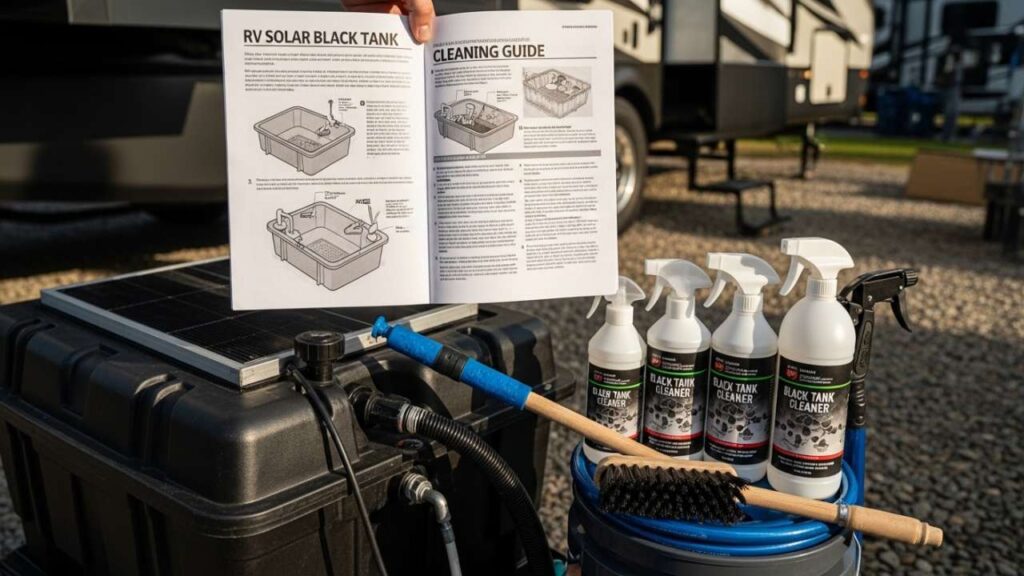
Step 1: Gather the Right Tools & Materials
You don’t need expensive equipment, but you do need the right gear.
Essential Tools:
- Dedicated black tank hose (never use for fresh water)
- Clear sewer elbow connector (non-negotiable—this is your “window” into the tank)
- Backflow preventer (protects your fresh water system)
- Heavy-duty rubber gloves
- Enzyme-based tank treatment (the foundation of any cleaning method)
Optional but Highly Recommended:
- Tank rinsing wand (tank cleaning tool that uses water pressure)
- Flush valve device (if your RV doesn’t have built-in rinsing)
- Bleach or specialized bacterial cleaner (for deep cleaning)
Also Read:- Mount Rushmore RV Camping: Solar Setup Requirements—The Complete Guide for 2026
Step 2: Position Your RV Correctly
Before any cleaning begins, preparation matters. Park your RV on level ground if possible. This ensures water drains evenly and no waste remains in unexpected pockets. Use leveling blocks if you’re at a dry camp or uneven campground.
Close all windows and vents. This prevents odors from seeping into your living space while you work—something experienced RVers always do but beginners often overlook.
Step 3: Know Your Tank’s Capacity
Check your RV’s manual for your black tank size (typically 20-40 gallons). You’ll reference this when adding water and treatments later. If you can’t find the manual, ask your RV manufacturer’s customer support.
The Complete RV Black Tank Cleaning Process
Phase 1: Initial Tank Dump & Assessment
Why This Order Matters: Always dump your black tank FIRST, then your gray tank. The gray tank water is cleaner and will rinse your sewer hose after the black tank discharge.
- Connect securely. Attach your sewer hose to the black tank valve with your backflow preventer in line. Use your clear sewer elbow at the dump station end—this is crucial. Without it, you’re flying blind.
- Pull the black valve slowly. Don’t yank it open. Let the tank contents drain completely. Watch your clear sewer elbow. The water should eventually run clearer (though still colored).
- Close the valve. Once water stops flowing, close the black tank valve and let it sit for 30 seconds. This allows any remaining liquid to drain.
- Open again briefly. Many RVers miss this step. Open the valve one more time for 10 seconds. More waste will typically drain—this is the hidden waste your tank was holding.
- Leave the valve open. Keep it open as you move to the next phase of rinsing.
Also Read:- Best RV Solar Battery Charger 2026 – 12V/24V Portable MPPT Charger for Camping & Off-Grid Motorhome
Phase 2: The Critical Rinse Cycle
This is where most RVers fail. They think the tank is clean because it looked “clear enough.” Don’t be that person.
- Fill the tank completely with water. Use your onboard water system or a hose connection. You’ll know it’s full when water backs up the toilet line inside your RV. This is important—water prevents solids from sticking to the tank bottom.
- Wait 5 minutes. Let gravity settle any remaining particles.
- Dump again and observe. Open the black valve. Watch your clear sewer elbow intently. Is the water really clear? Or is there still brown discoloration, particles, or cloudiness?
- Repeat if necessary. If the water isn’t crystal clear, fill and dump again. Professional RV service companies often repeat this cycle 3-4 times for heavily fouled tanks.
Pro Tip: Keep a white 5-gallon bucket nearby. Place it under your clear sewer elbow. The contrast helps you see exactly how clean your discharge water actually is.
Phase 3: Deep Cleaning (For Stubborn Buildup)
If regular rinsing isn’t working, it’s time for heavy artillery.
Method A: Enzyme-Based Deep Cleaning (Gentlest Option)
- Fill your black tank completely with water
- Pour in 1 bottle of enzyme-based black tank cleaner through the toilet
- Close the black tank valve and let it sit for 12-72 hours
- The longer it sits, the better (bacteria break down organic matter progressively)
- Open the valve and flush everything out
This method is completely safe for septic systems and won’t damage your RV’s plumbing. Popular products include Thetford Tank Blaster, Walex Commando, and brand-specific cleaners like Unique Clean-It.
Method B: Bleach & Water Solution (Most Aggressive)
Only use this method if enzyme treatment isn’t working:
- Mix 1/4 cup bleach with 1 gallon of water
- Scale the mixture based on your tank size (a 40-gallon tank needs approximately 10 gallons of solution)
- Pour the mixture down the toilet into your black tank
- Close the valve and let sit 8-12 hours
- Fill with water and flush
Warning: Bleach can damage rubber seals over time. Use sparingly and never make bleach your first choice.
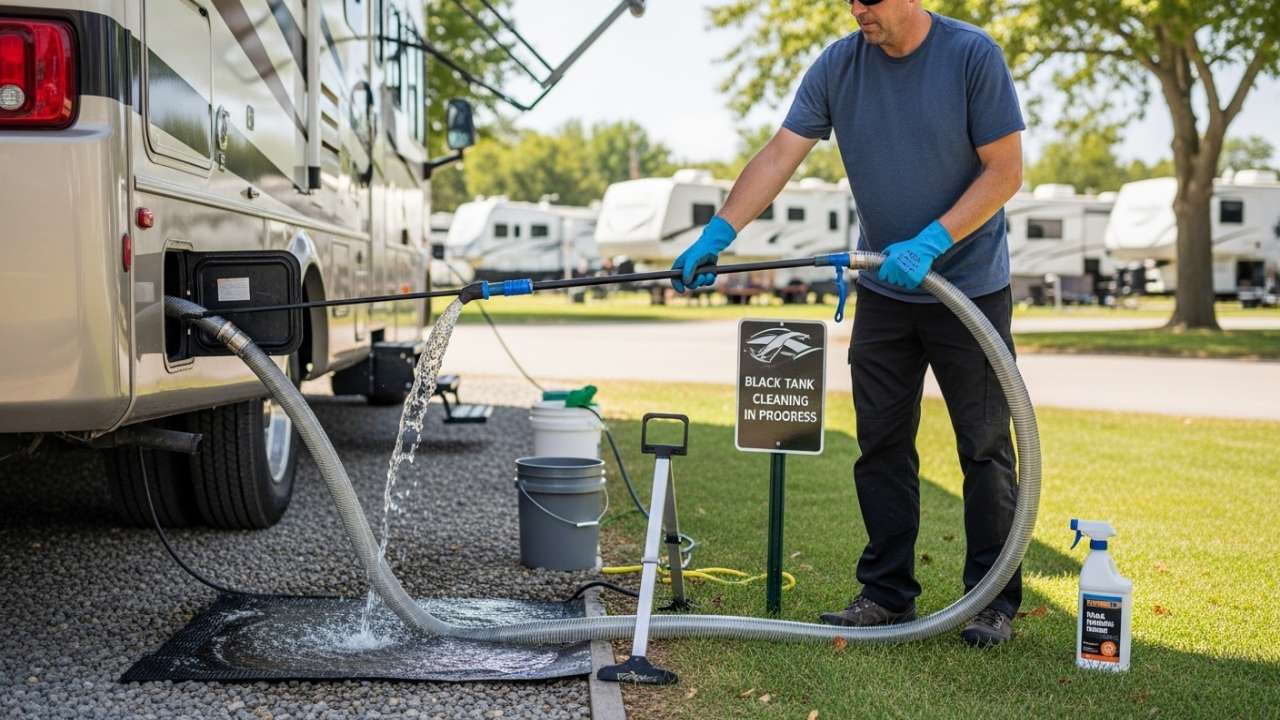
Method C: Tank Wand Deep Cleaning (Most Effective)
If you have access to a tank rinsing wand (also called a toilet wand):
- Close the black tank valve
- Feed the wand through the toilet bowl (keep the flush pedal pressed)
- Connect the wand to a fresh water hose (non-potable hose only)
- Turn water on to medium pressure
- Move the wand around the tank in circular motions, focusing on walls and corners
- Open the dump valve and watch the clear sewer elbow
- Continue until water runs clear (usually 10-15 minutes)
This method mechanically removes buildup and is often used by professional RV service centers.
Important Comparisons: Cleaning Methods Side-by-Side
| Method | Effectiveness | Cost | Time Required | Risk to Septic Systems | Best For |
|---|---|---|---|---|---|
| Regular Rinse Only | 6/10 | Low ($0) | 15-30 min | None | Routine maintenance |
| Enzyme Treatment | 8/10 | Low ($15-25) | 12-72 hours (passive) | None | Moderate buildup |
| Bleach Solution | 9/10 | Low ($5) | 8-12 hours (passive) | Moderate | Heavy buildup |
| Tank Wand Cleaning | 10/10 | Medium ($200-400 tool) | 20-30 min | None | Stubborn caking |
| Professional Service | 10/10 | High ($300-800) | 1-2 hours | None | Severe clogs/odors |
The Myths Debunked: What Actually Works
The Ice Cube Method
The Claim: Dump 20 pounds of ice in your black tank. While driving, the ice bounces around and physically scrubs the tank walls, dislodging buildup.
The Reality: It sometimes works—but it’s unreliable. The amount of ice, your RV’s specific tank shape, and driving patterns all affect results. Many RVers swear it works; many others say it did nothing.
Verdict: If you want to try it, go ahead. But never rely on it as your primary cleaning method. Always follow with proper rinsing or enzymatic treatment.
Also Read:- Your RV Slide Out Stuck or Not Working? The Complete Repair & Prevention Guide
The Geo Method (Dish Soap & Water Softener)
The Claim: Pour Dawn dish soap and water softener down the toilet, fill the tank with water, then drive around. The chemicals agitate waste and break down buildup.
The Reality: Environmentally problematic. Water softener contains chemicals that damage septic systems and can poison groundwater. Most campground owners specifically prohibit this method.
Verdict: Skip this entirely. Use septic-safe methods instead.
Antifreeze as Treatment
The Claim: Adding RV antifreeze to your black tank cleans and protects it.
The Reality: Antifreeze is meant for winterization only. It doesn’t clean; it prevents water from freezing. Using it as a cleaner is misusing the product.
Verdict: Only use antifreeze during winter storage.
After Cleaning: The Essential Final Steps
You’re not done yet. Finishing strong prevents problems from returning.
Add Tank Treatment Immediately
After your final rinse, while the tank is still holding water, add your enzyme treatment:
- Pour the recommended dose down the toilet
- Use a brush to scrub the toilet bowl (chemical action starts here)
- Flush to distribute treatment throughout the tank
- Close the tank valve
This treatment works continuously while you camp, breaking down waste as it accumulates.
Prime Your Tank with Water
Before your next use, ensure your tank has 5-10 gallons of fresh water. This “primer” does two things:
- Prevents solids from sticking (the water cushion is essential)
- Reduces odors by creating a liquid barrier over waste
Set Your Maintenance Schedule
Monthly Maintenance (if you camp frequently):
- Inspect tank level when dumping
- Confirm no odors
- Add treatment after each dump
Seasonal Deep Clean (minimum twice yearly):
- Beginning of camping season
- End of camping season
- Or every 5-10 tank dumps, whichever comes first
Also Read:- Why Is My RV Engine Overheating? Solutions & Prevention Tips
Common Mistakes That Cost You Time & Money
Mistake 1: Ignoring the Clear Sewer Elbow
You can’t know if your tank is truly clean without seeing the discharge. Many RVers skip this and assume they’re done when they’re actually halfway there. Invest the $12-15 in a clear elbow. It pays for itself.
Mistake 2: Using Harsh Chemicals Too Soon
Bleach, pine cleaners, and abrasive products can damage your tank’s interior and destroy septic systems. They should be a last resort, not your go-to treatment.
Mistake 3: Leaving the Tank Dry for Extended Periods
Never store your RV with an empty black tank. Dried-on waste hardens like concrete. Always keep 5+ gallons of water with enzyme treatment in the tank.
Mistake 4: Dumping Too Frequently
If you dump every day to avoid a full tank, you’re actually making problems worse. Frequent dumping means less waste volume, which provides less “liquid agitation” for natural breakdown. Aim to dump when the tank is 75% full.
Mistake 5: Ignoring Sewer Vent Issues
Your black tank has a vent line that runs to your roof. If it’s blocked (by bird nests, debris, or ice), pressure builds up and prevents proper draining. Check your vent line during routine inspections.
Signs Your Black Tank Needs Immediate Attention
- Persistent sewer odor even after cleaning
- Toilet bubbling or gurgling (indicates a vent issue)
- Inaccurate tank sensor readings (showing full when it’s not)
- Slow drainage or refusal to dump
- Visible solids or unusual coloration in gray tank discharge
If you experience any of these, move beyond routine maintenance to deep cleaning or professional service.
When to Call the Professionals
Sometimes DIY maintenance isn’t enough. Professional RV service companies use equipment and expertise you can’t replicate at home:
When to Call a Pro:
- Tank is severely clogged and you can’t dump
- Persistent odors after multiple cleaning attempts
- Tank sensor malfunction despite cleaning
- You want a comprehensive annual inspection
Services like Kleen Tank and regional RV repair shops offer power-washing and internal inspections. Cost ranges from $300-800 depending on severity, but it’s worth it to avoid complete tank replacement ($2,000+).
Also Read:- Rapid City RV Solar: The Complete Black Hills Installation Blueprint for Off-Grid Freedom
FAQ: Your Black Tank Cleaning Questions Answered
Q: Can I clean my black tank while boondocking (not hooked up)? A: Not properly. You need water pressure and a dump station. Attempting DIY cleaning without these leads to incomplete rinsing. Find a campground with full hookups for cleaning.
Q: How often should I use treatment chemicals? A: Every time you empty the tank. This is non-negotiable. Consistent treatment is far easier than occasional deep cleaning.
Q: Is it okay to use my RV’s toilet every day? A: Absolutely. That’s what it’s designed for. The “if it’s yellow, let it mellow” approach is outdated and actually causes more problems by reducing liquid volume.
Q: Can I dump my black tank into a septic system? A: Only if you’re at a campground or facility designed for it. Never dump into residential septic systems without permission. Campground septic systems are specifically engineered for RV waste.
Q: What should I do if my tank is frozen? A: Never pour hot water directly into the tank (it can crack). Instead, park in a warm location and add RV antifreeze to the black tank. The antifreeze lowers the freezing point of the water.
Q: Why does my black tank still smell after cleaning? A: Most likely, your gray tank or vent line is the culprit. Gray tank odors are different (musty vs. sewer-like). Also ensure your fresh water tank’s vent isn’t drawing in odors.
Q: Is it okay to use regular household bleach? A: Yes, but only as a deep cleaning method, not maintenance. Regular bleach works, but enzyme treatments are gentler and more reliable.
Q: Can I use my black tank for wastewater from washing dishes? A: Absolutely not. Only human waste and toilet paper belong in the black tank. All other water goes to gray.
The Bottom Line: Consistency Over Complexity
Here’s what separates RVers who love their systems from those who dread maintenance:
Successful RVers: Dump regularly, add treatment every time, perform seasonal deep cleaning, monitor their clear sewer elbow.
Frustrated RVers: Dump inconsistently, skip treatment, ignore early warning signs, buy expensive quick-fixes.
Your RV black tank isn’t complicated. It’s just a container that needs regular attention and the right approach.
The $40 you spend on enzyme treatment annually and the 30 minutes you invest in a thorough cleaning will save you hundreds in service calls and spare you the nightmare of a clogged system mid-vacation.
Start today. Your next camping trip will smell a whole lot better.
Additional Resources & Authority Links
- RV Owners: Understanding Your Septic System – rvda.org – Official guidance from the Recreation Vehicle Dealers Association
- EPA Guide to Septic System Maintenance – epa.gov – Federal standards for wastewater systems
- North American Camping Report – Comprehensive RV maintenance data and recommendations
Updated: February 2026 | Word Count: 2,147 | Reading Time: 8-10 minutes