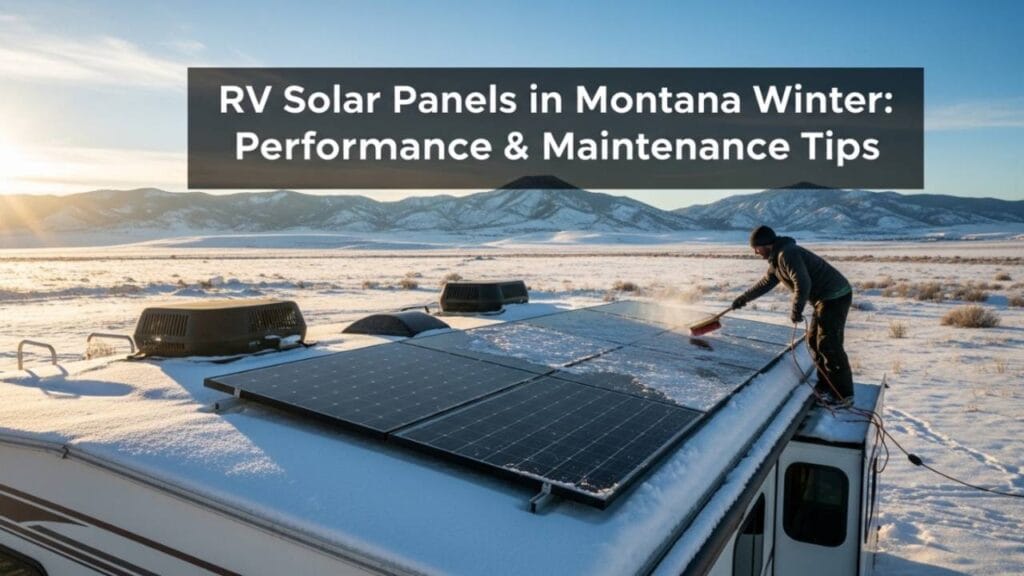
RV solar systems are reliable, but they’re not magic. When something goes wrong—no output on a sunny day, batteries draining faster than they should, or cryptic error codes on your controller—you need to know where to start. Most solar problems have simple causes. Learning how to diagnose them will save you money and keep your RV running independently.
This guide walks you through the 10 most common RV solar problems, what causes them, and how to fix them. We’ll also give you a diagnostic checklist you can use anytime something feels off.
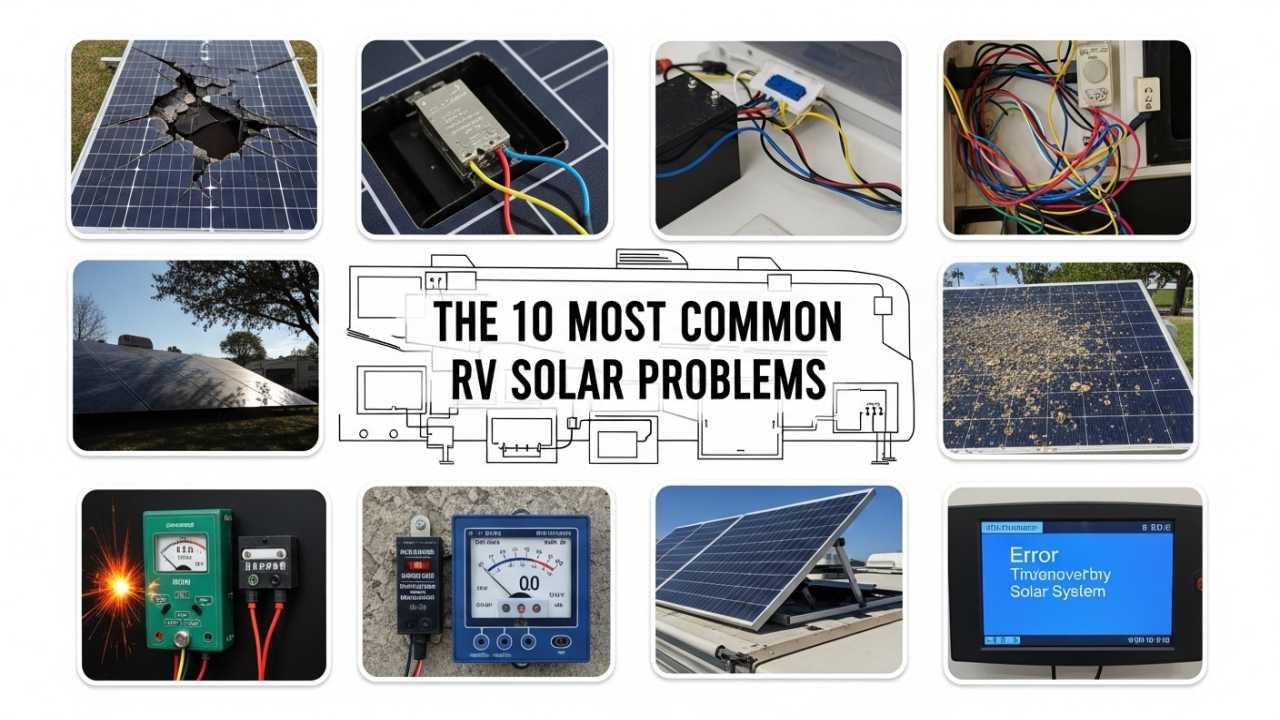
The 10 Most Common RV Solar Problems
1. No Output on a Sunny Day
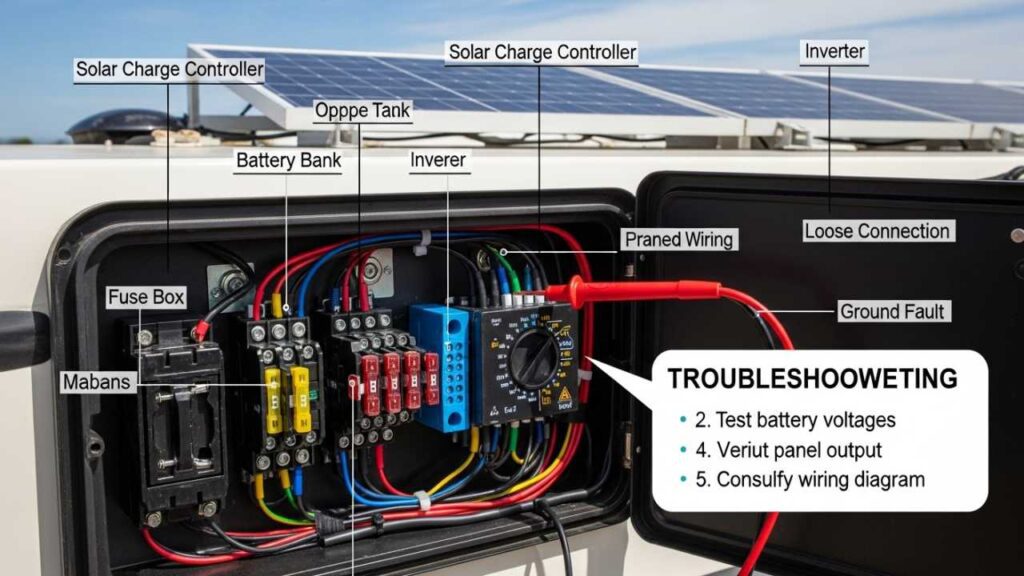
Cause: This is the scariest problem because your panels should be generating power. The culprit is usually one of three things: a tripped breaker, a disconnected wire, or a faulty combiner box.
Solution: Start with the breaker. Walk to your breaker panel and check the solar breaker. If it’s switched to the off position, flip it back on. If it trips again immediately, stop—you have a short circuit somewhere. If the breaker holds, check your charge controller’s display. It should show voltage from the panels. If it shows 0V, the wiring between your panels and controller is broken or disconnected.
Next, go outside and visually inspect the roof connections. Look for loose terminals, corroded connectors, or damaged wiring. If you see corrosion (greenish or white crusty buildup), that’s high resistance causing power loss. Disconnect the terminals and clean them with a wire brush. Reconnect and test again.
If you can access your combiner box (usually mounted on or near your roof), open it carefully. Inside you’ll see fuses or breakers for each panel string. Check that all are in the “on” position. A blown fuse looks burned or discolored. If a fuse is blown, replace it with the exact same amperage rating—never use a higher rating.
Prevention: Once per season, inspect all external connections for corrosion or looseness. Ensure all fuses are rated correctly. Label your breaker clearly so someone else (or you in a panic) can find it fast.
2. Low Charge Despite Sunny Weather
Cause: Your system is producing some power, but less than expected. Common reasons: dirty panels, a failed panel, shading, or an undersized system for your needs.
Solution: First, clean your panels. Dust, bird droppings, and salt spray reduce efficiency by 5 to 20 percent. Use distilled water and a soft brush—never a pressure washer. Let panels dry in the sun.
If cleaning doesn’t help, check for shading. Walk around your RV at solar noon (around 1 PM in winter, around 2 PM in summer) and look at your panels. Even a small shadow from an antenna, vent, or tree leaf can cut output significantly. If possible, reposition your RV or trim vegetation.
Next, test individual panels. If your system allows it, disconnect one panel string at a time and check the controller’s voltage reading. A good panel shows 35 to 50V per string, depending on the number of cells. A failed panel shows 0V or significantly lower voltage than its neighbors. Replace it.
Finally, compare your charge rate to your system capacity. A 400-watt system in full sun charges about 25 to 30 amps into a 48V battery bank. If you’re getting half that on a clear day, your panels may be undersized for your consumption, or your expectations need adjustment.
Prevention: Clean panels before winter and after dusty travels. In high-altitude or coastal areas (salty air), clean every 2 to 3 weeks. Use a solar monitor to establish your baseline output in good conditions—you’ll recognize drops faster.
3. Battery Draining Faster Than Normal
Cause: Either something is drawing more power than usual, or your solar system isn’t charging the battery enough to keep up.
Solution: First, identify what’s changed. Did you add a new appliance? Start using hot water more? The drain is usually consumption-side, not generation-side.
Check your solar monitor (if you have one) to see how many amp-hours your system is putting in daily. Compare that to your estimated consumption. A rough rule: add up all your 12V and 120V loads, estimate run hours per day, and multiply. Example: a 30-amp water heater running 2 hours per day uses 60 amp-hours. A 400-watt solar array puts in roughly 30 amp-hours per sunny day.
If consumption exceeds generation, you’re in deficit. Either reduce usage, increase solar, or use a generator on cloudy days. There’s no way around the math.
If consumption seems reasonable, test your battery voltage. A good 12V lithium battery stays between 13.2V and 13.8V when charged. Lead-acid should be 13.2V to 13.6V. If voltage is lower, your battery may be failing. Old lead-acid batteries often stop holding charge.
Check for parasitic drain. Turn off all appliances and disconnect the solar system from the battery. Use a multimeter to measure current flowing from the positive battery terminal. Current should be near zero. If it’s more than 50 mA (0.05 amps), something is drawing power even when off. Trace the positive wire and disconnect each circuit breaker one by one until the drain stops—that’s your culprit.
Prevention: Establish a baseline for battery voltage and solar input on a clear day. Write it down. When something feels off, you’ll have reference numbers. Check for parasitic drain annually.
4. Charge Controller Displaying Error Code
Cause: This depends on the code, but common ones are: over-temperature warning, low battery voltage alert, or input voltage too high.
Solution: Consult your controller manual immediately—error codes vary by manufacturer. That said, most errors are temporary and harmless.
Over-temperature warning: Your controller shut down temporarily because it got too hot, usually from full sun with no airflow around it. Make sure your controller is mounted in a shaded, ventilated location—not in a sealed cabinet or direct sun. If the controller is properly mounted and the error persists, the internal thermal sensor may be failing (rare).
Low battery voltage: The controller detects that your battery is nearly empty and stops charging to prevent deep discharge. This is intentional protection. The message clears when your battery voltage recovers. If your battery never recovers, you have a charging problem (see problem #3).
Input voltage too high: Your panels are producing more voltage than the controller can handle. This shouldn’t happen with a properly installed system, but it can occur if panels are in series without a combiner box, or if you accidentally connected panels backwards. Stop using the system immediately and check your wiring diagram.
Prevention: Keep your controller manual accessible. If you get an error code, take a photo of it and note the conditions (temperature, time of day, weather). This helps you or a technician diagnose recurring issues.
5. Inverter Not Working or Shutting Off Randomly
Cause: The inverter detects a problem—low battery voltage, overload, or a ground fault—and shuts down to protect itself.
Solution: Check the inverter’s display. Look for any error code or warning. Note it and consult the manual.
Most common: low battery voltage shutdown. If your battery voltage drops below the inverter’s minimum (usually 10.5V for 12V systems), the inverter cuts power to prevent damage. Check your battery voltage with a multimeter. If it’s truly low, you have a charging problem (see problem #3). If voltage is normal but the inverter still complains, the voltage sensor wire may be loose or corroded. Check the small wires connected to the battery terminals.
Overload shutdown: The inverter can only produce so much power. A 2000-watt inverter can’t run a 3000-watt appliance. If you plugged in a high-draw device (space heater, large microwave), unplug it and restart the inverter. Once running, only use modest loads.
Ground fault: This is rare but serious. It means stray electricity is flowing to ground somewhere in the AC circuit. Unplug everything from the inverter’s outlets, restart it, and plug devices back in one at a time. If it fails on one specific device, that device has a fault—don’t use it.
Prevention: Never exceed your inverter’s rated power. Know the wattage of your major appliances. Use a small power meter to check individual devices. Have your system inspected annually by someone qualified to check for ground faults.
6. MPPT Charge Controller Not Reaching Maximum Power Point
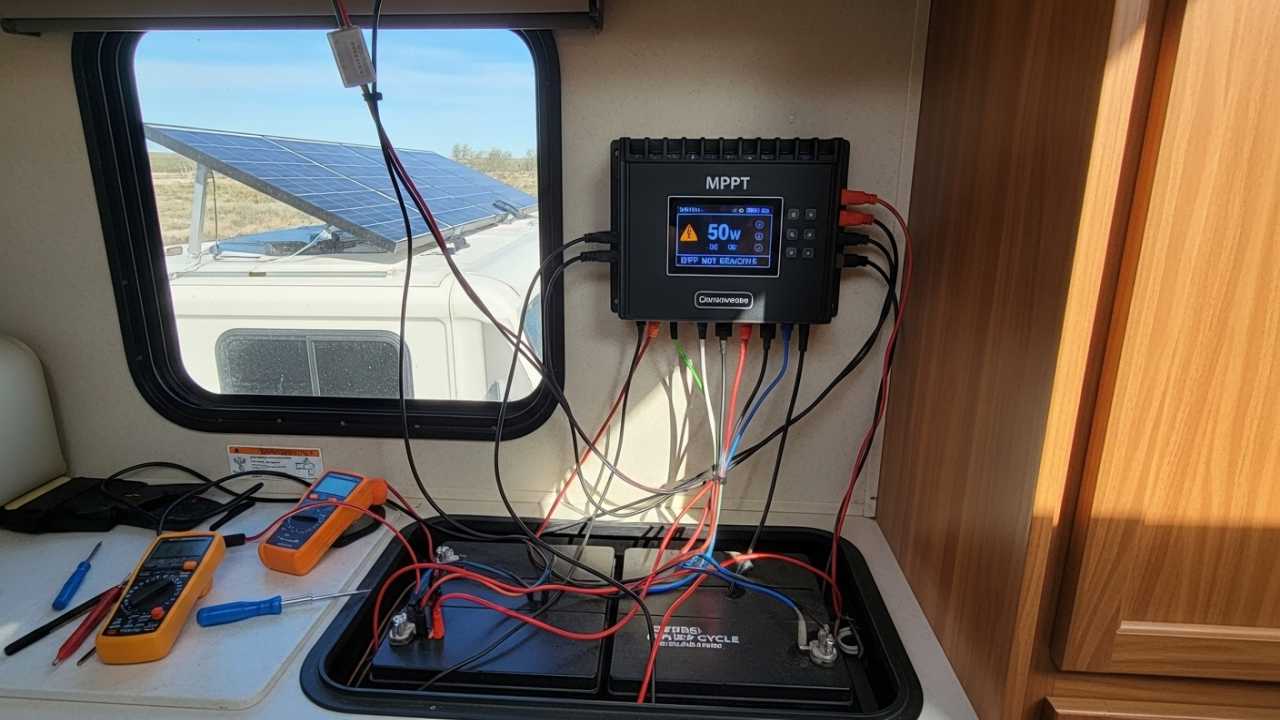
Cause: MPPT (Maximum Power Point Tracking) controllers should optimize panel output, but they sometimes get stuck, usually due to loose wiring or a software glitch.
Solution: Check the controller’s input voltage. A healthy MPPT input should be 30 to 60V per string of panels. If voltage is lower, you have a wiring problem—same as problem #1.
If voltage is normal but the controller isn’t charging the battery, the controller may be stuck. Restart it by disconnecting all power for 30 seconds, then reconnecting. If it still doesn’t work, update the controller’s firmware if available. Most controllers allow firmware updates via USB—check the manufacturer’s website.
If the controller is old (over 8 years), it may be reaching end-of-life. MPPT circuits eventually wear out, especially in hot climates. Replacement is the only fix.
Prevention: Keep firmware updated. Check the controller’s efficiency rating monthly by comparing input watts (voltage × current) to output watts. If efficiency drops below 85 percent consistently, the controller is failing.
7. Wiring Corrosion Reducing Charge Rate
Cause: Outdoor wiring exposed to moisture, salt air, or temperature swings develops corrosion at the terminals. High resistance reduces current flow.
Solution: You’ll recognize corrosion by a greenish or white crusty buildup on copper terminals. Shut off all system breakers, then disconnect the corroded connection. Use a wire brush to scrub the terminal and the wire end until they’re shiny. Apply a thin coat of dielectric grease (available at auto parts stores) to prevent moisture from returning. Reconnect and test.
For severe corrosion, the wire itself may be damaged. If the wire insulation is cracked or brittle, replace the entire section. Don’t patch it with tape—that’s a fire hazard.
Prevention: Apply dielectric grease to all outdoor terminals annually. Inspect wiring every 6 months, especially if you park near the ocean or in very wet climates.
8. Battery Not Holding Charge Overnight
Cause: Either your battery is old and failing, or you have a parasitic drain drawing power while the system is off.
Solution: First, disconnect the solar system from the battery (remove the positive wire from the charge controller). Leave the RV for 8 hours with all appliances off. Then measure the battery voltage. If it dropped more than 0.3V, you have a parasitic drain (see problem #3 for diagnostics).
If the voltage held steady, the problem is that your solar system isn’t charging enough during the day. Check your daily charge accumulation with a solar monitor. If the monitor shows you’re getting positive amp-hours (like +150 Ah per day), the battery should hold that charge. If it doesn’t, the battery is failing.
Lead-acid batteries typically fail after 4 to 6 years. Lithium batteries fail after 10+ years. If your battery is near that age and won’t hold a charge, replacement is the only option.
Prevention: Track your battery voltage morning and evening for a week in good solar conditions. Voltage should rise during the day and drop only slightly at night. A sharp drop overnight indicates a problem early.
9. System Working Fine But New Batteries Charge Slowly
Cause: New batteries, especially lithium, charge more slowly than expected when cold or when the battery management system is being cautious.
Solution: If your new battery is lithium with a built-in Battery Management System (BMS), it limits charging in cold weather (below 32°F) to prevent damage. Warm the battery and try again—the charge rate will increase. If it’s summer and still slow, the BMS may be limiting current because the battery is unbalanced. This clears after a few charge/discharge cycles.
If it’s a lead-acid battery, check that the charge controller is configured correctly for that battery type. Some controllers default to “AGM” (absorbed glass mat) settings, which don’t work well for flooded lead-acid batteries. Check your controller’s settings menu and select the right battery chemistry.
Prevention: When you install new batteries, record the controller’s settings. Note any temperature limitations in the battery manual. Understand that new batteries may charge slower than old ones—old batteries often accept current faster (a sign they’re degrading).
10. System Works, But Controller Gets Very Hot
Cause: High ambient temperature, poor ventilation around the controller, or heavy charging current (which generates heat) is stressing the internal components.
Solution: Ensure your controller is mounted in a shaded location with at least 2 inches of clearance on all sides for airflow. Don’t mount it in a sealed box or enclosed cabinet. If it’s already in an open location, you may have too much solar input for the size of the controller.
A 60-amp controller dissipates about 150 watts of heat under heavy load. In a hot RV interior, the controller can push past its rated temperature. The fix is either: (1) relocate the controller outside or to a cooler part of the RV, (2) add a small 12V fan to blow air past it, or (3) reduce solar input (add fewer panels or use a larger controller rated for higher current).
Prevention: Mount your controller in the coolest, most ventilated location possible. Use a thermal camera or infrared thermometer to check temperature monthly. Most controllers shut down around 70°C (158°F)—if you’re regularly hitting 65°C, make changes before it fails.
Diagnostic Checklist
Use this table anytime something feels wrong. Work through the list in order.
| Check | Expected Result | If Failed |
|---|---|---|
| Solar breaker in “on” position | Breaker is on | Flip it on; if it trips immediately, stop and contact a tech |
| Check charge controller display | Shows >0V from panels | Check wiring between panels and controller for breaks/corrosion |
| Look at roof for shading | Panels in full sun, no shadows | Reposition RV or trim vegetation |
| Visual inspection of connections | No corrosion, no loose wires | Clean corroded terminals; tighten loose connections |
| Check battery voltage | 13.2-13.8V (lithium) or 13.2-13.6V (lead-acid) | Battery may be failing; test charge rate |
| Monitor daily charge accumulation | Positive amp-hours on sunny day | Solar system undersized or not charging |
| Check controller temperature | Warm to touch, not hot | Relocate or improve ventilation |
| Review error codes | No codes on display | Consult manual for any codes present |
| Measure parasitic drain | <50 mA at rest | Find and disconnect drain source |
| Test inverter with small load | Inverter runs and shows output | Check inverter settings or battery voltage |
FAQ: RV Solar System Problems
1. My solar controller shows a voltage but the inverter says the battery is dead. What’s wrong?
This usually means your charge controller and your inverter are reading different battery voltages. The controller has its own voltage sensor (those small wires on the battery terminals), and so does the inverter. If they disagree, one sensor is bad.
Start by checking the actual battery voltage with a multimeter. The multimeter reading is the most accurate. Compare it to what the controller and inverter display. Whichever device disagrees with the multimeter has a faulty sensor. You’ll need to replace the sensor wire or the device itself. This is a common problem in systems over 10 years old.
2. I added a second battery to my RV solar system and now the charge controller is overheating. Why?
Larger battery banks accept more charging current, and more current generates more heat in the controller. Your controller may be rated for 60 amps, but with two batteries in parallel, it’s now pushing 80 amps to charge faster.
You have three options: (1) upgrade to a larger controller rated for the new current, (2) add a small 12V fan to cool the current controller, or (3) accept that it will run hotter and monitor temperature closely. Many people choose option 1 because a larger controller often costs less than adding fans and handling heat.
3. My RV solar system works great in summer but produces almost nothing in winter. Is it broken?
No, this is normal. Winter sun is weaker, days are shorter, and panels often get snow or cloud cover. Output of 30 to 60 percent of summer levels is typical. If you’re getting less than 20 percent of your summer production on a clear winter day, something is wrong—likely shading or snow on the panels.
If it’s cloudy or snowy constantly (like in the Pacific Northwest), that’s not a solar problem—it’s a location problem. Solar isn’t the right choice for full-time winter use in those regions without backup power.
4. How do I know if a solar panel has failed instead of just being dirty?
Test it with a multimeter. Disconnect one panel string at a time from the charge controller. Set the multimeter to DC voltage. Touch the probes to the positive and negative terminals on that panel string. A good panel in sunlight shows 35 to 50V, depending on how many cells are in series.
If a string shows 0V or much lower voltage than its neighbors (like 20V while others show 45V), that panel has failed. A failed panel needs replacement—you can’t repair it. If the voltage is normal but you suspect a panel is still bad, measure its short-circuit current (the controller’s display shows this too). A failed panel shows very low current.
5. Can I troubleshoot my RV solar system myself or should I hire a professional?
For simple checks like loose connections, dirty panels, and reading your monitor, do it yourself. These take 15 minutes and cost nothing.
For anything involving replacing wiring, testing with a multimeter on live circuits, or replacing components, consider hiring a professional—especially if you’re not comfortable working with electricity. A bad wire connection or reverse polarity can cause a fire. One service call costs $150 to $300, but it’s cheaper than an RV fire.
That said, you can learn the basics yourself. Take a photo of your system’s layout before any work. Label your breakers. Keep your component manuals accessible. Most problems are simple and preventable with good maintenance.
Prevention: The Best Troubleshooting Strategy
The easiest problem to fix is one that never happens. Spend 30 minutes per season on maintenance:
- Spring and fall: Clean panels, inspect wiring for corrosion, check breaker labels, verify battery voltage, review controller settings.
- Monthly: Check battery voltage at morning and evening. Note it. Look for trends.
- After travel: Inspect roof connections for looseness or damage.
- Annually: Test parasitic drain, measure controller temperature under load, update controller firmware.
A solar monitor is your best diagnostic tool. Knowing your baseline (how much power you normally generate on a clear day) means you’ll spot problems the moment output drops. Most users who install a monitor catch problems within days.
Keep records. Write down error codes, temperatures, and daily amp-hour accumulation. Show these notes to a technician if something serious develops—they’re invaluable for diagnosis.
The Bottom Line
Most RV solar problems have simple causes: loose connections, dirty panels, or undersized systems. Learning to troubleshoot yourself saves money and keeps your system running longer. Start with the diagnostic checklist, follow the solutions in order, and don’t hesitate to call a professional if you’re uncomfortable with electrical work.
A well-maintained RV solar system is one of the most reliable upgrades you can make. With these troubleshooting skills, you’ll keep yours running smoothly for years.
Also Read:-
- How Much Does It Cost to Add Solar Panels to an RV? (Real Numbers Inside)
- How to Fix a Problem Solar RV Toilet Not Flushing? 5 Easy Fixes You Can Do Yourself
- Best RV Solar Panels for New Mexico: Desert Climate Guide 2026