Most people get their RV solar system completely wrong before they even buy a single panel.
They either drastically undersize it — ending up with dead batteries by 7pm every evening and a generator running constantly — or they massively oversize it, spending three times more than necessary on panels and batteries they will never fully use. Both mistakes are expensive. Both are avoidable.
The truth is that sizing an RV solar system correctly is not complicated. It is just a process. A simple, logical, step by step process that anyone can follow with a piece of paper, a pen, and about 30 minutes of honest thinking about how they actually live in their RV.
This guide walks you through every step of that process from calculating your real daily power needs all the way through choosing the right panels, batteries, and inverter to match. At the end, we will work through a complete real-world example using a popular 200Ah battery and 400-watt panel setup so you can see exactly how the numbers play out in practice.
Let us get into it.
Also Read:- Best RV Solar Panels for South Dakota 2026
Why Getting the Size Right Matters So Much
Before we dive into the steps, it is worth spending a moment on why this matters beyond just saving money.
An undersized solar system does not just inconvenience you. It actively damages your batteries. When lead-acid batteries are repeatedly discharged too deeply because the panels cannot keep up with demand, their capacity permanently shrinks with every cycle. Within a year of chronic undercharging, a battery bank that was supposed to last five years might be delivering half its original capacity. Lithium iron phosphate batteries are more tolerant of deep discharge but still degrade faster when chronically run to zero and only partially recharged each day.
An oversized system wastes money upfront, adds unnecessary weight to your roof and chassis, and creates more roof penetrations and potential leak points than you actually need. Every dollar you spend on a panel you did not need is a dollar you could have spent on a better battery bank, a more capable inverter, or just more miles of fuel.
Getting the size right means your system charges fully most days, runs your loads comfortably, and lasts the full intended lifespan of the components. It is the difference between a solar system that feels like a luxury and one that feels like a constant compromise.
Step 1 — Calculate Your Daily Watt Hours
This is the most important step and the one most people skip or guess at. Do not guess. Spend the time here and everything else becomes simple.
Your goal in this step is to calculate the total number of watt hours your RV consumes in a typical 24-hour period. A watt hour is simply one watt of power being used for one hour. To calculate it for any device, you multiply that device’s wattage by the number of hours per day you use it.
Go through every electrical device in your RV and write down its wattage and your realistic daily use hours. Here is a practical example list that covers what most RVers actually run:
A 12-volt compressor refrigerator is one of your biggest draws. A quality unit like a Dometic or ARB fridge typically uses between 30 and 50 watts but runs roughly 8 to 12 hours per day as the compressor cycles on and off. At 40 watts running for 10 hours that is 400 watt hours per day.
LED lighting throughout the RV is surprisingly modest. A typical setup of several LED strips and a couple of reading lights might total 30 to 50 watts running for 4 to 5 hours each evening. Call it 40 watts for 4 hours which equals 160 watt hours per day.
Laptop charging is a common need for working remote travelers. A typical laptop draws 45 to 65 watts while charging. At 60 watts for 2 hours of charging that is 120 watt hours per day.
Phone and tablet charging might surprise you with how little it actually uses. Two phones charging for a total of 3 hours combined at around 15 watts average equals about 45 watt hours per day.
A water pump draws a decent amount of power in short bursts. Most RV water pumps draw around 60 watts but only run for a total of 15 to 20 minutes per day when you account for all the actual pumping time. At 60 watts for 0.3 hours that is roughly 18 watt hours per day.
A small interior fan during warm weather draws around 20 to 40 watts. Running a fan for 6 hours overnight at 25 watts average gives you 150 watt hours per day.
Add those up and you get a daily total of approximately 893 watt hours for a comfortable but not extravagant off-grid RV lifestyle. Round it to 900 watt hours per day as a working number.
Now add a realistic inefficiency buffer. Solar systems lose energy to heat, wiring resistance, charge controller inefficiency, and battery chemistry. A standard 20 percent efficiency loss is the commonly used figure. Multiply your 900 watt hours by 1.2 to account for those losses and your real target daily production becomes 1,080 watt hours.
Write that number down. It is your daily watt hour target and every other calculation in this guide flows from it.
Also Read:- Wyoming Wind & RV Solar Panels: Protection & Mounting Tips
Step 2 — Determine Your Peak Sun Hours
You cannot size your panels without knowing how much usable sunlight your camping locations actually deliver. This number is called peak sun hours and it varies significantly depending on where you are in the United States.
A peak sun hour is not simply an hour of daylight. It is one hour of sunlight at the intensity of 1,000 watts per square meter, which is the rated test condition for solar panels. Early morning light, late afternoon light, and hazy sky conditions all count as fractions of a peak sun hour rather than full ones.
The United States average is around 4 to 5 peak sun hours per day. The sunny Southwest in states like Arizona, Nevada, New Mexico, and southern California delivers 5.5 to 7 peak sun hours consistently. The Pacific Northwest, the upper Midwest in winter, and the Northeast in overcast seasons can drop to 3 to 3.5 peak sun hours on average. The Great Plains states including South Dakota, Wyoming, and Colorado typically land in the 4.5 to 6 range depending on season.
For this guide, we will use 5 peak sun hours as a realistic working figure for most of the continental United States during the main camping season of April through October.
Step 3 — Calculate Your Required Panel Wattage
Now the math gets straightforward. Take your daily watt hour target including the efficiency buffer — which we calculated as 1,080 watt hours — and divide it by your peak sun hours of 5.
1,080 divided by 5 equals 216 watts of panel capacity needed as your minimum.
But here is where experienced solar RVers add one more layer of practical reality. That 216 watt minimum assumes perfect conditions every single day — clear sky, panels oriented ideally toward the south, no shade from trees or campground structures. Real camping life does not always deliver perfect conditions.
A commonly recommended real-world adjustment is to size your panels at 1.25 times the calculated minimum to give yourself a buffer for suboptimal days. Multiply 216 watts by 1.25 and you get 270 watts as a practical minimum recommendation.
For most RVers running a setup similar to our example list above, a 300 to 400 watt system provides comfortable daily production with meaningful buffer for cloudy days, partial shade, and the occasional morning where your panel angle is not perfectly optimized. A 400 watt system paired with our consumption example gives you roughly 2,000 watt hours of potential daily production at 5 peak sun hours, covering your 1,080 watt hour need with comfortable headroom.
Step 4 — Size Your Battery Bank
Your battery bank stores the energy your panels produce during the day so you can use it at night and through early morning before the panels start producing again. Sizing it correctly requires knowing both your overnight consumption and your battery type.
Calculate your overnight consumption first. This is roughly the power you use from sunset to when your panels kick in the following morning — typically around 14 to 16 hours. You will not run everything at full rate during those hours, but your fridge runs continuously, your lights are on for a few hours, and your fan runs through the night. A practical estimate for overnight consumption in our example setup is about 600 to 700 watt hours.
Most solar RVers also want at least one day of autonomy built into their battery bank — meaning enough stored energy to get through a full day of low or no panel production without running out of power. Using our daily consumption of 900 watt hours plus the overnight buffer, a target of about 1,500 to 1,800 watt hours of usable battery capacity covers most situations comfortably.
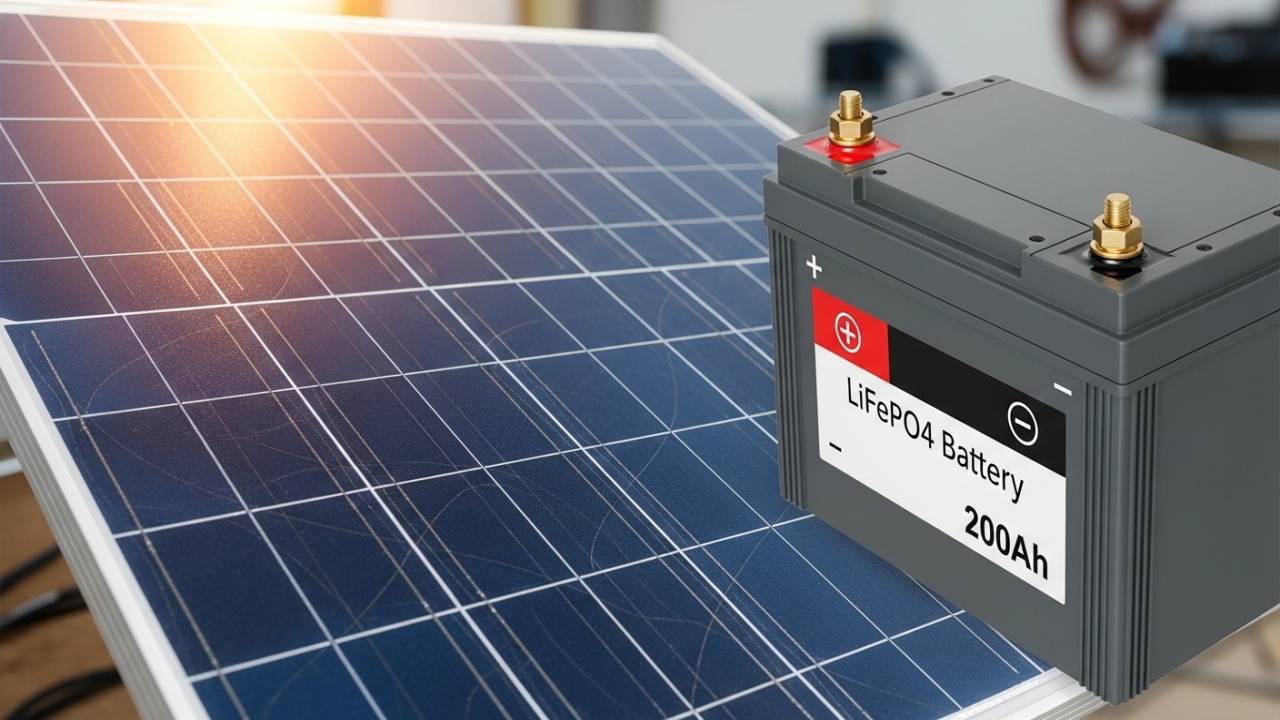
Here is where battery chemistry makes a dramatic difference. If you are using lithium iron phosphate batteries — which is the clear recommendation in 2026 for anyone building a serious off-grid setup — you can use 100 percent of the rated capacity. So 200 amp hours of LiFePO4 battery at 12 volts gives you 2,400 watt hours of usable capacity. That comfortably covers our target.
If you are using AGM lead-acid batteries, you should only discharge them to 50 percent of rated capacity to protect their lifespan. This means that 200Ah of AGM batteries only delivers 100Ah of usable capacity, or 1,200 watt hours usable at 12 volts. For our example consumption, you would need 400Ah of AGM to match the usable storage of 200Ah of lithium.
This is the single most important reason the RV solar community has largely moved to lithium. You get double the usable storage from the same amp hour rating, the batteries last three to five times longer, they charge dramatically faster from your panels, and they perform better in cold weather down to around negative 4 degrees Fahrenheit.
Also Read:- Jackson Hole RV Solar Mountain Weather Performance Guide
Step 5 — Choose Your Inverter Size
An inverter converts 12-volt DC power from your batteries into 120-volt AC power for regular household appliances. Not every RV solar setup needs an inverter. If you are only running 12-volt native loads like your fridge, lights, water pump, and USB charging ports, you may not need one at all.
But if you want to run a microwave, a coffee maker, an air conditioner, a hair dryer, or charge a laptop through a standard wall plug, you need an inverter and you need to size it correctly.
The key rule is that your inverter must be rated to handle the peak wattage of everything you might run simultaneously through it. A microwave typically draws 1,000 to 1,500 watts. A coffee maker draws 900 to 1,200 watts. A hair dryer draws 1,500 to 1,800 watts. If you might run any one of these items at a time, you need an inverter rated for at least 2,000 watts continuous to handle the peak draw safely.
If you want to run a small air conditioner or a larger appliance combination, step up to a 3,000 watt inverter as your foundation. The most capable full-timing setups use combined inverter-chargers of 3,000 watts or more that handle both inversion and shore power battery charging in a single unit.
For our worked example of a modest 400 watt solar and 200Ah battery setup, a 1,000 to 2,000 watt pure sine wave inverter covers most common needs without overloading the battery bank. Match the inverter size to your realistic appliance use rather than buying the biggest available and expecting your battery bank to support loads it was never sized for.
Worked Example: 400 Watt Panels and 200Ah Lithium Battery
Let us put the whole calculation together with real numbers for the most commonly recommended starter off-grid RV system.
The setup is 400 watts of monocrystalline roof panels, a 200Ah lithium iron phosphate battery, a quality 40-amp MPPT charge controller, and a 1,500-watt pure sine wave inverter.
Daily consumption in our example is 900 watt hours. With the 20 percent efficiency buffer that becomes 1,080 watt hours needed from the panels.
At 5 peak sun hours, 400 watts of panels produce 2,000 watt hours per ideal day. Subtract the 20 percent system efficiency loss and you are delivering approximately 1,600 watt hours to the battery each day. That comfortably covers the 1,080 watt hour daily need and even replenishes overnight use from the previous night.
The 200Ah lithium battery stores 2,400 watt hours of usable capacity. At 900 watt hours of daily consumption, that is more than two and a half days of autonomy before you would need panel production at all. For a day or two of overcast weather this system handles it without stress.
The 40-amp MPPT charge controller is correctly sized for a 400-watt panel array on a 12-volt system. A 400-watt panel array divided by 12 volts gives roughly 33 amps of charge current, comfortably within the 40-amp controller rating.
The 1,500-watt inverter handles a microwave, coffee maker, or laptop charging station without overloading the battery during brief use. It is not sized for extended air conditioner use, which is fine for mild South Dakota spring and fall camping. Anyone who needs AC cooling for summer heat would step the battery bank up to 400Ah and add a dedicated high-efficiency air conditioner inverter circuit.
This 400-watt, 200Ah setup represents the sweet spot for a couple doing regular boondocking from spring through fall with modest to moderate power needs. It is the system thousands of experienced RVers across America run successfully every day.
Also Read:- RV Solar System Setup Complete Beginner’s Guide (2026)
Frequently Asked Questions About RV Solar System Sizing
How do I know if my solar system is big enough once I install it?
The clearest sign of a properly sized system is that your battery bank reaches full charge by early afternoon on a typical sunny day. If your batteries are still charging at sunset and you are starting the evening at 80 percent capacity, your panels are undersized relative to your consumption. Install a battery monitor like the Victron BMV-712 which shows you real-time state of charge, daily energy harvested, and daily energy consumed. These numbers tell you everything you need to know within the first week of use.
Can I start small and add more panels and batteries later?
Yes, absolutely, and this is actually a very smart approach for first-time solar RVers. Start with a 200 or 300 watt system, live with it for a few months, and observe where the gaps are. You will quickly learn exactly what your real consumption patterns look like and what your current setup cannot handle. Most quality charge controllers are rated to handle panel arrays larger than your starting installation, so upgrading later is usually as simple as wiring in additional panels. The key is to choose a charge controller from the beginning that is rated higher than your initial panel array to leave headroom for expansion.
Does the size of my RV affect how much solar I need?
The size of your RV affects how many panels you can physically fit on the roof, but it does not directly determine how much solar you need. What determines your solar needs is how much power you consume. A small 18-foot van with a coffee maker, a large inverter, and an induction cooktop can easily consume more power than a 38-foot fifth wheel running only LED lights and a small compressor fridge. Always size based on your actual consumption calculation rather than your RV’s physical dimensions.
What happens if my solar panels produce more power than my batteries can store?
Nothing bad happens. When your batteries reach full charge, the MPPT charge controller automatically reduces or stops the charge current from the panels. The excess production is simply not captured. There is no damage to the panels or the batteries from over-production. The practical implication is that if your batteries hit full charge by 10am every single day without exception, you likely have more panels than you need and could save money by starting with a smaller array.
Should I size my system for my best days or my worst days?
Size for your typical days with a reasonable buffer for below-average conditions, but do not try to size entirely for your worst-case winter storm scenario. If you design your entire system around a three-day December overcast period in South Dakota, you will spend enormous money on panels and batteries that sit underutilized nine months of the year. Instead, build a system that handles your average conditions comfortably, add a modest buffer of around 20 to 25 percent, and keep a small generator on board for the occasional extended bad-weather situation. That combination is far more cost-effective and practical than an extreme oversized solar system trying to handle every possible worst case on its own.
Final Thought
Sizing an RV solar system correctly takes about 30 minutes of honest calculation. The steps are not technically difficult — they are just arithmetic with real numbers that reflect how you actually live. Get those numbers right and everything downstream becomes simple. You buy the right panels, the right battery, the right controller, and the right inverter. Your system works beautifully. Your batteries stay healthy. And you get to enjoy the kind of quiet, self-sufficient off-grid camping that is the whole reason most of us went solar in the first place.
Start with your daily watt hours. Everything else follows from there.