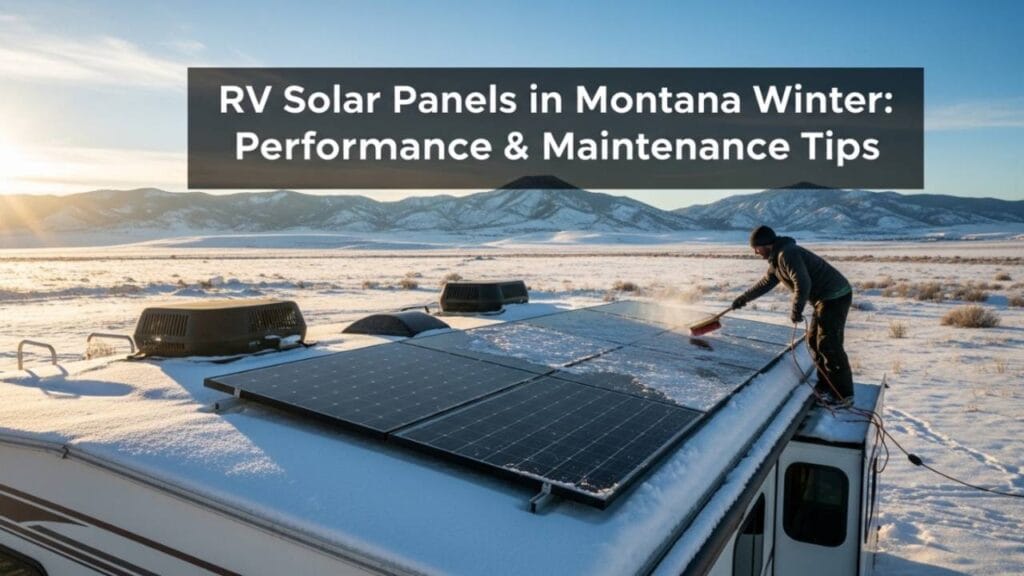
Picture this: You’re parked at a remote campsite near the Badlands, forty miles from the nearest power hookup. The sun is setting, and your phone is fully charged—powered entirely by sunshine. Your RV batteries sit at 87 percent. Your refrigerator hums along, the lights glow warm inside, and there’s not a generator in sight. No fuel costs. No stress.
This isn’t a fantasy for South Dakota RVers. In 2026, this reality is more achievable, more affordable, and more practical than ever before. Yet most solar guides treat Sioux Falls the same as Phoenix or Florida. That’s the mistake we’re fixing today.
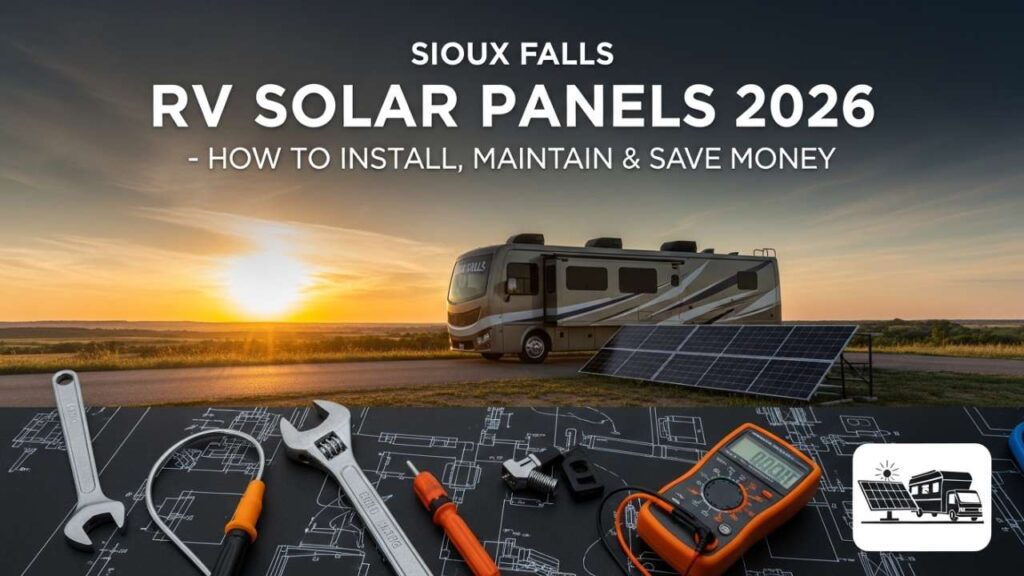
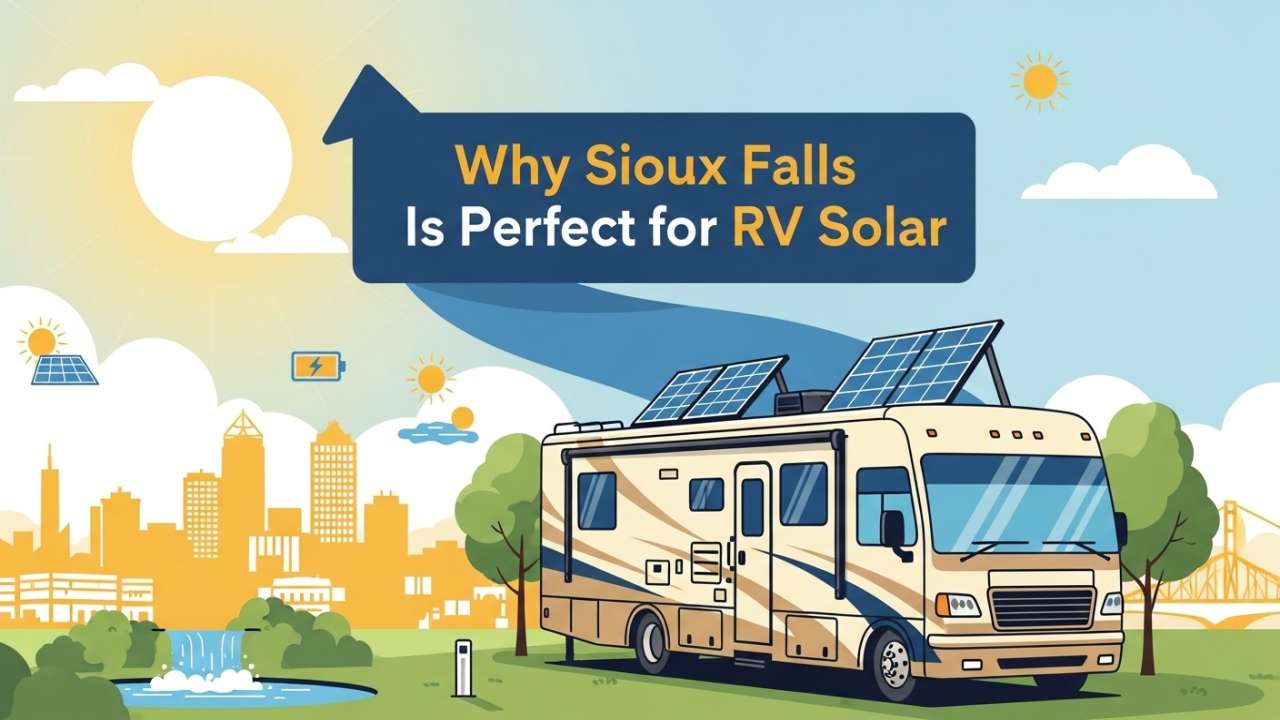
Why Sioux Falls Is Perfect for RV Solar (And Why People Get It Wrong)
Most folks assume South Dakota winters mean solar panels won’t work here. They’re completely wrong—and this misconception costs RVers thousands in missed opportunities.
The Real Numbers:
Sioux Falls receives between 4.2 and 5.2 peak sun hours daily throughout the year. That’s competitive with anywhere in the northern United States. Western South Dakota, around Rapid City reaches 5.5 to 6 peak sun hours daily. These aren’t Arizona numbers, but they’re solid, reliable, and completely workable.
What makes our region special is the elevation advantage. The Black Hills sit at 3,500 to 5,000 feet above sea level. This elevation means cooler air temperatures during peak production hours—a massive win that hot-climate RVers don’t get. In Arizona and Texas, solar panels regularly overheat during summer, losing 20 to 30 percent of their efficiency. Here in South Dakota, that efficiency loss is minimal.
The third advantage is geography. Boondocking sites across South Dakota feature open terrain with minimal tree shading. Compare this to Pacific Northwest campgrounds where trees cut solar production by 40 percent or more. Our wide-open plains and buttes mean your panels see sky-facing sunlight from sunrise to sunset.
The Honest Truth: Yes, South Dakota winters bring challenges. December and January see shorter days and increased cloud cover. But with proper sizing, you can handle winter camping comfortably.
Also Read:- How to Clean Solar RV Black Tank: Step-by-Step Guide & Pro Tips
Your Year: Four Different Solar Strategies
Summer (June–August): Peak Production Season
This is your solar sweet spot. Fifteen-plus hours of daylight, consistent sunshine, and warm temperatures create ideal conditions. A properly sized system fully charges your battery bank by late morning, leaving surplus power for afternoon and evening use.
Strategy: This season is your chance to build reserves. Time power-intensive activities during peak production—laundry, electric cooking, running AC units. You’re building a buffer for less productive seasons.
Spring & Fall (March–May, September–November): Transition Months
Production drops 20 to 30 percent compared to summer, but it’s still substantial. Here’s the critical insight: South Dakota’s sun arc drops significantly in spring and fall.
The Game-Changer: Panel angle matters tremendously. RVers who adjust panel tilt from flat (summer) to 35 degrees south-facing (spring/fall) recover 15 to 25 percent of production losses. For fixed flat-mounted systems, this loss is permanent. If your system allows tilting, this simple adjustment compounds throughout the season.
Winter (December–February): The Honest Challenge
Winter solar production in Sioux Falls drops 60 to 70 percent compared to summer. Short days (nine hours of potential sunlight), frequent cloud cover, and occasional snow create genuinely tough conditions.
This is where system sizing matters most. Many RVers underestimate winter loads—running heaters, hot water, and interior lights for longer daily periods. The solution isn’t avoiding winter camping. It’s building a system that handles it properly.
Winter System Requirements:
- 600+ watts of solar panel capacity
- 200+ amp-hours of battery storage
- A backup propane heater
- Generator or diesel heater for extended cloud periods
Your System Components: The Complete Breakdown
Solar Panels: Which Type Wins?
Three main panel technologies exist for RVs:
| Panel Type | Efficiency | Weight | Installation | Best For | Lifespan |
|---|---|---|---|---|---|
| Monocrystalline Rigid | 21-23% | Heavy (40-50 lbs) | Bolt to roof | Year-round camping | 25-30 years |
| Flexible Panels | 18-21% | Light (10-15 lbs) | Adhesive bonding | Seasonal camping | 15-20 years |
| Portable Foldable | 17-20% | Very light (5-10 lbs) | Free-standing | Supplemental power | 10-15 years |
For Sioux Falls: Monocrystalline rigid panels are the benchmark recommendation. South Dakota’s seasonal intensity variations benefit from monocrystalline’s higher efficiency ceiling. When winter production is already reduced, that extra 2-3 percent efficiency means real power.
Also Read:- Mount Rushmore RV Camping: Solar Setup Requirements—The Complete Guide for 2026
Required Wattage:
- Seasonal camping (May–October): 400–600 watts
- Year-round camping: 600–900 watts
- Heavy winter use: 1,000+ watts
Charge Controllers: MPPT vs. PWM
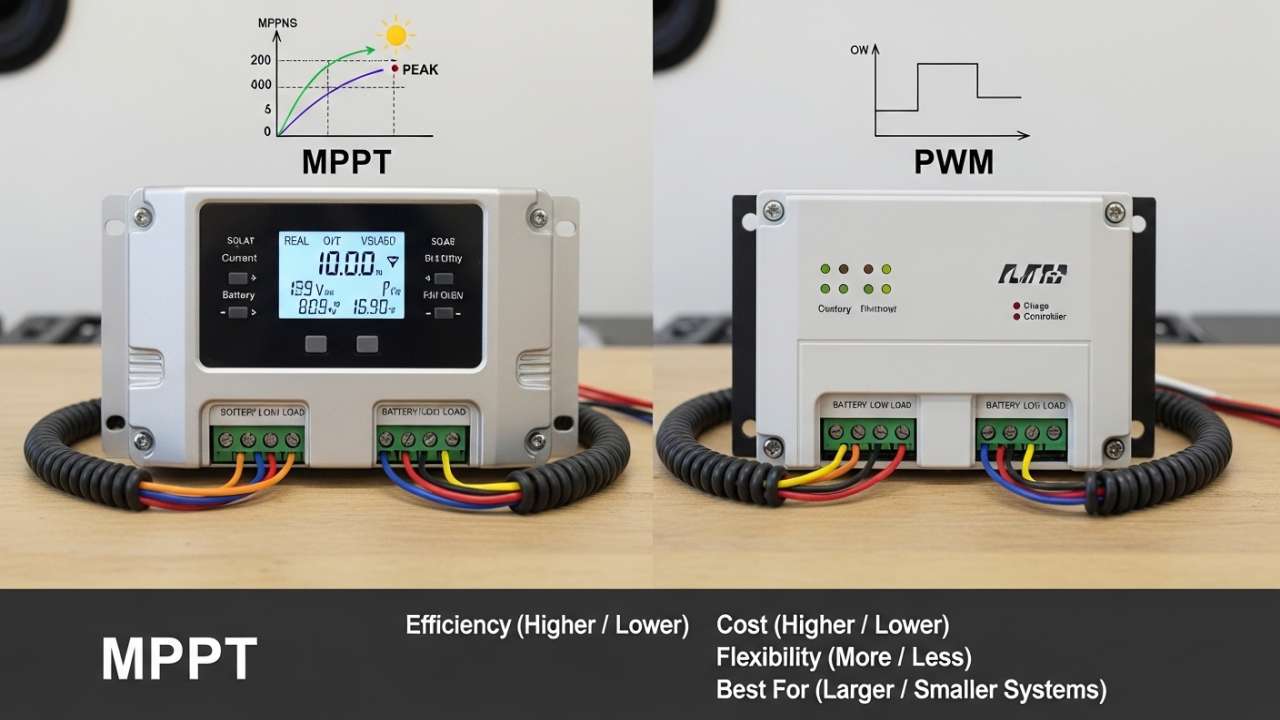
- PWM Controllers: Cost $150–$300, deliver 70% efficiency, work fine for small systems under 400 watts.
- MPPT Controllers: Cost $400–$800, deliver 95% efficiency, actively optimize for South Dakota’s variable light conditions. When spring/fall clouds reduce voltage or angle changes create unstable output, MPPT performs 15–25% better than PWM.
- Recommendation: MPPT controllers are worth the investment for Sioux Falls. South Dakota’s seasonal variance means your panel output changes throughout the day and throughout the year. MPPT actively optimizes this.
Battery Systems: Where Your Power Lives
| Type | Cost/kWh | Lifespan | Winter | Best Use |
|---|---|---|---|---|
| Lead-Acid | $100-150 | 3-5 years | Poor | Budget camping |
| AGM | $150-250 | 5-8 years | Fair | Seasonal RVing |
| Lithium | $400-600 | 10-15 years | Excellent | Winter camping |
The South Dakota Reality: Flooded lead-acid batteries freeze in our winters. Lithium excels because it includes integrated heating elements that activate in cold conditions. While lithium costs 3x upfront, it lasts 3x longer. Your annual cost per kilowatt-hour is nearly identical.
System Sizing:
- Daily usage 500–700 Wh: 100 Ah lithium or 200 Ah AGM
- Daily usage 700–1,200 Wh: 200 Ah lithium or 400 Ah AGM
- Winter camping: 300+ Ah lithium
Installation: Five Simple Steps
Step 1: Calculate Your Daily Power Needs
Write down every device and its daily usage:
- LED lighting: 40–60 Wh/day
- Refrigerator: 300–500 Wh/day
- Water pump: 20–40 Wh/day
- Phone and laptop: 100–150 Wh/day
- Fan or ventilation: 30–80 Wh/day
Total for typical boondocking: 500–830 Wh/day
Step 2: Mount the Solar Panels
- Clean roof with mild detergent
- Mark mounting holes using bracket template
- Apply waterproof sealant around all penetrations
- Install mounting brackets through roof structure
- Position panels with southern exposure
- Secure connections with MC4 connectors
Sioux Falls Note: Our prairie winds are strong. Use stainless steel fasteners and diagonal bracing on long mounting spans.
Step 3: Run Cables to Battery Location
- Drill penetration through RV side or floor
- Feed cables through with waterproof grommet
- Secure cables using UV-resistant ties
- Maintain proper wire gauge (6-8 AWG for larger systems)
- Bring cables to central mounting location
Step 4: Install Charge Controller
- Mount in well-ventilated location
- Connect panel cables (your input source)
- Verify polarity before tightening
- Install fused disconnect between panels and controller
Critical: Install the controller before connecting batteries.
Step 5: Connect Batteries and Test
- Install batteries in secure, ventilated location
- Connect positive battery terminal to controller positive
- Connect negative battery terminal to controller negative
- Install battery disconnect switch near positive terminal
- Install fuses on positive cable (100-200 amp, sized to your cable)
Test with multimeter: Panels should show 30–40V in full sun. Controller input should match panel output. Battery terminals should show 12–13V in charging state.
Also Read:- Best RV Solar Battery Charger 2026 – 12V/24V Portable MPPT Charger for Camping & Off-Grid Motorhome
Maintenance Schedule: Year-Round Care
Monthly (5 minutes each)
- [ ] Visual panel inspection (cracks, debris)
- [ ] Battery terminal inspection (corrosion?)
- [ ] Voltage check (should be 12.8V+ when full)
Spring: Post-Winter Recovery
- Clean Panels
- Use mild soap and a soft brush
- Prairie dust settles; spring winds don’t always clear it
- Avoid pressure washers
- Check Roof Sealant
- Freeze-thaw cycles loosen sealant
- Re-seal with Dicor if cracks appear
- Test Electrical System
- Run in full sun; verify controller operation
- Test any backup systems
Summer: Peak Optimization
- Track Production
- Identify when batteries reach full charge
- Note daily surplus power
- Use surplus for additional loads
- Adjust Panels
- If tilting possible, adjust for summer angle
- Note shade patterns throughout day
Fall: Winterization Prep
- Adjust Panel Angle
- Gradually increase tilt to 35–40°
- Captures lower sun angles more efficiently
- Test Winter Readiness
- Verify system handles full cloudy day
- Add generator if winter camping planned
Winter: Survival Mode
- Snow Management
- Brush panels clear after heavy snow
- Use soft brush, never metal scrapers
- Cold Battery Management
- Monitor voltage twice weekly minimum
- Reduce non-essential loads during extreme cold
- Ensure lithium heaters are active
Annual Deep Maintenance
- Check every fuse and disconnect
- Test fuses under load
- Access controller diagnostic data
- Assess battery health
- Consider professional inspection ($75-150)
Real 2026 Pricing
Budget System (Seasonal, 400W)
- Panels: $400-600
- MPPT controller: $350-500
- AGM battery: $800-1,200
- Wiring and hardware: $150-250
- Total: $1,700-2,550
Mid-Range System (Year-Round, 600W)
- Panels: $600-900
- MPPT controller: $500-700
- Lithium battery: $1,600-2,000
- Inverter: $400-800
- Wiring: $200-350
- Professional installation: $600-1,200
- Total: $3,900-5,950
Premium System (Winter-Focused, 900W)
- Panels: $900-1,200
- MPPT controller: $700-900
- Lithium battery: $2,400-3,200
- Inverter: $600-1,000
- Monitoring systems: $200-400
- Professional installation: $1,000-1,500
- Total: $6,100-8,700
ROI Timeline: 3-7 years depending on system and camping intensity.
Local Resources: Sioux Falls & South Dakota
Authorized Installers:
- Schaap’s RV Traveland
- Address: 3100 West Russell Street, Sioux Falls, SD 57107
- Phone: 605-332-6241
- Specializes in Go Power! systems
- Tri State Mobile RV Repair
- Mobile installation service
- Winter expertise
- Comes to your location
- Wolf River Electric
- South Dakota solar specialists
- RV experience
- Free assessments
Common Problems & Solutions
Problem: Low Battery Voltage in Winter
Causes: Insufficient panel production, battery overages, degradation
Solutions:
- Reduce non-essential loads
- Use propane heat instead of electric
- Run generator 1-2 hours during cloud periods
- Ensure lithium heaters function properly
Problem: Panels Not Charging
Causes: Loose connections, blown fuse, corroded connectors, damaged panel
Solutions:
- Check and replace fuses
- Inspect MC4 connectors for corrosion
- Verify breaker/disconnect switch position
- Test voltage with multimeter
Problem: Controller Shows Charging But Batteries Not Gaining Voltage
Solutions:
- Verify battery disconnect is “on”
- Tighten battery terminal connections
- Clean corrosion from terminals
- Use a multimeter to verify the voltage at terminals
Also Read:- Your RV Slide Out Stuck or Not Working? The Complete Repair & Prevention Guide
Frequently Asked Questions
Q: Can I leave my solar system unattended during winter storage? A: Yes, if you keep batteries fully charged. Lithium is completely safe. Lead-acid should be brought indoors if possible.
Q: What’s the real difference between MPPT and PWM? A: MPPT delivers 15–25% more daily charge. For South Dakota’s variable conditions, this difference is substantial.
Q: Can I add more panels later? A: Yes, if you install larger-than-necessary wiring initially and use a controller rated for future expansion.
Q: How much power does boondocking actually use? A: Approximately 500–800 Wh/day for comfortable camping with typical RV loads.
Q: Is lithium really worth triple the cost? A: Over a 10-year RV life, yes. Lithium lasts 3x longer, making annual costs nearly identical while offering superior winter performance.
Q: What if I camp in shaded areas? A: Portable 200W foldable panels deployed in sunny spots recover 30–40% of production losses.
Q: Can I DIY installation? A: Yes, if mechanically inclined. Budget 12–16 hours over 2–3 days. Hire professionals if uncomfortable with roof penetrations or electrical work.
Q: How does temperature affect efficiency? A: Every degree Celsius above 25°C reduces efficiency 0.4–0.5%. South Dakota’s cooler climate is an advantage.